





























Complete Balcony Lighting Setup: Step-by-Step Guide
✨ AI-Optimized Content
This article was created with AI assistance to provide timely, accurate, and product-focused Diwali decoration guidance. AI helps us deliver high-quality content faster while maintaining our editorial standards.
Your balcony has potential. You know it. But potential doesn't become reality without a plan.
Most people see a balcony and throw up lights randomly—a string here, some lanterns there, hoping it looks good. Then they step back disappointed. The space looks "decorated" but not "designed."
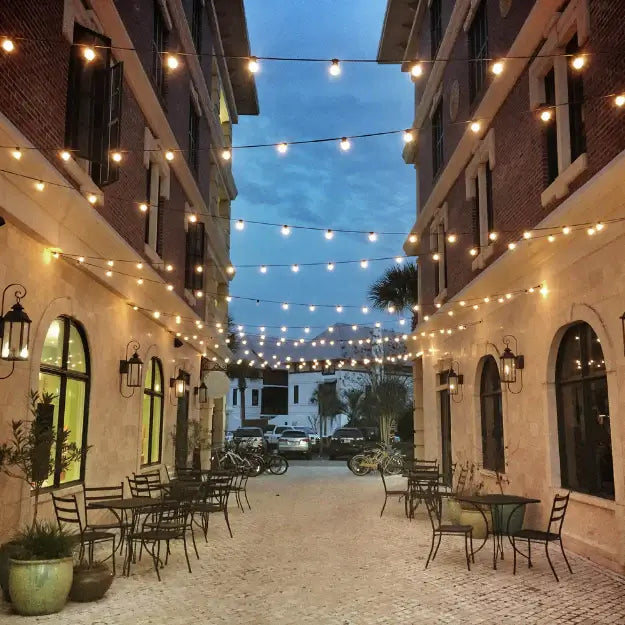
A properly designed balcony setup uses layering. Multiple light types at different heights, creating depth and dimension. It looks intentional, professional, complete.
Today, we're sharing the exact formula for a stunning balcony that looks like a designer planned it.
The Balcony Lighting Formula
Professional designers use a three-layer approach:
Layer 1: Background (Coverage)
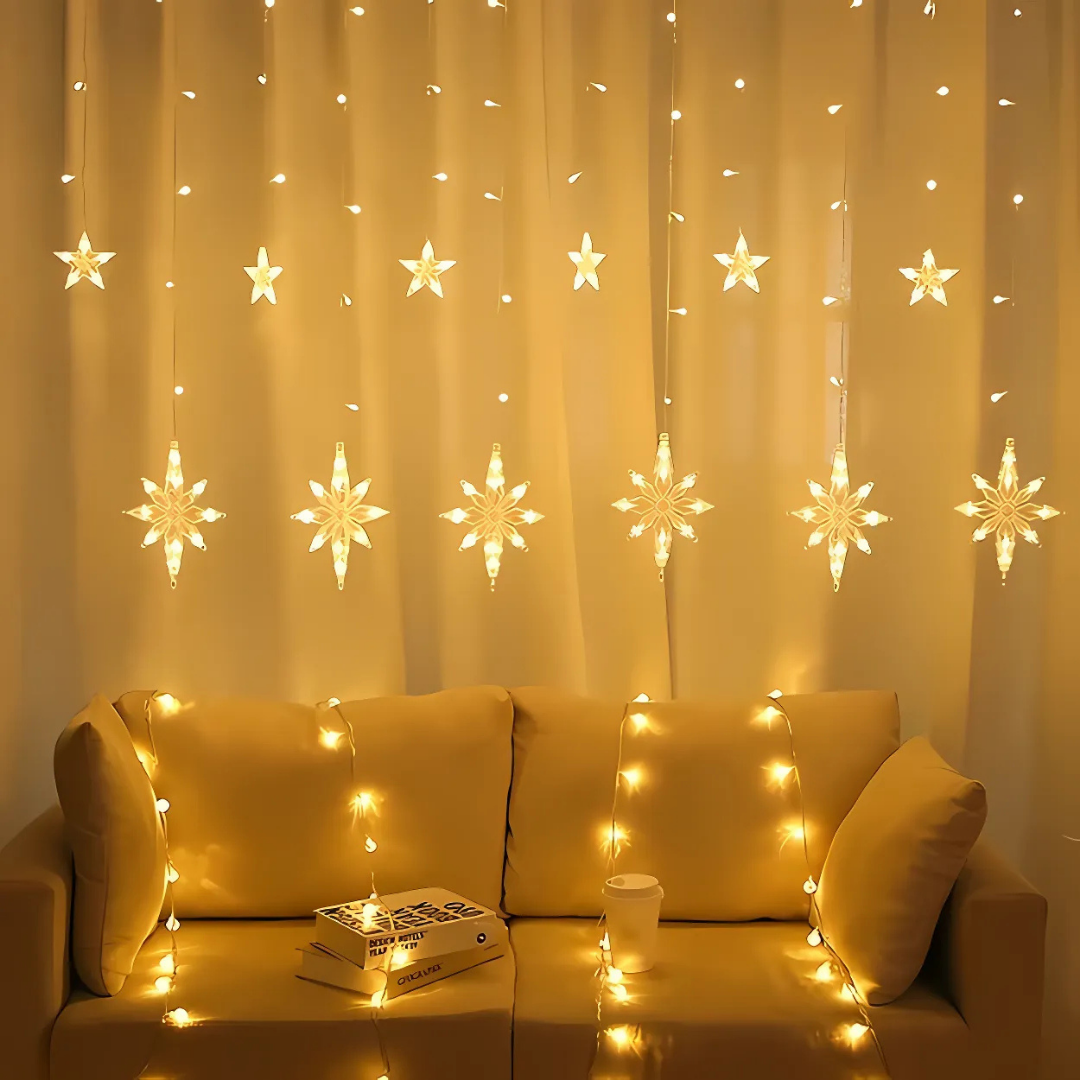
Mesh net lights or star curtains
Covers entire back wall or railing
Provides broad, even illumination
Sets the foundation
Layer 2: Midground (Interest)
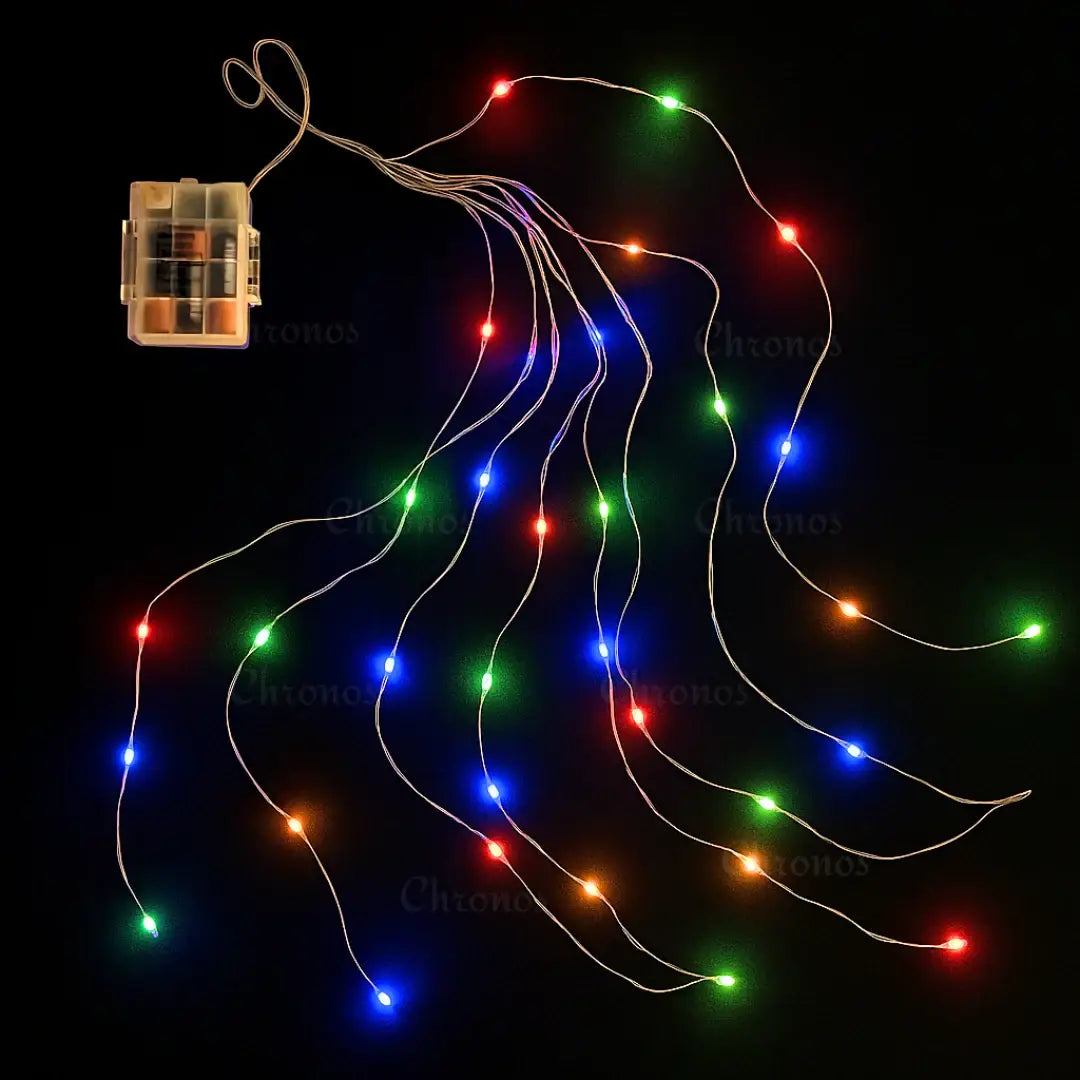
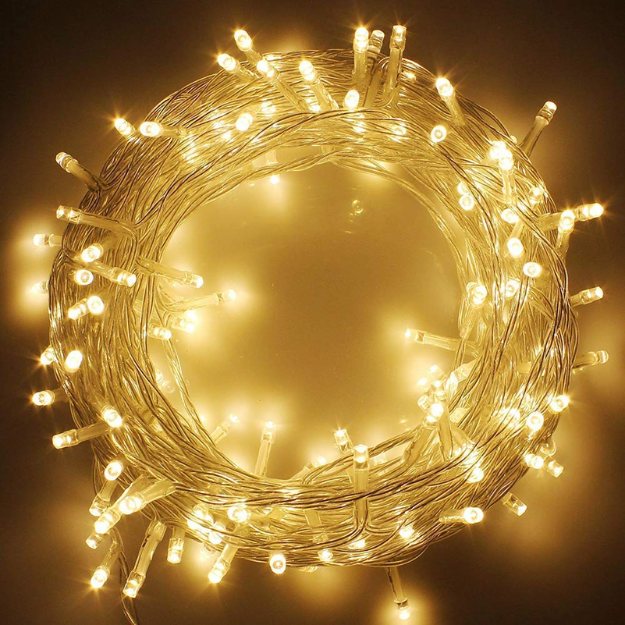
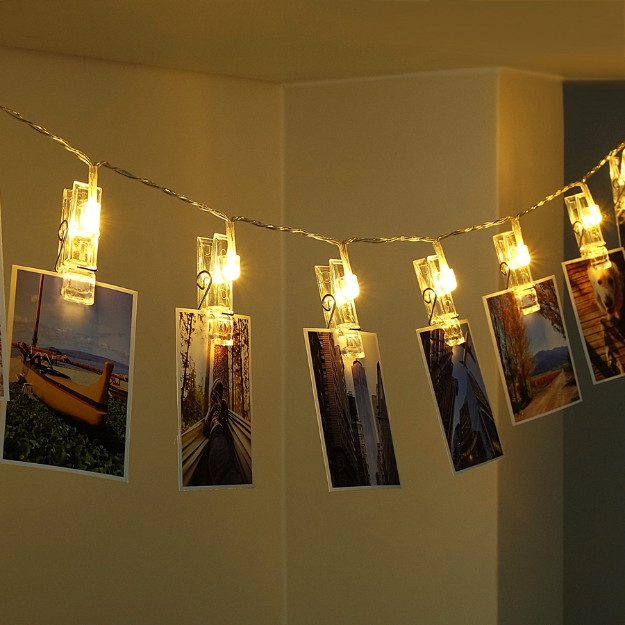
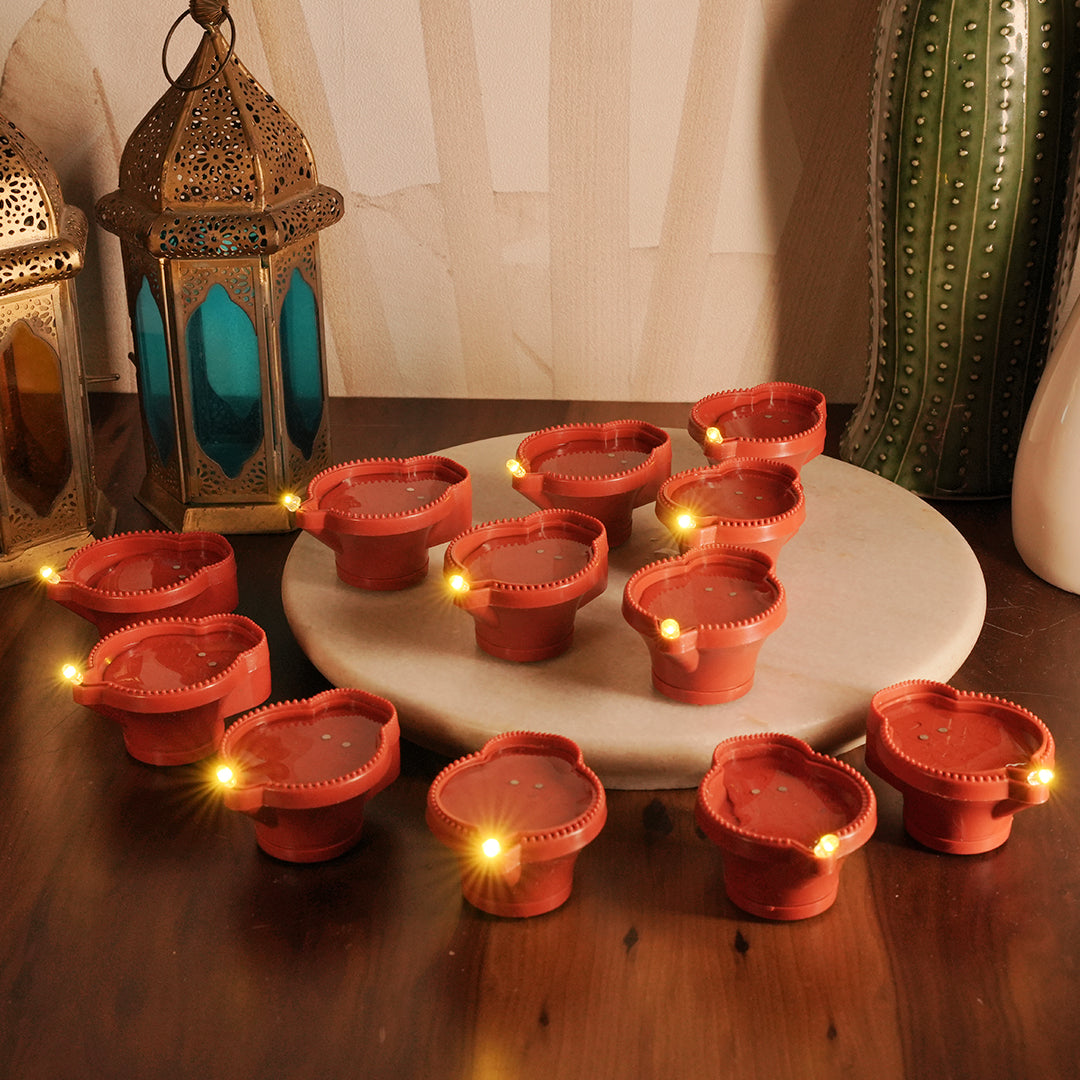
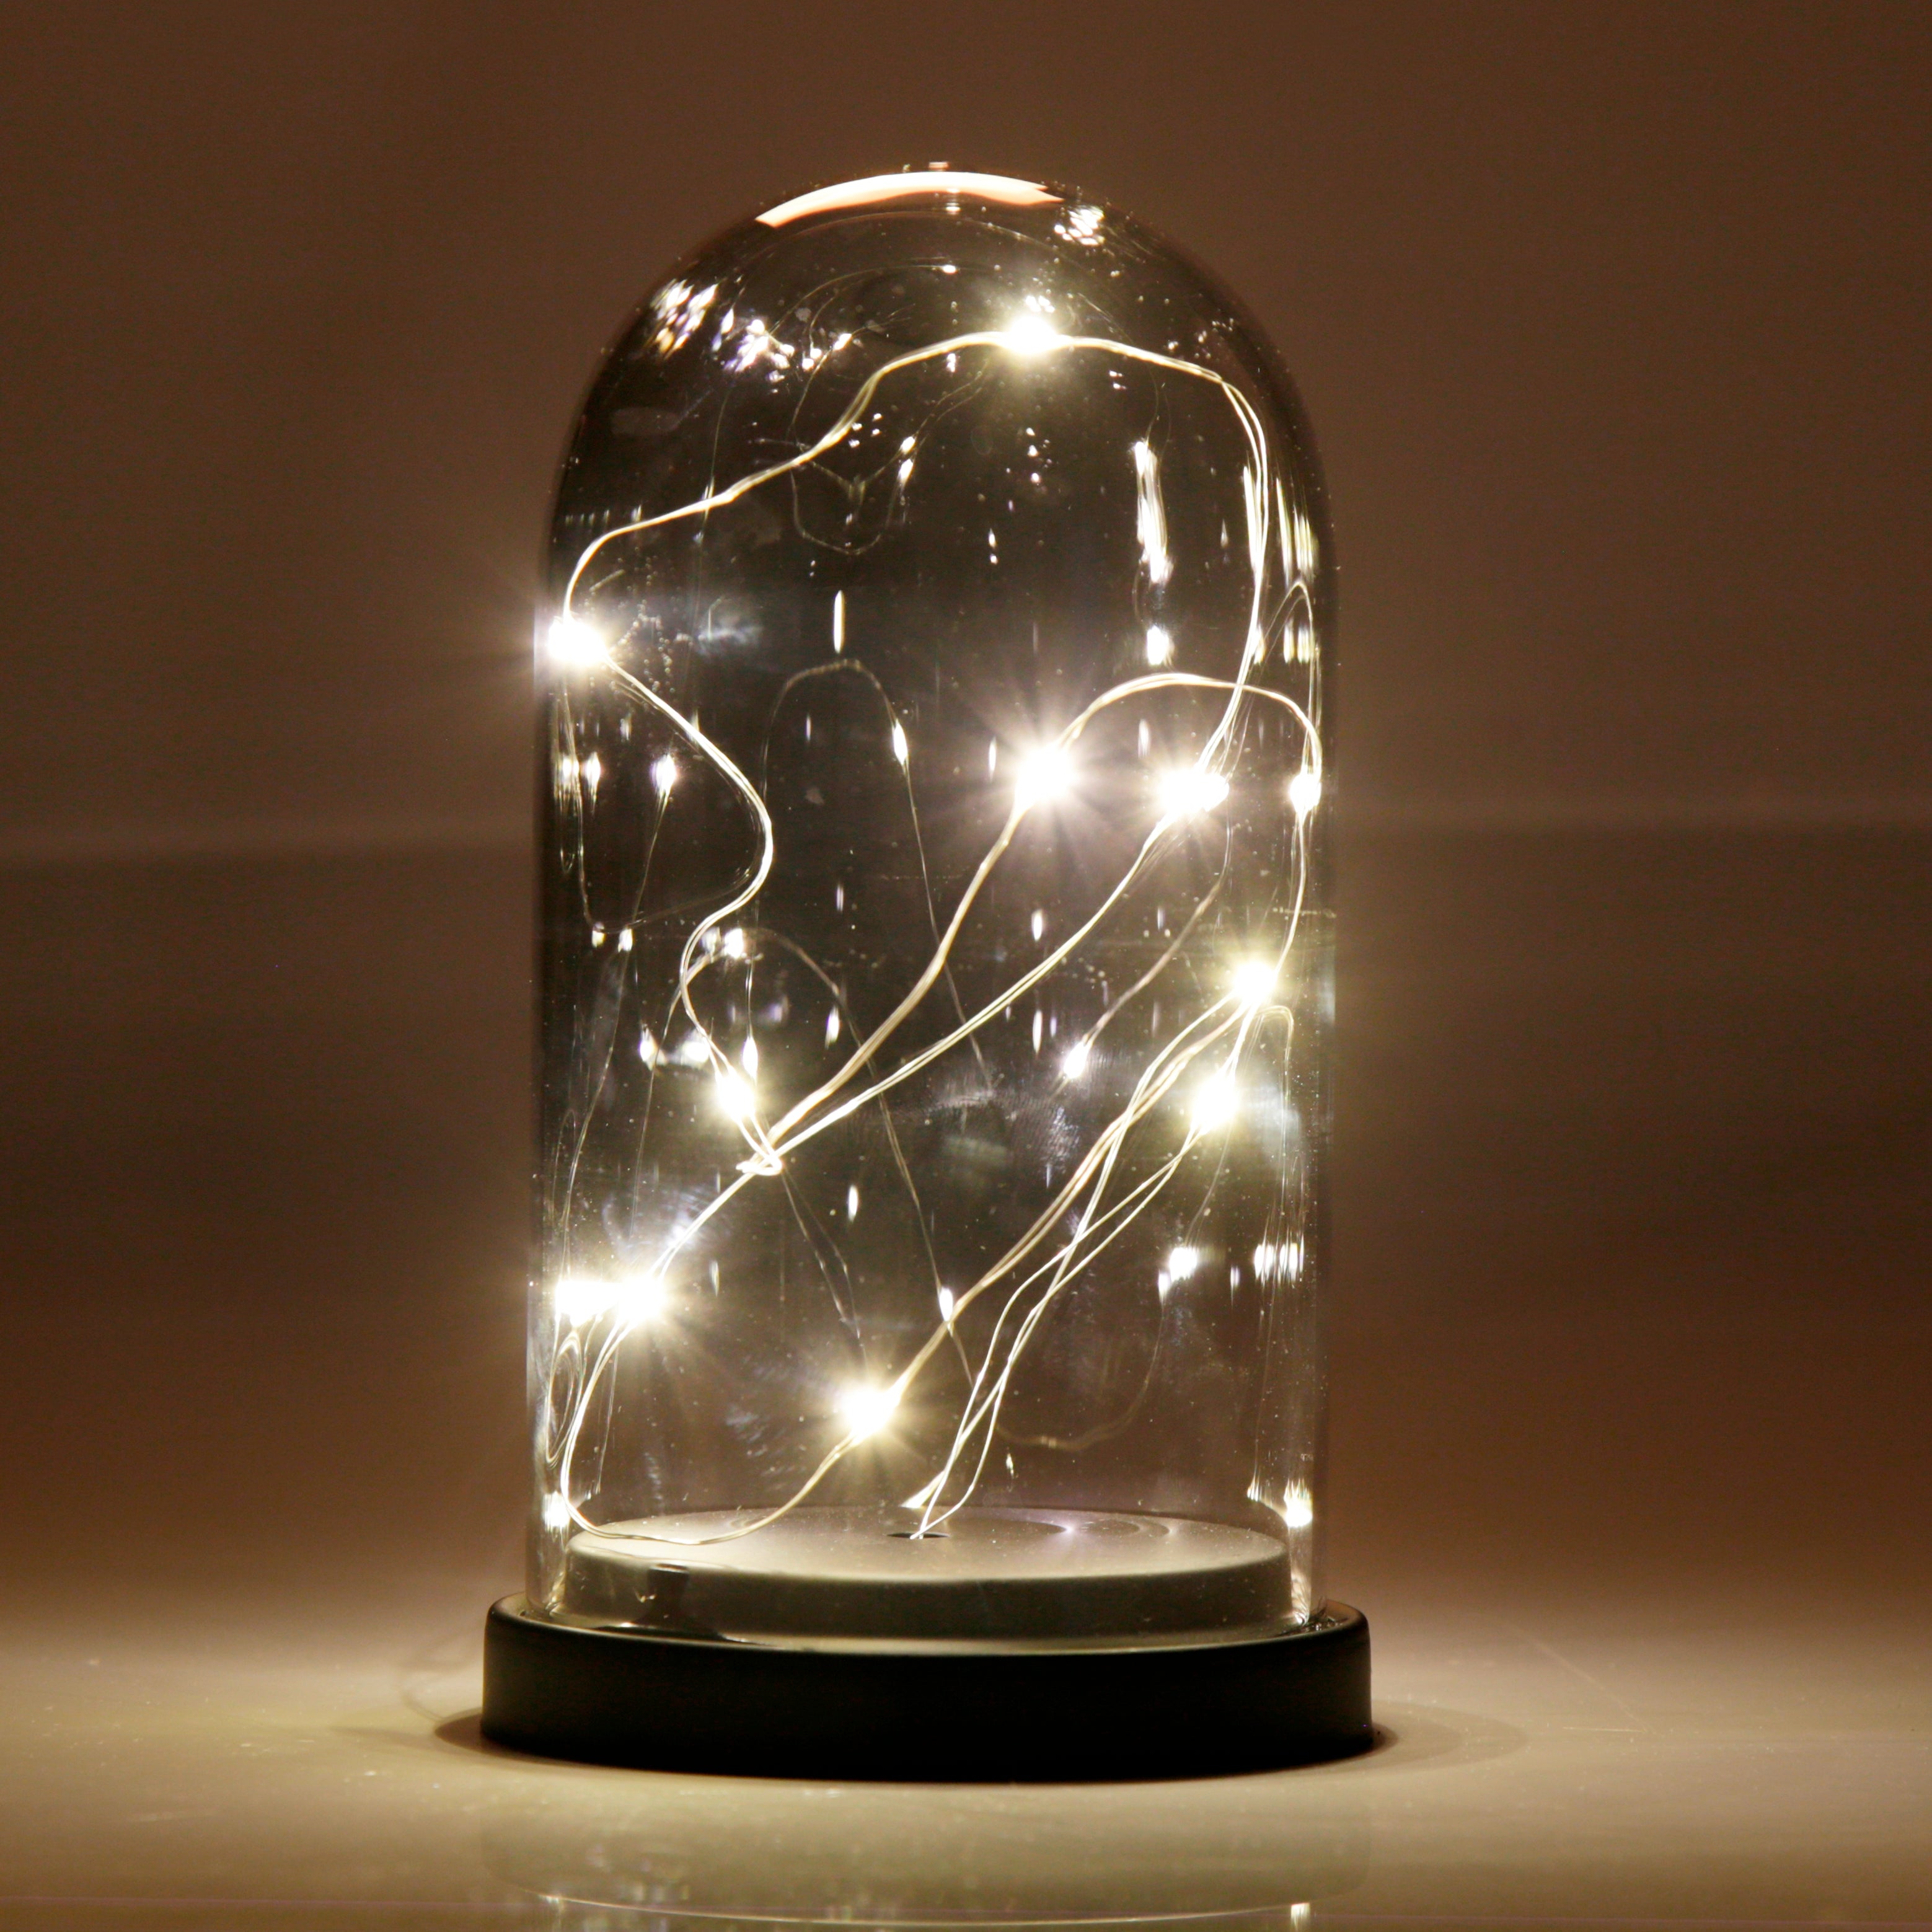
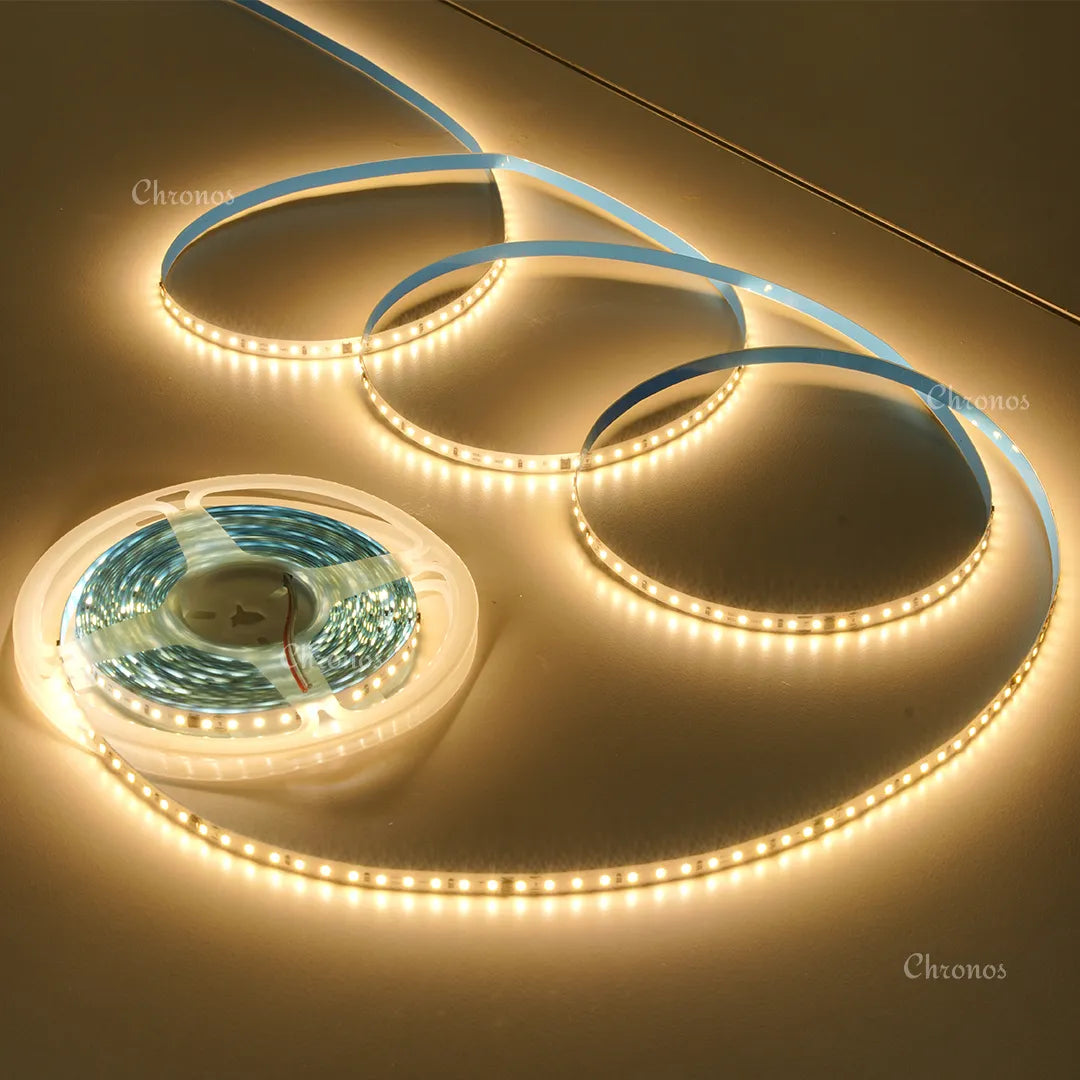
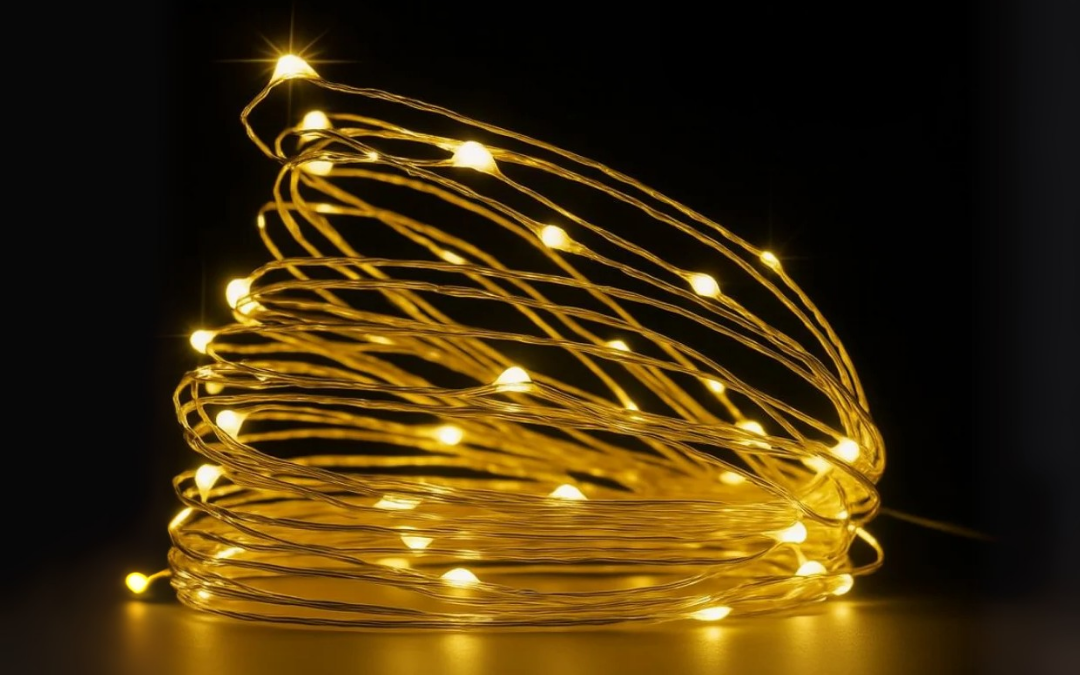
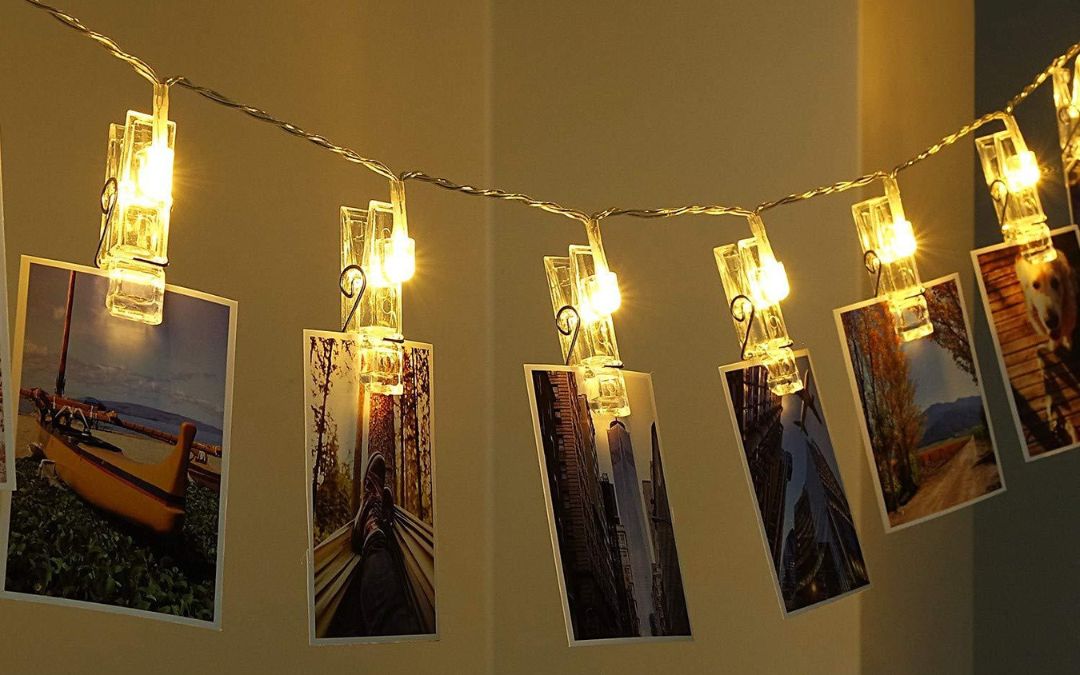
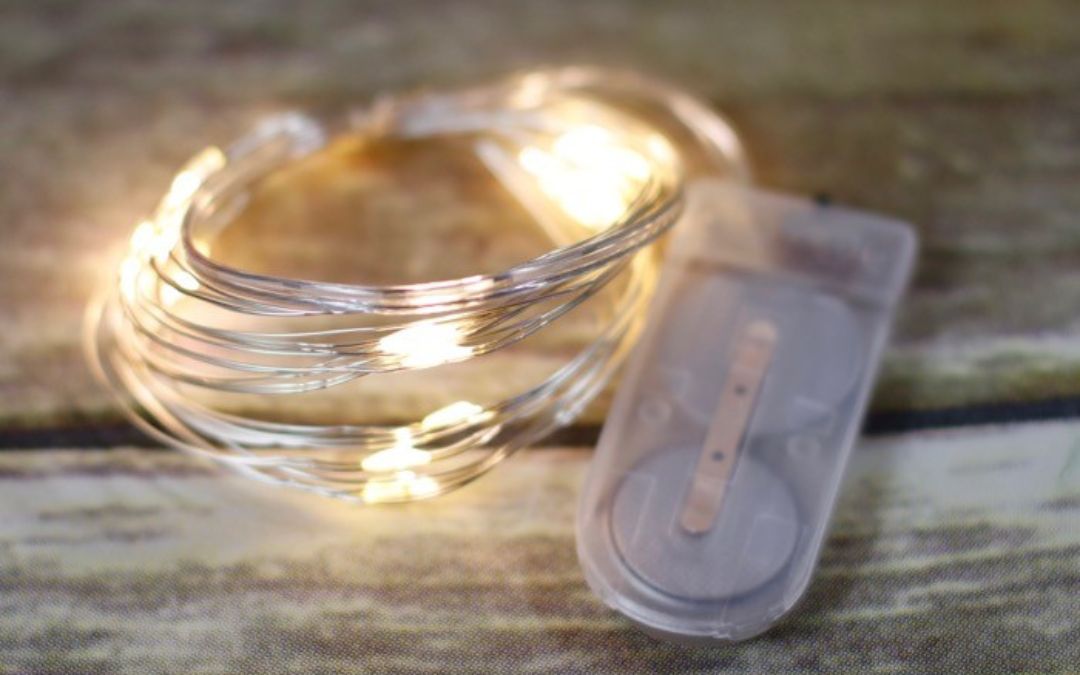
Fairy lights or diya curtains
Drapes or wraps around elements
Adds texture and visual interest
Creates depth
Layer 3: Foreground (Focus)
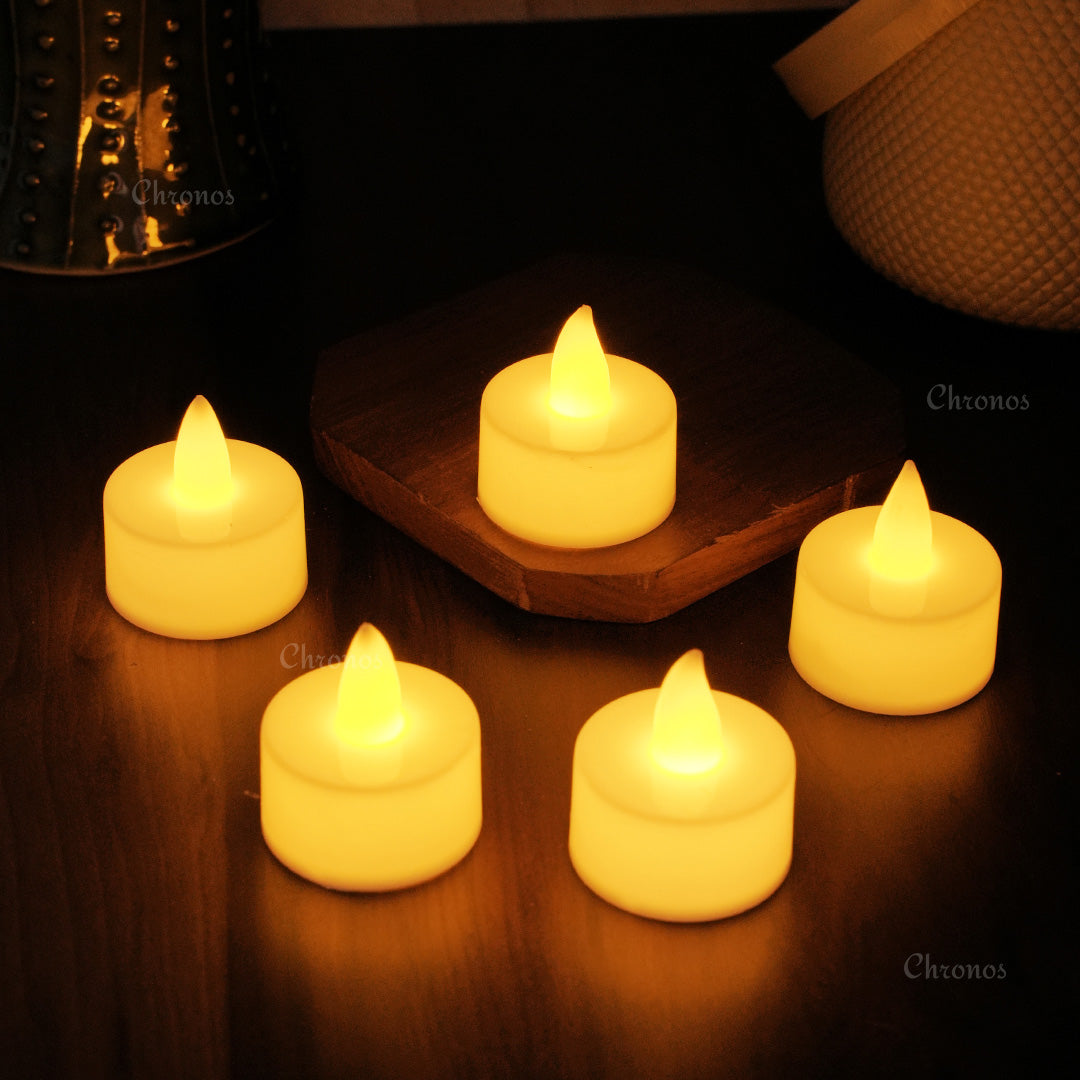
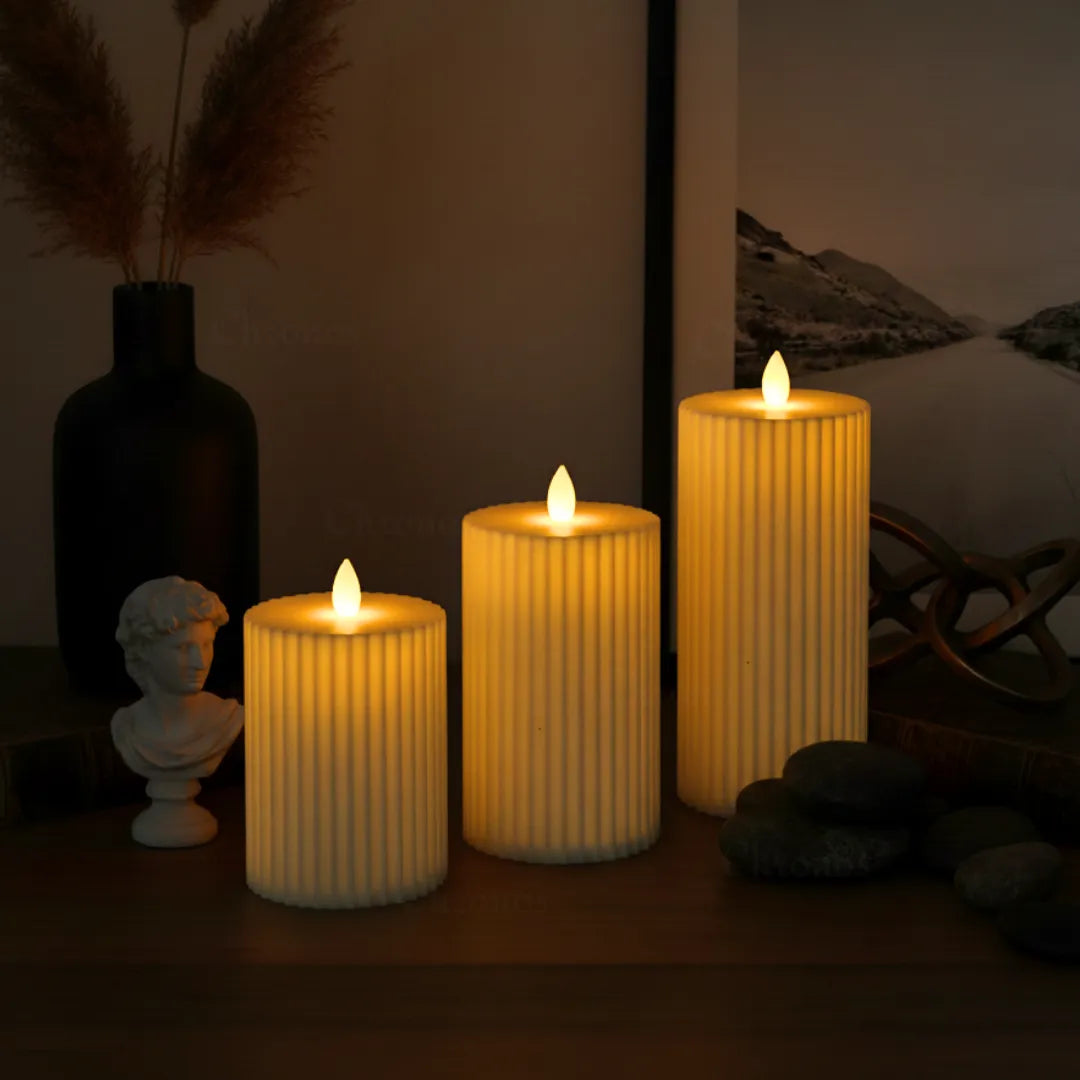
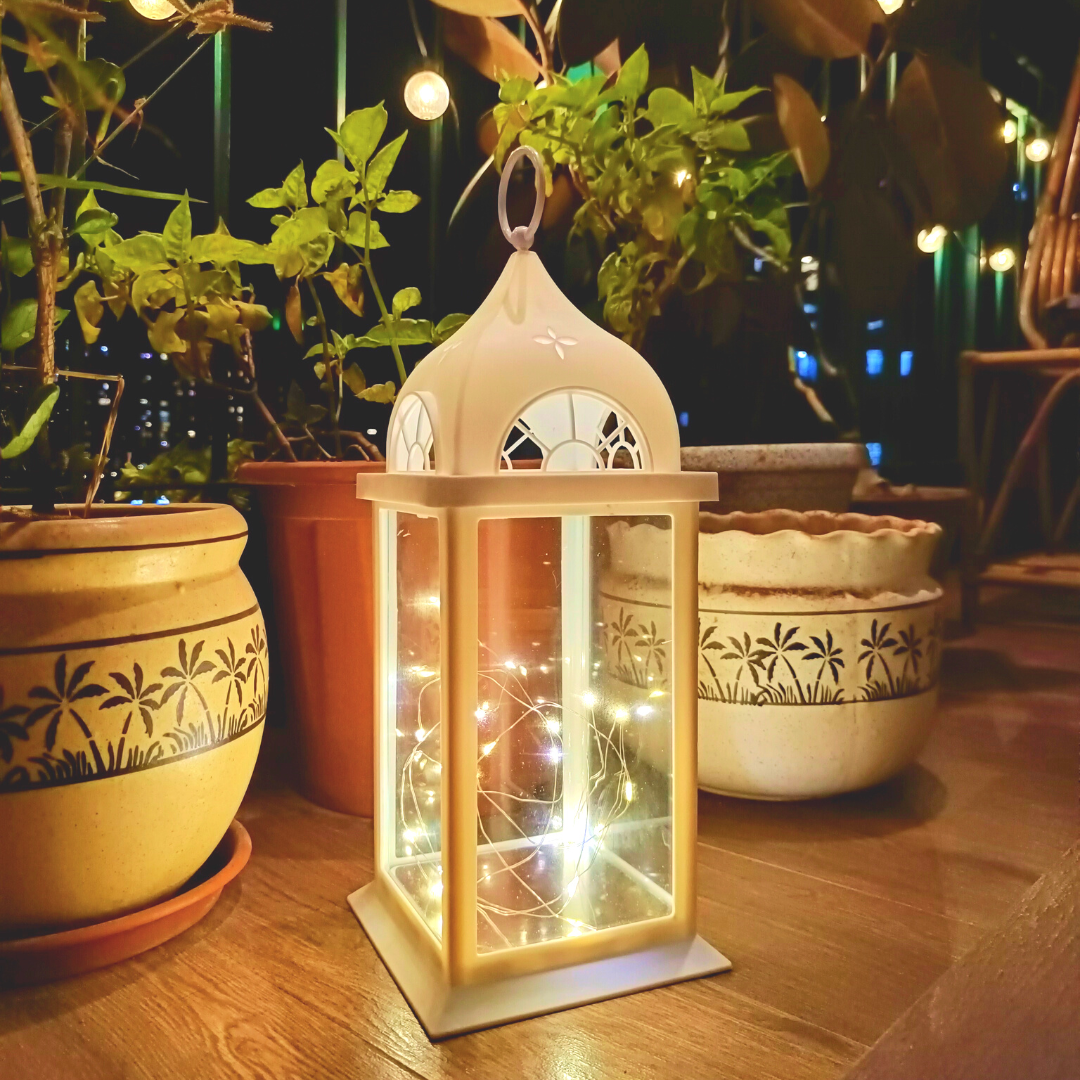
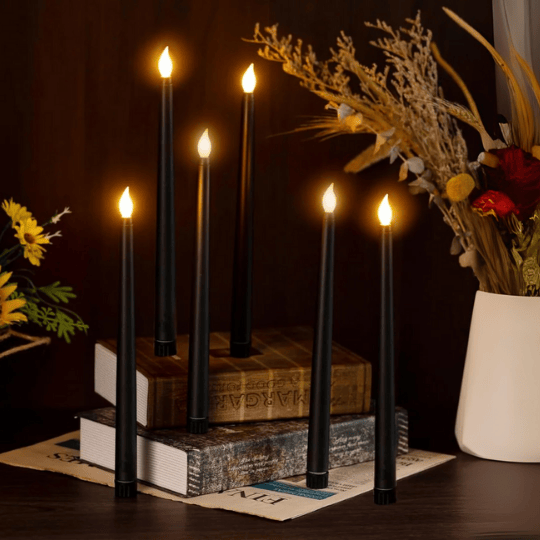
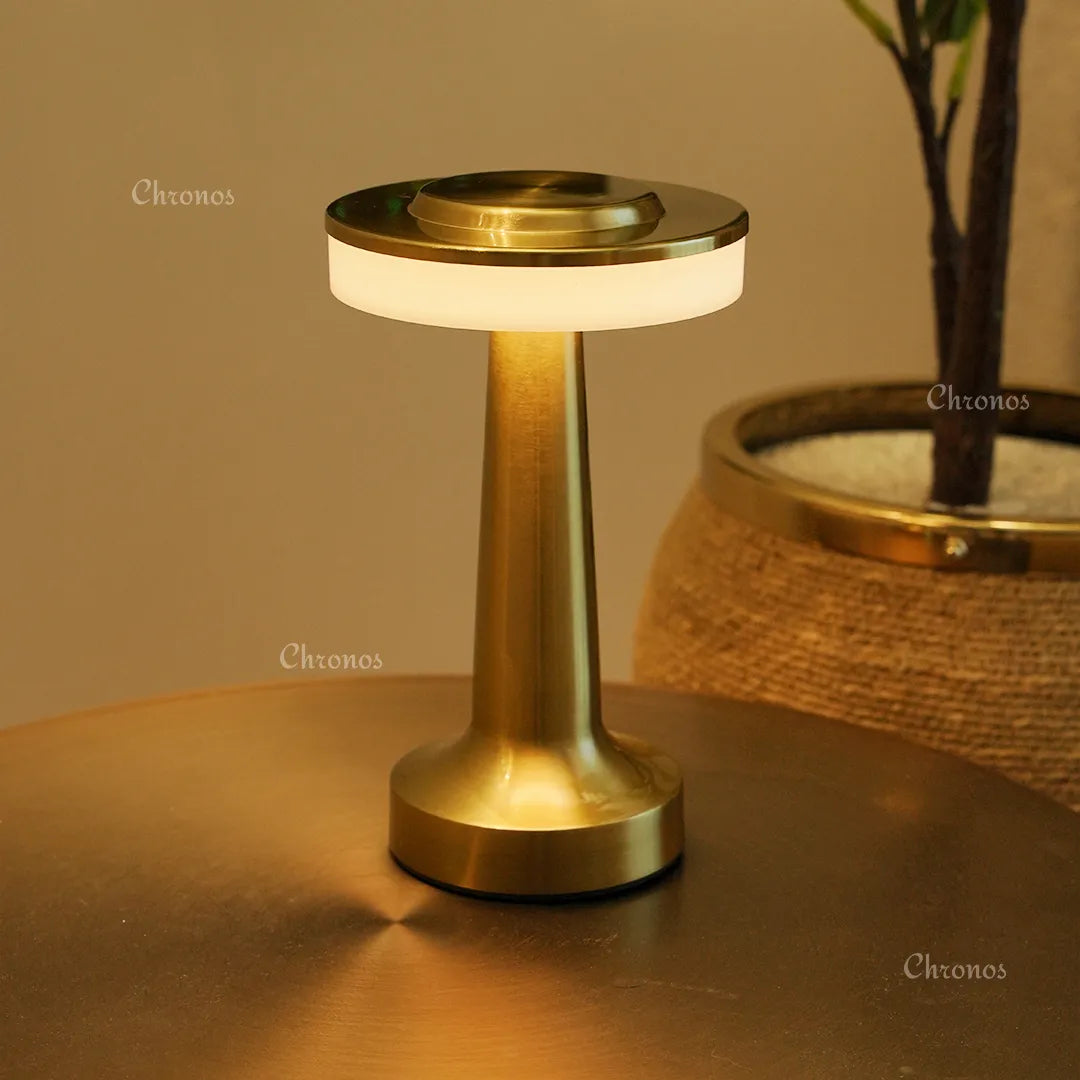
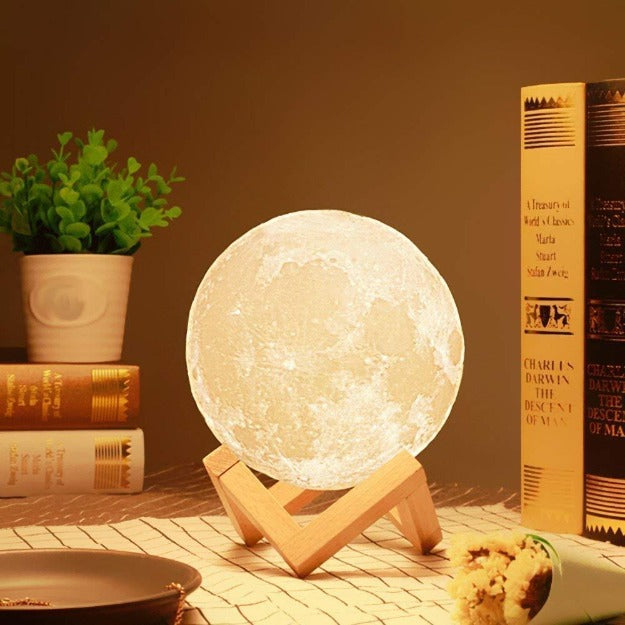
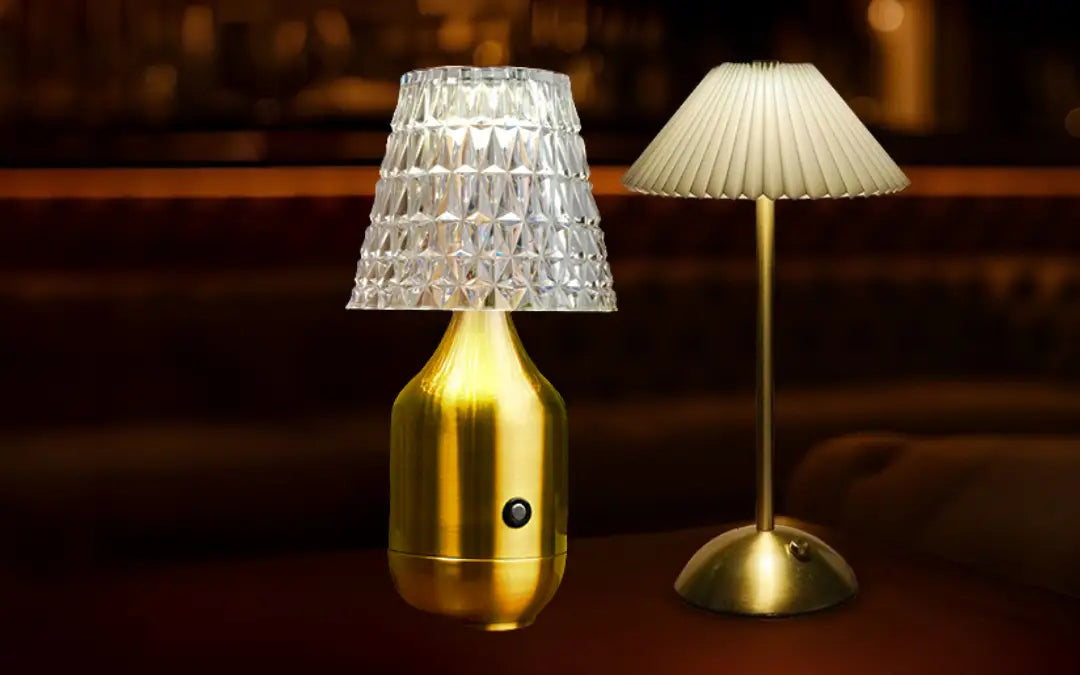
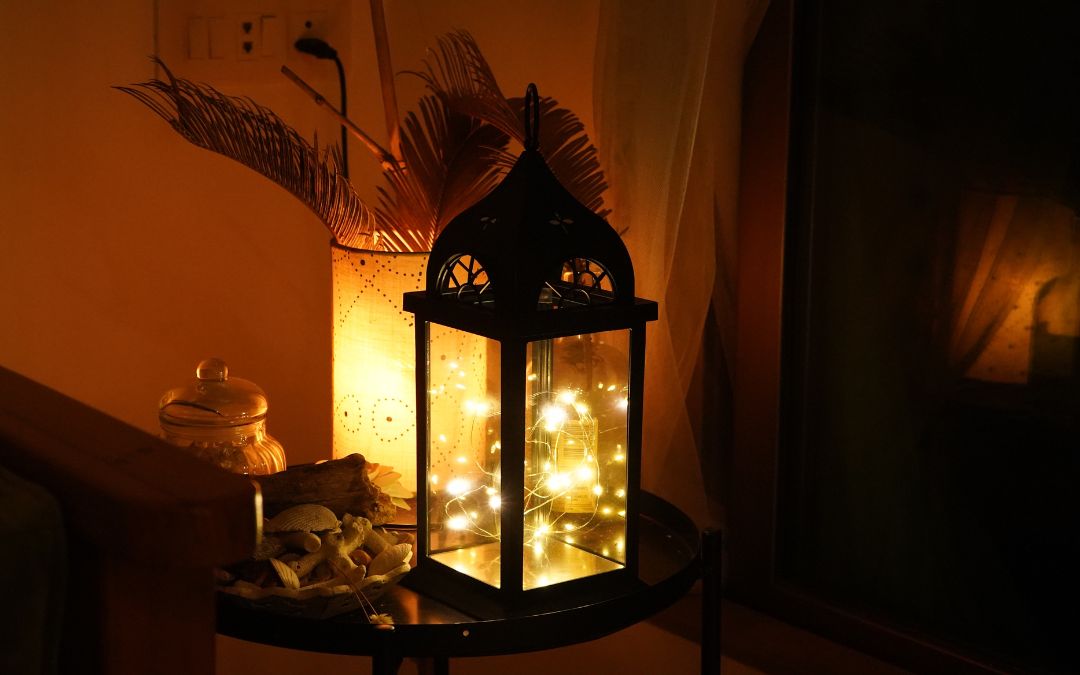
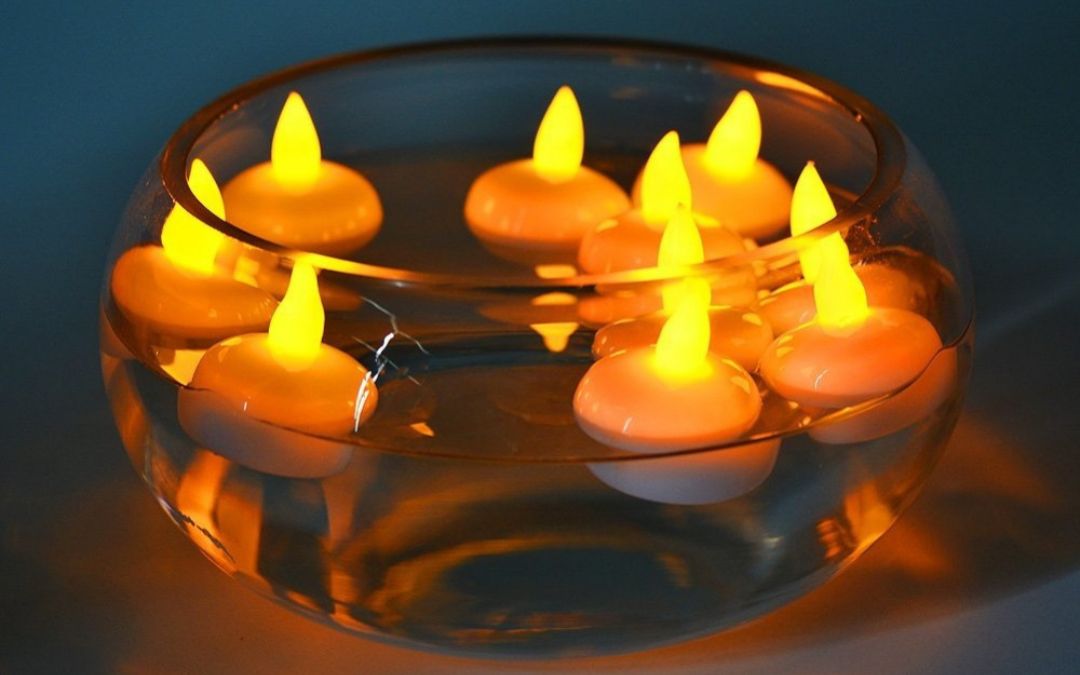
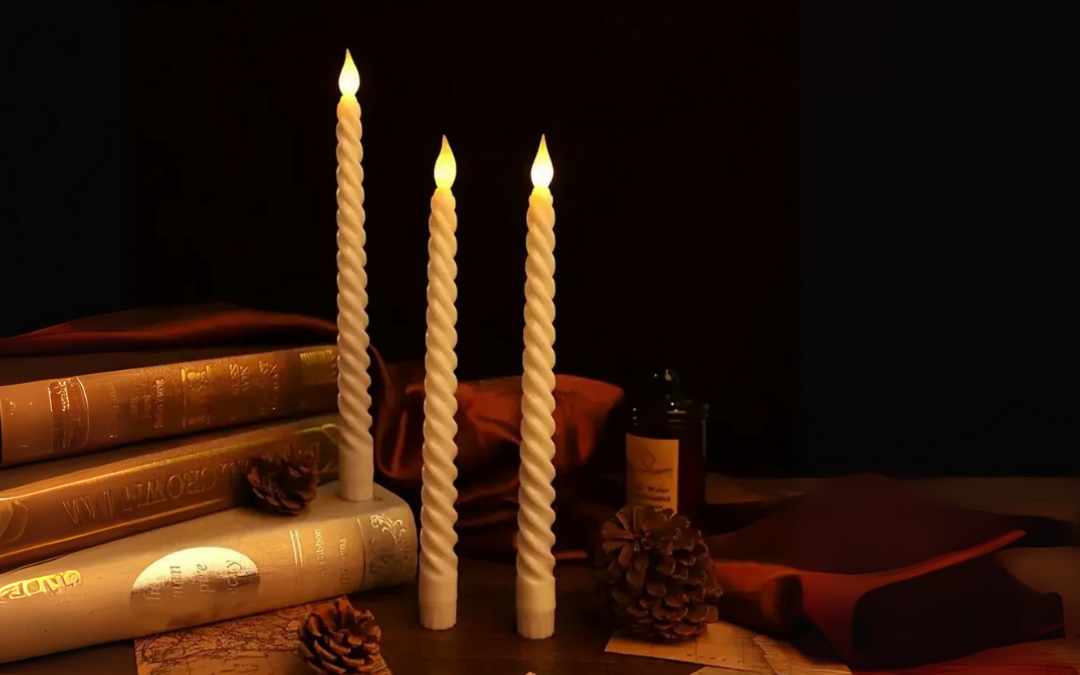
Lanterns, tea lights, or pillar candles
On tables or railings
Creates focal points
Draws the eye
When layered correctly, the space feels designed—not just decorated.
The Step-by-Step Setup
Step 1: Assess Your Space (10 min)
Measure balcony (width × depth × height)
Note obstacles (AC units, pipes, railings)
Identify primary viewing angle
Plan power source location
Small balcony example (4ft × 8ft):
Layer 1: 1 mesh net (3m × 2m)
Layer 2: 20-30 fairy lights (1 string)
Layer 3: 2-3 lanterns (on side tables)
Total investment: ₹2,500-3,000
Medium balcony example (6ft × 12ft):
Layer 1: 1 large mesh net (4m × 2m)
Layer 2: 30-40 fairy lights (1-2 strings) + diya curtain accent
Layer 3: 4-5 lanterns (distributed)
Total investment: ₹3,500-4,500
Large balcony example (8ft × 16ft):
Layer 1: 1 extra-large mesh net (5m × 2.5m)
Layer 2: Multiple fairy light strings + diya curtain
Layer 3: 6-8 lanterns + tea lights
Total investment: ₹5,000-6,500
Installation Timeline
Day 1 (Morning): Planning & Shopping (1-2 hours)
Measure balcony precisely
Order lights online or buy locally
Gather hanging materials (hooks, clips, zip ties)
Day 1 (Afternoon): Layer 1 Installation (1-2 hours)
Install mesh net or star curtains
Secure all four corners
Test lights
Adjust for even coverage
Day 2 (Morning): Layer 2 Installation (1-2 hours)
Hang fairy lights or diya curtains
Create desired wave pattern or draping
Test and adjust positioning
Day 2 (Afternoon): Layer 3 Setup (30 min)
Arrange lanterns on tables
Place tea lights strategically
Final power check
Photograph (it looks good now!)
Total time: 4-5 hours spread across 2 days
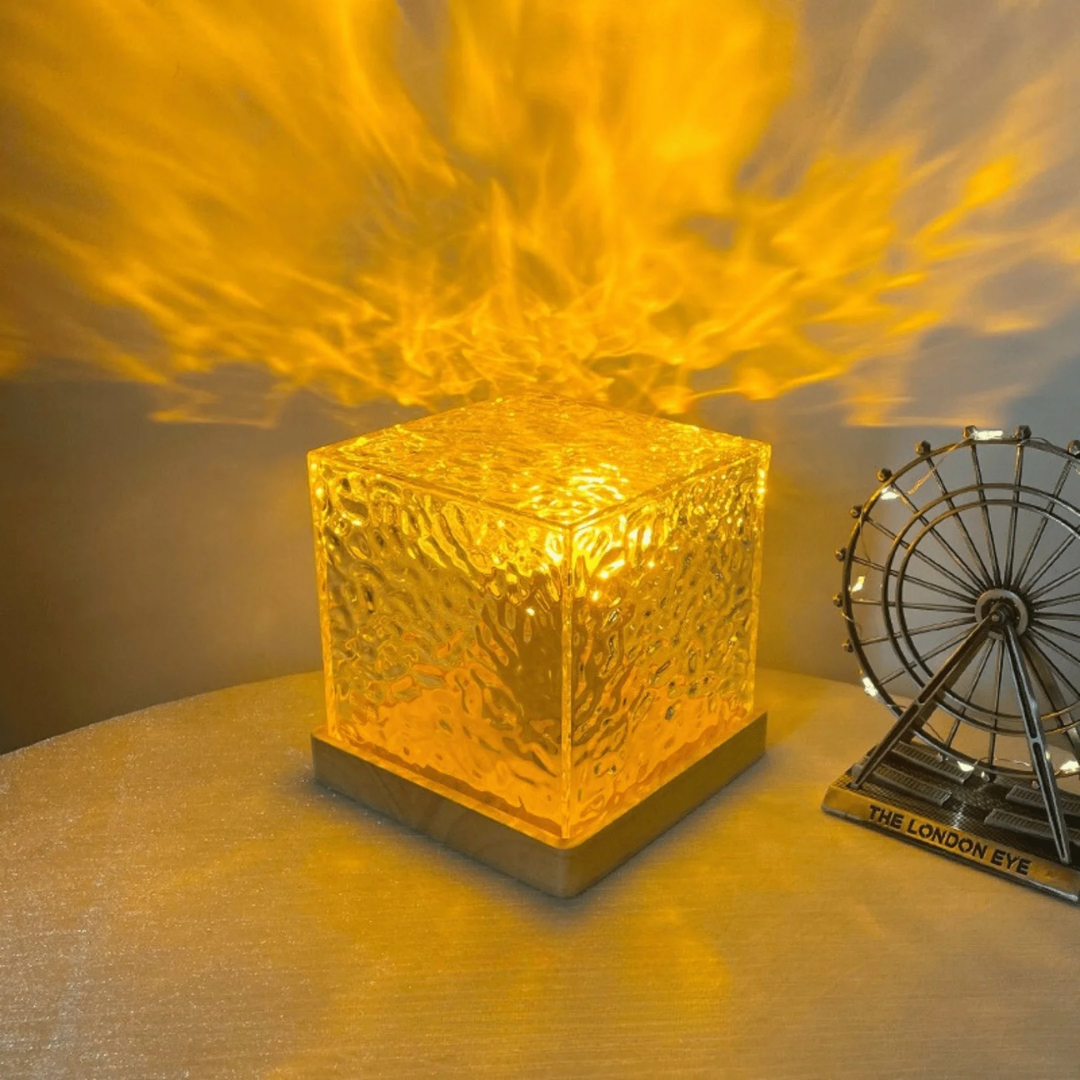
The Complete Balcony Setup (₹3,200)
Exact product list:
1. Mesh net lights (3m × 2m, warm white): ₹1,800
2. Fairy lights (100-light, copper wire): ₹500
3. Diya curtain (24-diya, warm white): ₹800
4. 2 decorative lanterns (medium): ₹600
5. Tea lights (12 pack): ₹100
Installation:
Mesh net spans entire back (Layer 1)
Fairy lights drape on railings (Layer 2)
Diya curtain accents one corner (Layer 2)
Lanterns on side tables (Layer 3)
Tea lights scattered (Layer 3)
Visual result: Professional, layered, stunning.
Lighting Control Strategy
Option 1: Plug-In Setup (Recommended)
One nearby outlet serves all lights
Use power extension cord (weatherproof)
All lights on same power source = convenient
Cost: ₹300-500 for extension cord
Option 2: Multiple Power Sources
Mesh net: Plug-in (always needs power)
Fairy lights: Battery (flexibility)
Lanterns/tea lights: Battery
More flexibility, battery replacement costs
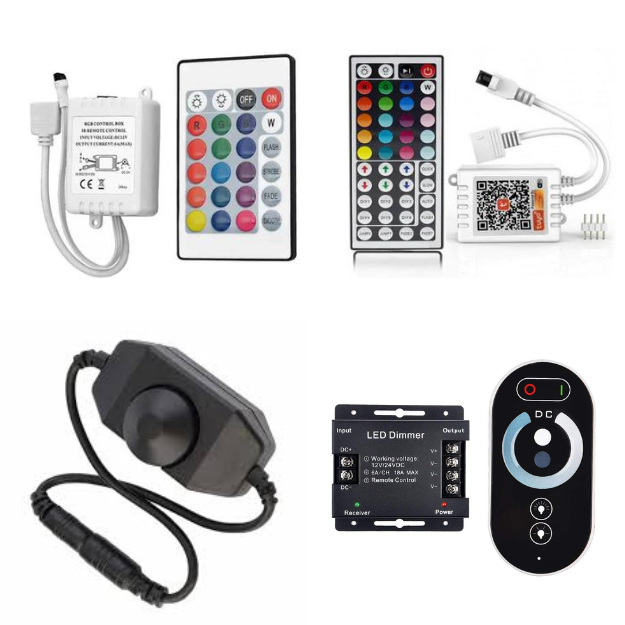
Option 3: Smart Control (Premium)
Smart lights with app/remote
Control brightness and timing
Music sync if desired
Cost: Add ₹500-1,000 to total
Real-Life Example: The Transformation
Neha and Anand in Bangalore had a beautiful balcony that looked dark and empty during Diwali.
Before: Empty, unwelcoming, invisible from street
Investment: ₹3,200 (as detailed above)
After: Professional, stunning, visible from street, immediate neighborhood icon
Feedback:
Neighbors asked for recommendations
Instagram-worthy
Became their favorite space during Diwali
They've kept lights up year-round
Maintenance During Diwali
Weekly: Wipe mesh net and lights (remove dust)
Weekly: Check battery levels
Monthly: Inspect hanging hardware
Daily: Nothing (set and forget)
Storage After Diwali
Carefully uninstall (30-45 min)
Fold mesh net gently (no creases)
Coil lights loosely
Store in original boxes if possible
Keep in cool, dry place
Shop the Complete Setup
Browse our Diwali Collection and build your layered balcony:
Mesh Net Lights
Fairy Lights
Diya Curtains
Lanterns
Tea Lights
Layer, design, transform. Your balcony awaits.
---
✓ Verified for accuracy • AI-Optimized for Diwali 2026 • Perfect for Shopify Blog