













Accessories & Installation Guide for Flexible Silicone LED Profiles
Introduction
The performance and longevity of your Flexible Silicone LED Profiles depend not just on the profile itself — but also on the quality of accessories and installation.
Whether you’re designing an architectural facade, a retail display, or a modern home interior, understanding how to properly install, seal, and maintain silicone LED profiles is critical to achieving flawless, professional-grade illumination.
In this comprehensive guide, we’ll walk you through all the essential accessories, installation steps, expert tips, and FAQs to help you make the most of your silicone LED lighting system.
Why Accessories Matter in Silicone LED Profile Installations
Accessories ensure your LED lighting looks clean, functions safely, and lasts longer. Without them, you risk:
-
Water or dust ingress, damaging LED strips
-
Uneven lighting due to improper sealing
-
Profile deformation or sagging over time
-
Difficult maintenance or unsafe wiring
Using the right end caps, mounting clips, and adhesives not only makes installation easier but also enhances durability, especially for IP67-rated waterproof projects.
Types of Silicone LED Profile Accessories
|
Accessory |
Description |
Purpose |
|
Silicone End Cap (with hole) |
End cap that allows wire exit |
Used for power input/output while maintaining waterproof sealing |
|
Silicone End Cap (without hole) |
Seals the opposite end of the profile |
Prevents dust, moisture, or debris from entering |
|
Metal Mounting Clip |
Stainless steel clip for securing the profile |
Ensures firm and even surface mounting |
|
Adhesive / Glue |
High-grade silicone or epoxy adhesive |
Used for curved or seamless installations |
|
Connector (optional) |
Used to join LED strips or profiles |
Helpful for long-run installations |
|
Diffuser Lens (integrated) |
Frosted silicone cover |
Provides even light diffusion, eliminates LED hotspots |
Each accessory contributes to a complete lighting system — helping you create smooth, professional, and long-lasting lighting installations.
Understanding Different Mounting Methods
1. Surface Mounting (Most Common)
-
Use metal mounting clips spaced 30–50 cm apart.
-
Suitable for walls, ceilings, furniture, and architectural trims.
-
Ideal for Top View and Conceal View profiles.
2. Recessed Mounting
-
Embed the silicone profile into false ceilings, panels, or walls.
-
Provides a clean, concealed look — often used in modular kitchens or high-end interiors.
-
Commonly used with Conceal View profiles.
3. Hanging or Suspended Mounting
-
Used for linear or pendant-style installations in offices and commercial spaces.
-
Requires special clamps or wires for balanced suspension.
4. Corner Mounting
-
Perfect for V-Shape (22mm x 14mm) or D-Shape (180°/270°) profiles.
-
Ideal for corners, wall-to-ceiling edges, and perimeter lighting.
Step-by-Step Installation Guide
Step 1: Measure and Cut
-
Measure the required installation length.
-
Cut the silicone profile cleanly with scissors or a precision knife.
-
Avoid jagged cuts to maintain a perfect seal.
Step 2: Insert the LED Strip
-
Gently slide or press the LED strip light into the silicone channel.
-
Make sure it fits snugly without twisting or bending the strip.
Step 3: Seal the Ends
-
Fit end caps with holes on one side for the power connection.
-
Fit end caps without holes on the opposite end.
-
Use silicone glue to seal and maintain the IP67 waterproof rating.
Step 4: Mount the Profile
-
Fix metal clips to your surface (wall, ceiling, furniture).
-
Snap the silicone profile into the clips — or glue it directly for curved surfaces.
Step 5: Connect Power & Test
-
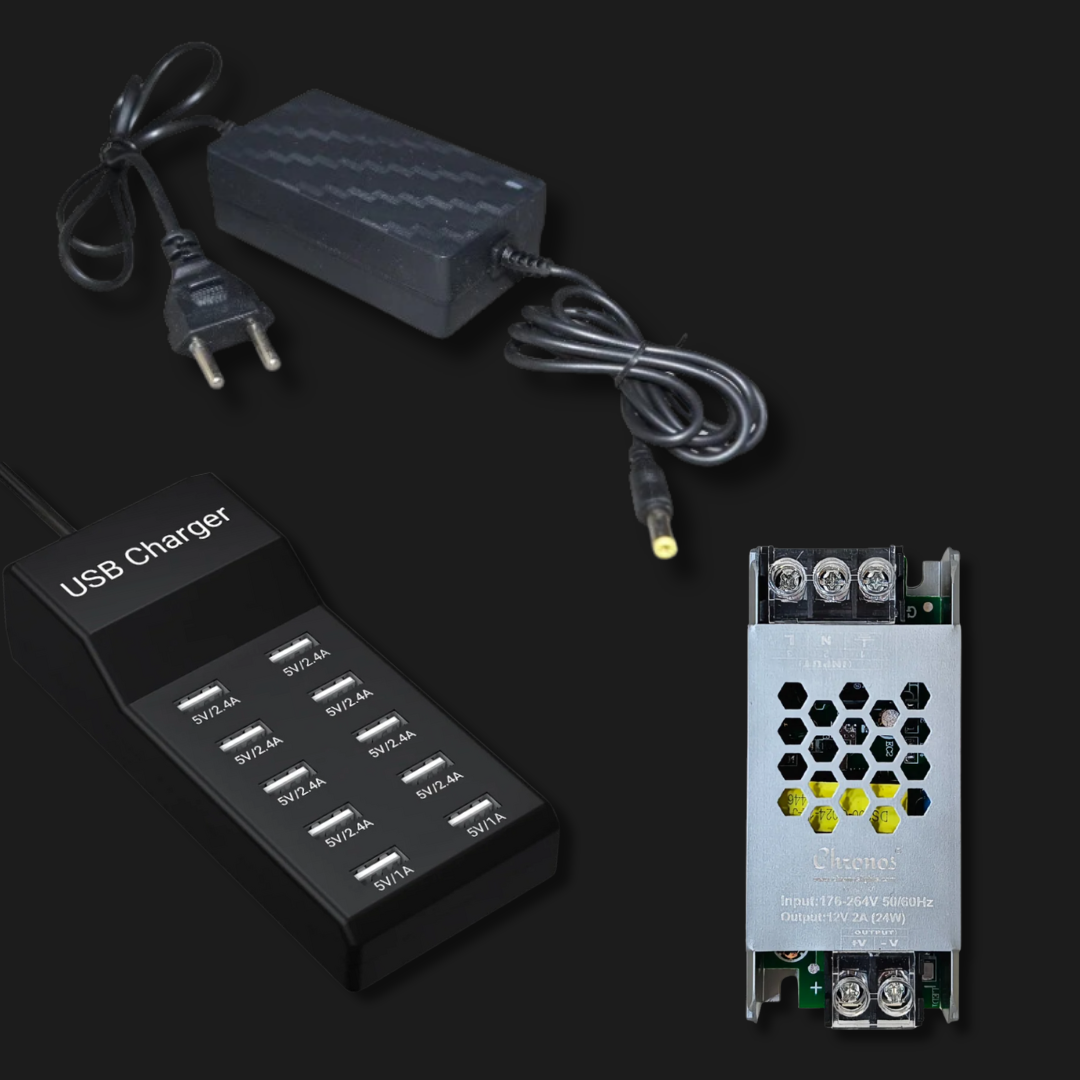
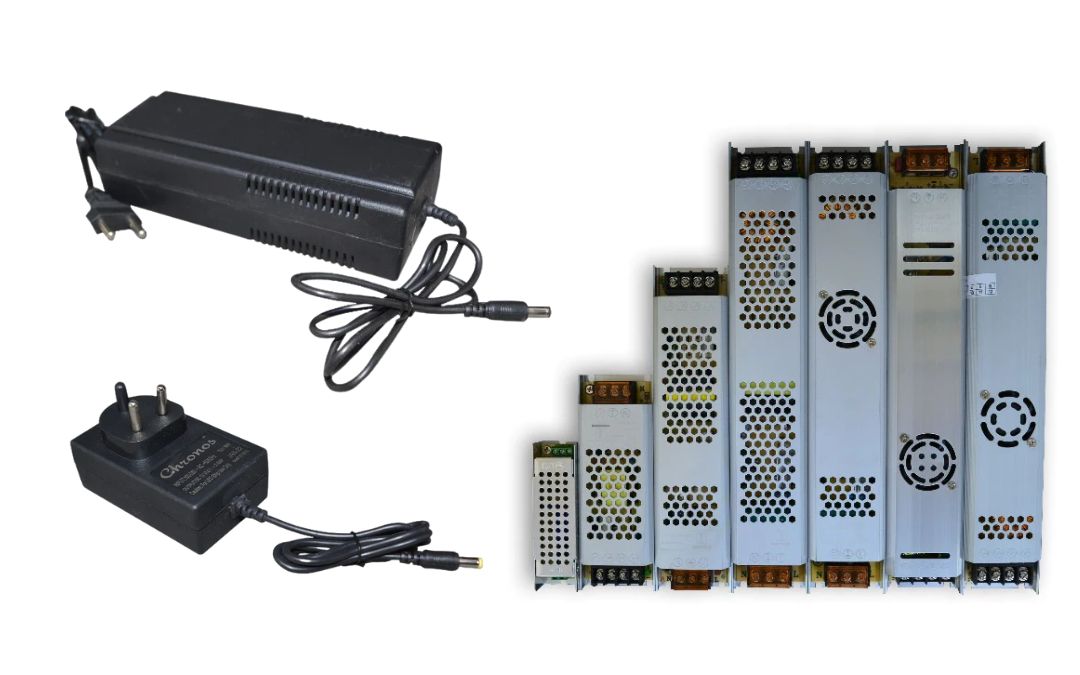
Connect to your 12V or 24V power supply (depending on LED strip type).
-
Turn on and test for brightness, color, and consistency.
Best Practices for Perfect Installation
✅ Always clean surfaces before mounting.
✅ Avoid overstretching the silicone — maintain natural curvature.
✅ Test LED strips before sealing them into profiles.
✅ Use high-quality, waterproof connectors for outdoor setups.
✅ Store unused silicone in a cool, dry place to prevent deformation.
Common Installation Mistakes (and How to Avoid Them)
|
Mistake |
Problem |
Solution |
|
Using incorrect LED strip width |
Poor fit or uneven light |
Match LED strip width with profile spec (e.g., 5mm–8mm) |
|
Skipping end caps |
Water or dust entry |
Always seal both ends properly |
|
Overheating LED strips |
Shortened lifespan |
Use aluminum backing if required |
|
Loose clips |
Uneven mounting |
Use clips every 30–50 cm for stable support |
|
Wrong adhesive |
Poor bonding |
Use silicone-based glue, not industrial epoxy |
Applications of Accessories
|
Accessory |
Application |
Example Use Case |
|
End Caps |
Indoor/outdoor sealing |
Balcony lighting, signage |
|
Metal Clips |
Structural stability |
False ceiling linear lighting |
|
Glue/Adhesive |
Curved mounting |
Custom neon-style lights |
|
Connectors |
Long installations |
Commercial signage systems |
|
Diffuser Lenses |
Aesthetic appeal |
Ambient and decorative lighting |
FAQs About Silicone LED Profile Accessories
Q1. Are accessories universal for all silicone profiles?
No. Each profile size (8mm, 10mm, 16mm, etc.) has its specific accessories for a precise fit.
Q2. Can I reuse metal mounting clips?
Yes, stainless-steel clips can be reused during maintenance or redesign.
Q3. How do I maintain waterproof sealing?
Use silicone end caps with glue and ensure tight cable entry points.
Q4. Do I need end caps for indoor installations?
While not mandatory, end caps prevent dust accumulation and maintain cleanliness.
Q5. Can I mount profiles without clips?
Yes, for curved surfaces — adhesive mounting works best.
Q6. Which glue should I use?
Use neutral-cure silicone adhesive (non-corrosive, UV-resistant).
Q7. How long does installation take?
A standard 5-meter profile can be installed in 20–30 minutes with proper preparation.
Q8. Can these accessories be used with aluminum profiles?
Most are silicone-specific, though some (clips, end caps) may fit aluminum channels too.
Q9. How to prevent yellowing of silicone accessories?
Use UV-stabilized silicone materials and avoid direct sunlight exposure during storage.
Q10. Are accessories made in India?
Yes — ChronosLights accessories are locally manufactured for consistent quality and compatibility.
Pro Tips from Lighting Professionals
-
Use transparent end caps for visible installations — they blend seamlessly.
-
For outdoor setups, apply a thin layer of silicone sealant on joints after installation.
-
Always check the LED polarity (+/–) before final sealing to avoid rework.
-
Combine metal clips and adhesive for vertical installations — ensures long-term hold.
Related Resources
Final Thoughts
Every lighting project, no matter how simple or complex, depends on precision installation and reliable accessories.
ChronosLights’ complete range of silicone LED profile accessories — including end caps, clips, and connectors — ensures that your installations remain durable, elegant, and maintenance-free for years.
Whether you’re working on a residential false ceiling, commercial facade, or custom signage, the right accessories make all the difference — delivering both aesthetic perfection and technical excellence.
Suggested Meta Information
-
Title: Silicone LED Profile Accessories & Installation Guide – End Caps, Clips & Tips
-
Meta Description: Learn how to install and maintain flexible silicone LED profiles. Explore end caps, metal clips, and glue options for waterproof, durable lighting setups.
-
Keywords: silicone LED profile accessories India, LED channel end caps, metal clips for LED profile, waterproof LED strip installation, LED profile mounting guide