


How to Install Cove Lighting — Step-by-Step Guide for Indian Homes
Quick answer: Cove lighting is LED strip lights installed inside a recessed ledge in a false ceiling, casting light upward for a soft indirect glow. To install: choose a 24V strip with a silicone diffuser profile, size your driver (W/m × metres × 1.2), mount the profile level inside the cove, run DC wiring from the driver, connect the strip, and test before sealing the ceiling. The 220V mains connection to the driver must be done by a licensed electrician.
Cove lighting is the single upgrade that transforms a standard Indian false ceiling into a designed interior. The soft upward wash of light makes rooms feel larger, ceilings feel higher, and the entire space feel more considered — without a single visible fitting. No pendants, no exposed bulbs, no harsh shadows.
Done correctly, cove lighting lasts years with zero maintenance. Done incorrectly — wrong voltage, wrong driver size, no profile, bare strip in a narrow cove — it looks patchy, dims at one end, and starts flickering within months.
This guide covers the complete installation process for Indian homes specifically: POP and gypsum false ceiling construction, Indian electrical standards, local product choices, and real cost estimates.
What is cove lighting?
Cove lighting is a form of indirect lighting where the light source — typically an LED strip — is concealed inside a recessed ledge or channel built into a false ceiling. The strip faces upward or outward, casting light onto the ceiling surface rather than directly into the room.
The result is ambient light with no visible source — no glare, no harsh shadows, and no visible fitting. The ceiling appears to glow from within.
Common cove types in Indian homes
| Cove type | Description | Most common in |
|---|---|---|
| Perimeter tray cove | Ledge running around the full room perimeter. Strip faces upward, washing the entire ceiling. The most common Indian false ceiling design. | Living rooms, master bedrooms |
| Floating panel cove | A lowered panel in the centre of the ceiling with cove lighting around its perimeter, glowing outward toward the walls. | Dining areas, hotel lobbies |
| Wall-grazing slot | A narrow slot at the ceiling-wall junction directing light downward to wash curtains or textured wall surfaces. | Bedroom feature walls, behind curtains |
| Single-wall accent cove | Cove on one wall only — typically behind a TV or headboard — for directional accent rather than full-room ambient. | TV walls, bedroom headboards |
What you need before you start
Materials checklist
| Item | Specification | Approx. cost |
|---|---|---|
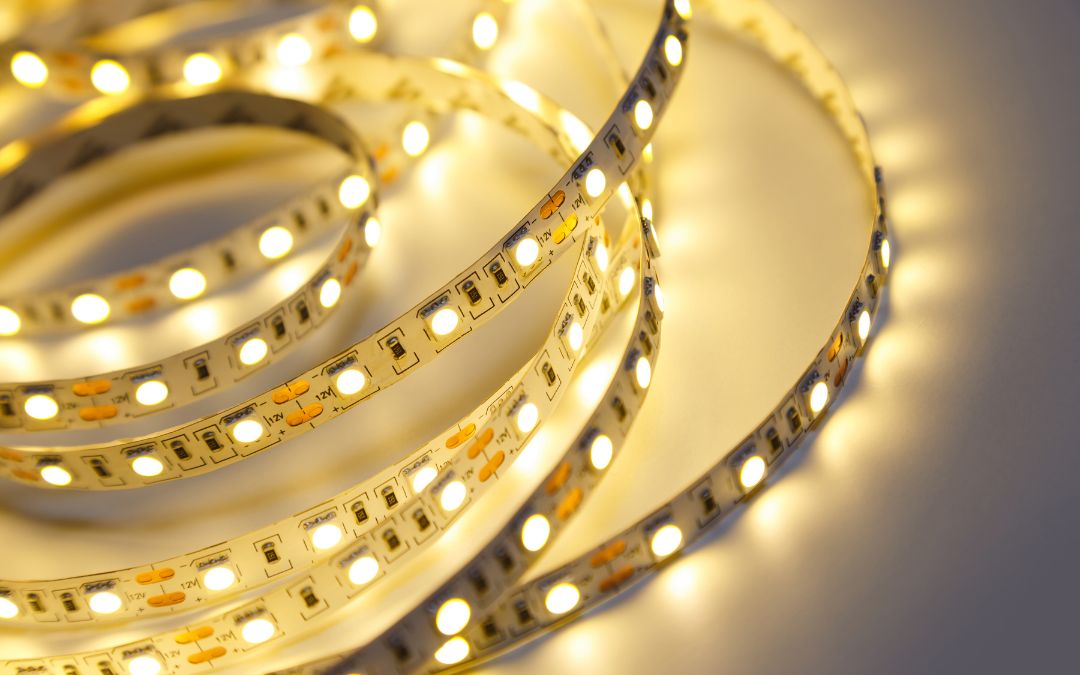
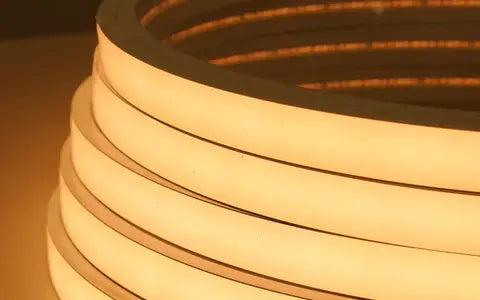
| LED strip lights | 24V, 120–192 LEDs/m, CRI 90+, warm white for most rooms | ₹150–800/m |
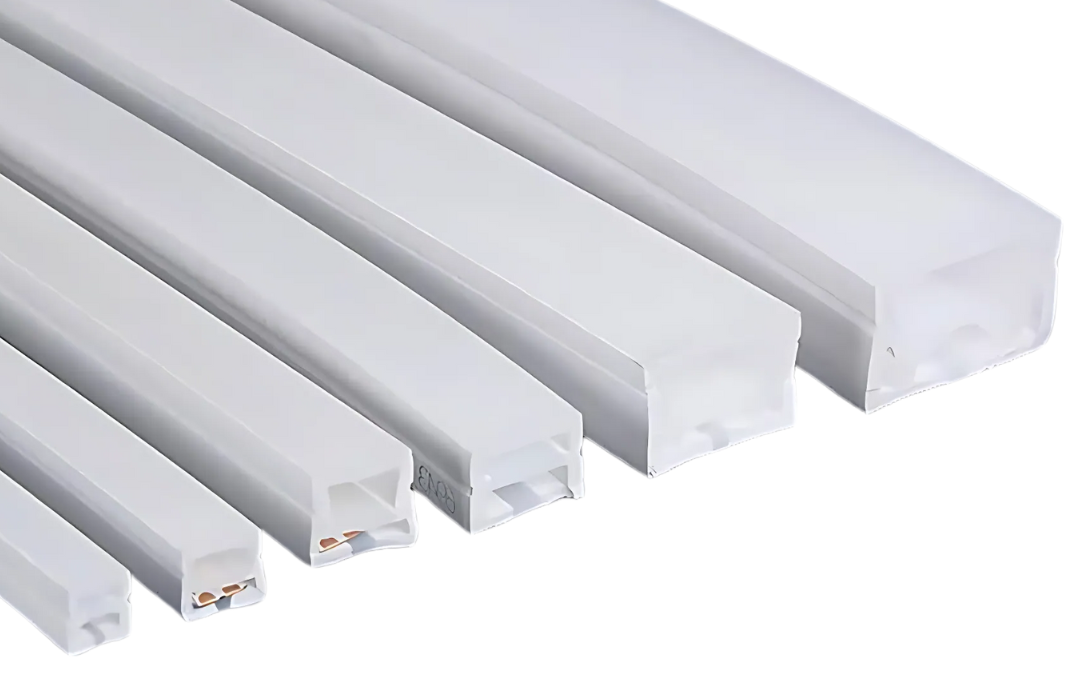
| Silicone or aluminium profile | Top-view, width to fit your cove opening | ₹70–200/m |
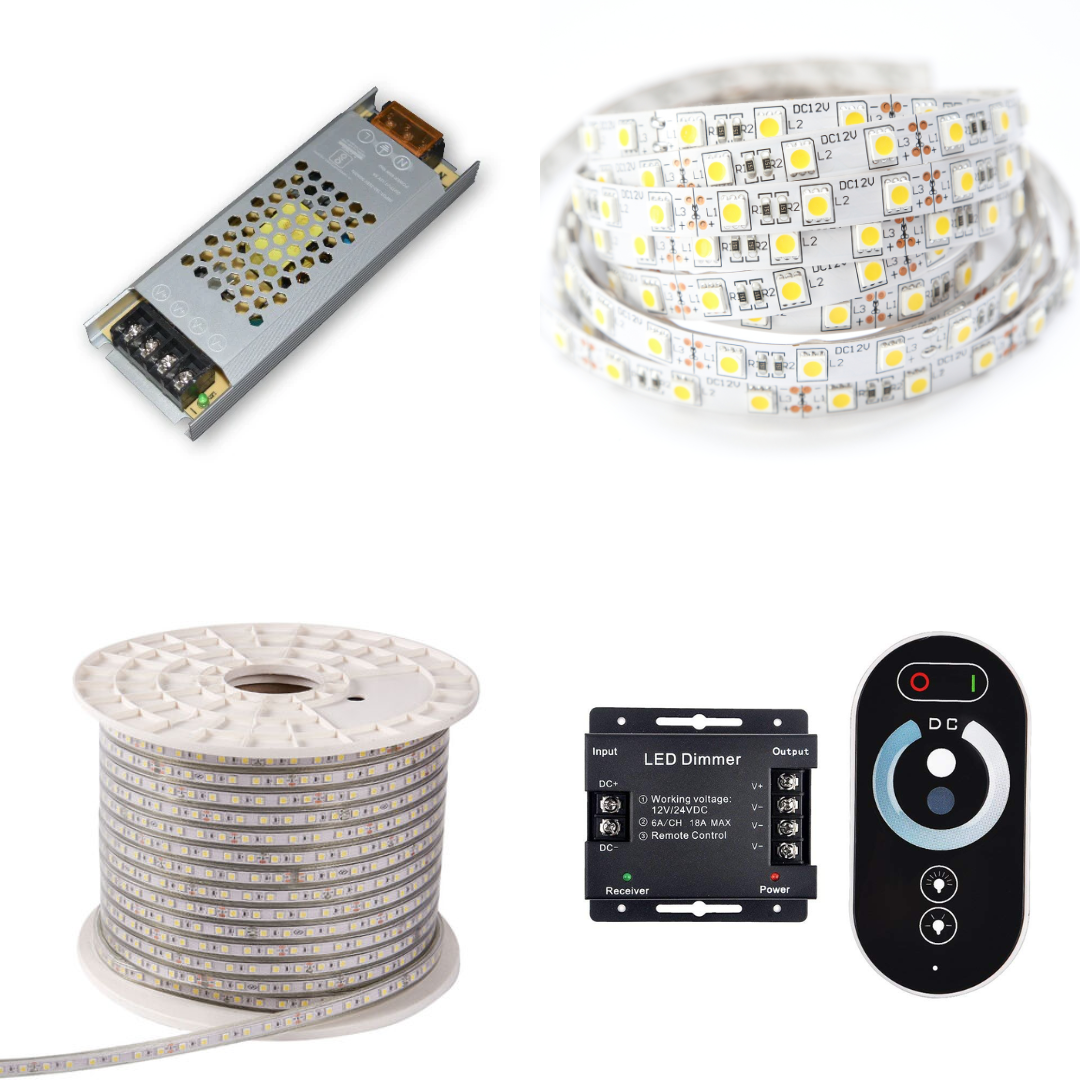
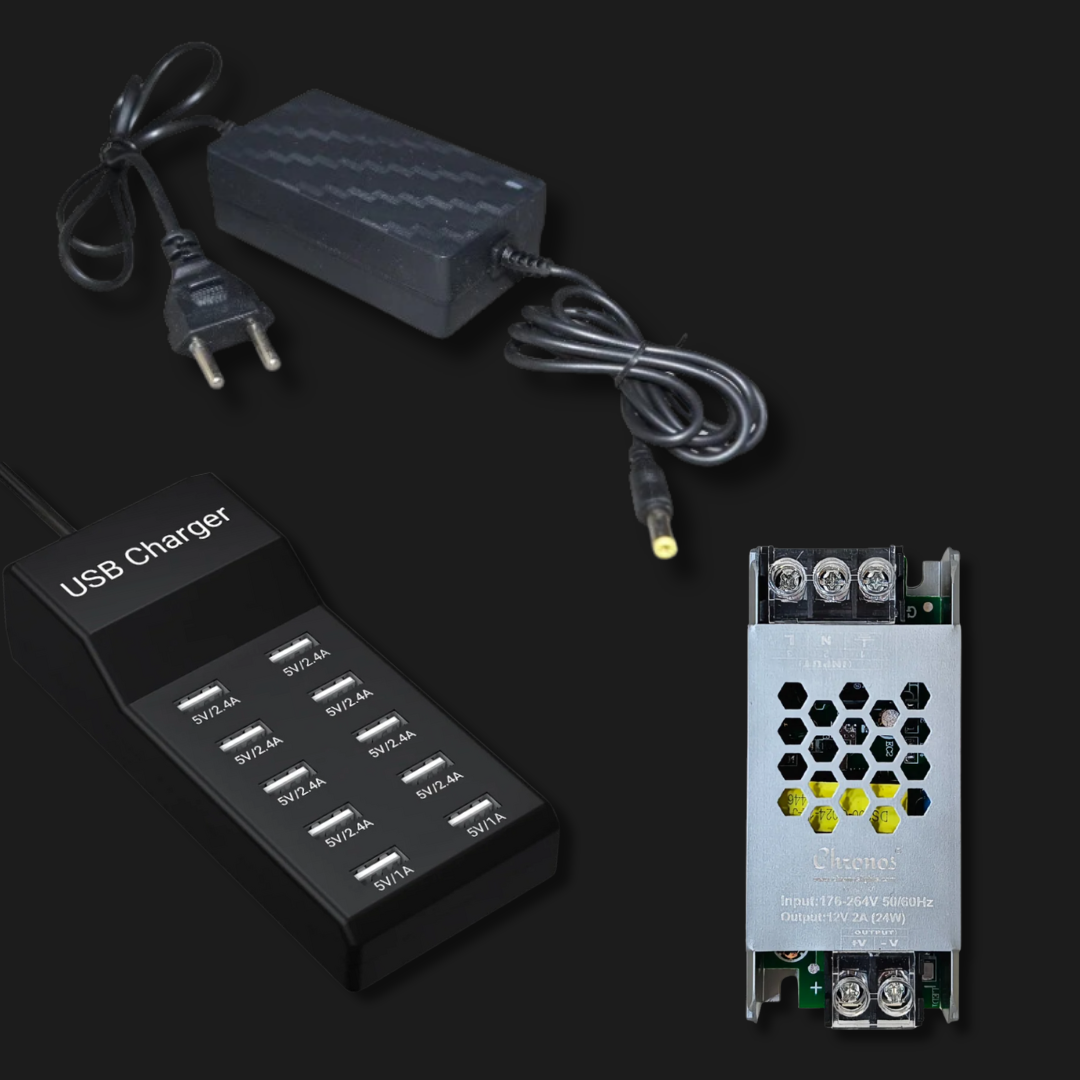
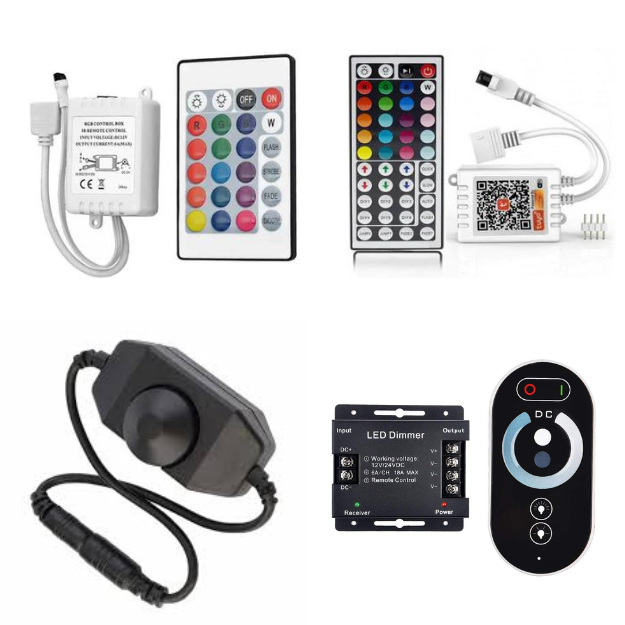
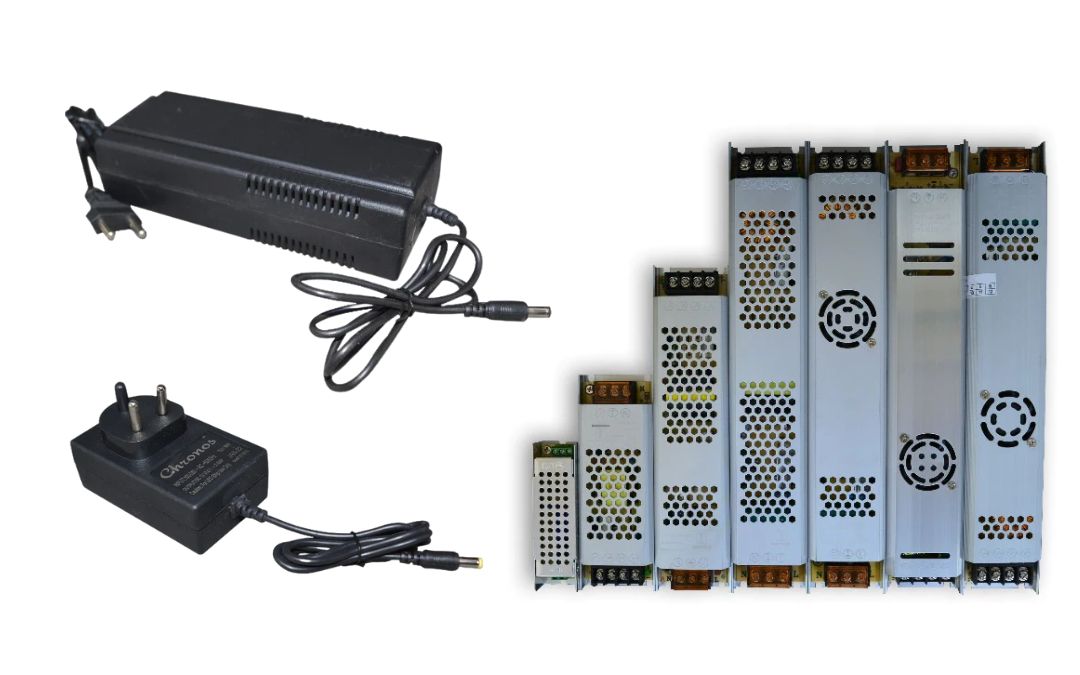
| LED driver | 24V, wattage = strip W/m × metres × 1.2 | ₹800–2,500 |
| Low-voltage DC wire | 18AWG minimum. Red for positive, black for negative. | ₹50–100/m |
| Wire connectors / lever nuts | For joining strip sections to wire runs | ₹100–200 |
| Corner connectors (L-shape) | 90° LED strip connectors matching your strip width | ₹30–80 each |
| Mounting clips (optional) | If profile needs additional fixing points | ₹5–15 each |
Tools needed
- Measuring tape and pencil
- Spirit level
- Drill and appropriate wall anchors (gypsum or POP anchors)
- Wire stripper and cutter
- Screwdriver
- Scissors or strip cutter (for cutting LED strip at marked points)
- Multimeter (to verify polarity and voltage before connecting)
Step-by-step installation
Step 1 — Plan the layout and measure precisely
Measure each wall of your cove individually — do not just measure the total perimeter. You need individual wall lengths to plan where strip sections will join and where corners will be handled.
Mark the following on a simple sketch:
- Each wall length and the total perimeter
- The position of the mains junction box or switchboard nearest to the false ceiling
- The planned driver location — ideally above the junction box, inside the false ceiling cavity
- Any doors, windows, or AC units that interrupt the cove run
Cove depth check: the cove opening (the width of the ledge from the back wall to the front edge) must be at least 80mm for the light to spread onto the ceiling without a harsh stripe. Measure this now — if it is narrower than 80mm, discuss with your contractor before ordering materials. The standard in Indian POP false ceilings is 100–150mm, which is ideal.
Strip position check: the strip should be positioned far enough inside the cove that it is not directly visible from normal standing height. Hold a pencil or ruler at the planned strip position and step back 2–3 metres — if you can see the pencil, the strip needs to go further back. This prevents the raw LED strip being visible as a direct light source.
Step 2 — Select your strip, profile, and driver
Strip voltage: use 24V for any run above 5 metres. Most Indian room perimeters are 12–20 metres — always 24V.
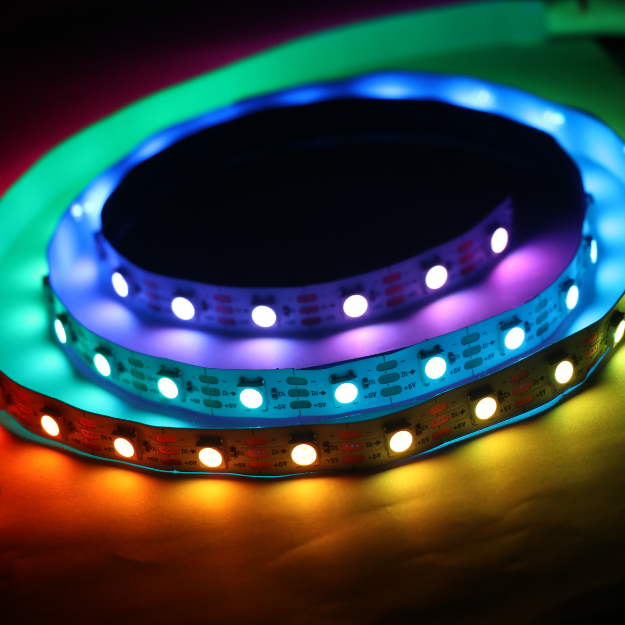
LED density: 120 LEDs/m is the standard for cove lighting. 192 LEDs/m gives a noticeably smoother, more premium result with no visible dots even at close inspection. For living rooms and master bedrooms in premium homes, 192 LEDs/m is worth the additional cost.
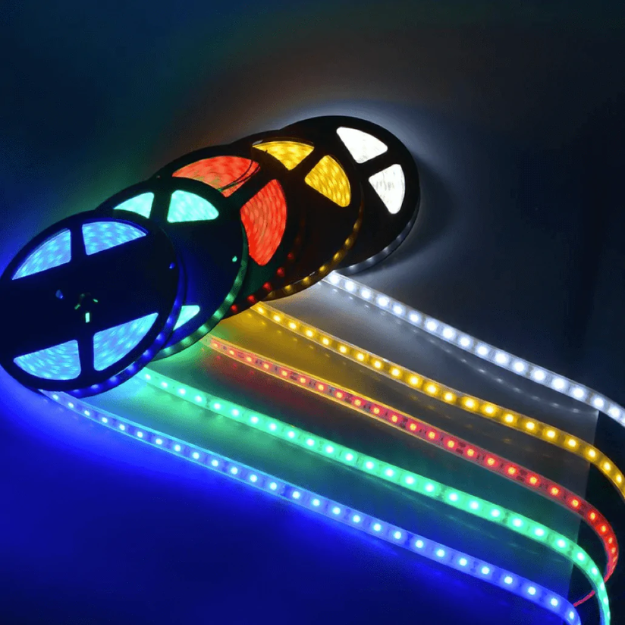
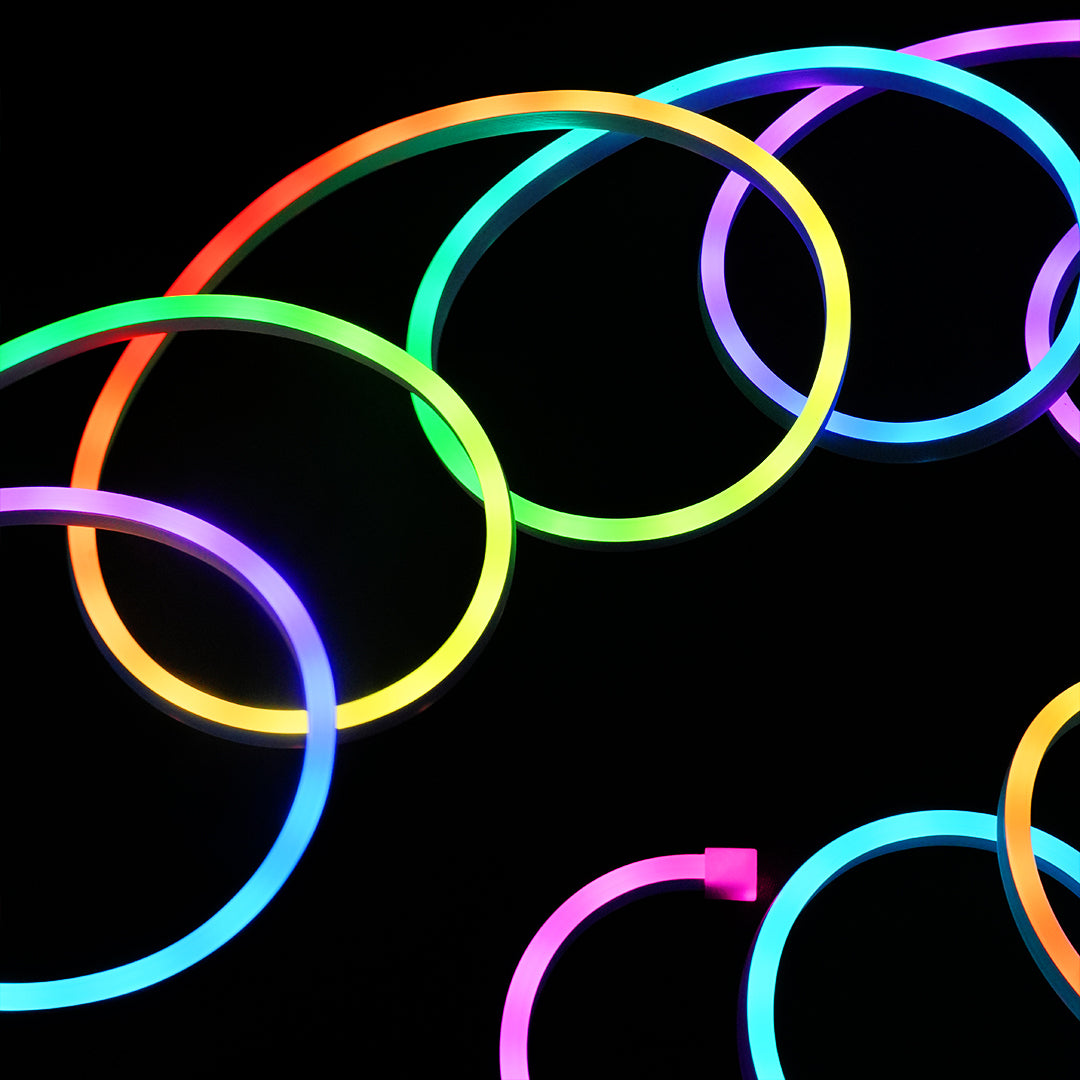
Colour temperature: warm white (2700–3000K) for bedrooms and living rooms. Natural white (3500–4000K) for kitchens and home offices. Stick to one colour temperature throughout a single cove installation.
CRI: minimum CRI 90 for any living space. CRI 95+ for dining areas and hospitality installations where skin tones and food presentation matter.
Profile selection: top-view silicone profile is the standard for Indian cove lighting. The strip sits inside the channel, light exits through the frosted silicone top — no visible LED dots, clean diffused line of light. Match the profile width to your cove opening and strip width.
Driver sizing: use the formula from our wattage calculation guide or the calculator below.
Driver wattage = W/m × total metres × 1.2
Step 3 — Mount the profile
The profile must be mounted before the strip is installed — it provides the channel the strip sits in and the fixing points for the strip itself.
Mount the profile along the inner face of the cove ledge — the wall surface at the back of the cove, facing outward. The profile should sit level; use a spirit level as you go.
For gypsum board coves: use gypsum-specific drywall anchors. Standard wall plugs will not hold in gypsum. Screw through the profile mounting holes at 30–40cm intervals.
For POP (Plaster of Paris) coves: POP is denser than gypsum and holds standard wall plugs reasonably well. For heavier profiles, use longer anchors. If the POP surface is painted, lightly sand the mounting area before fitting for better adhesion.
Corners: silicone profiles are flexible and can be bent around 90° internal corners without cutting, which gives a seamless corner with no joint. For external corners or very rigid aluminium profiles, cut at 45° mitre and join neatly.
Step 4 — Run the low-voltage DC wiring
Run wire from the driver location to the start of each strip section. In a room with cove lighting on all four walls, you will typically have four strip sections meeting at corners — the wire run goes from the driver to the start of the first section, then continuity is maintained through the strip and corner connectors around the perimeter.
Wire gauge: use 18AWG (1mm²) minimum for runs up to 5 metres from driver to strip. For longer wire runs between the driver and the first strip connection point, use 16AWG (1.5mm²) to minimise resistance in the feed wire itself.
Wire routing: route wires through the false ceiling cavity, secured to the framework with cable clips at 50cm intervals. Keep DC wiring away from 220V mains wiring where possible — in Indian false ceiling construction, this is not always straightforward, but even 100mm separation reduces electrical noise interference.
Leave connection length: leave 20–25cm of wire accessible at each strip connection point. Better to have too much and fold it back than to be 5cm short after the ceiling is partially sealed.
Step 5 — Install the LED strip into the profile
With the profile mounted and wiring run, the strip is the last element to install before connection and testing.
Peel the 3M adhesive backing from the strip and press firmly into the profile channel. Apply consistent pressure along the entire length — the adhesive needs full contact to bond properly. On longer sections, have a second person hold one end while you press down from the other end.
Corners — two methods:
Method 1 — Corner connectors (recommended for most DIY installations): cut the strip at the last cut mark before the corner. Attach a 90° corner connector to the strip end. Connect the second strip section to the other end of the connector. No soldering required. Takes 2 minutes per corner.
Method 2 — Cut and solder: cut at the last cut mark before the corner, strip the copper pads, and solder a short wire bridge around the corner to the next strip section. More reliable long-term, especially for high-current installations. Requires a soldering iron and basic skill.
Never stretch the strip around a corner. Stretching breaks the copper traces and causes an open circuit — that section of the strip will not light. Always cut and reconnect at corners.
Step 6 — Connect the strip to the driver
This step has two parts — the mains side and the DC side.
Mains side (220V AC — electrician required): your licensed electrician connects the 220V live, neutral, and earth wires from the nearest junction box to the driver's AC input terminals. This must be done by a qualified electrician under Indian electrical regulations. Do not attempt this yourself.
DC side (24V — safe to do yourself): connect the driver's DC output terminals to the strip sections. Positive (+) terminal to the strip's positive wire (red or marked +), negative (−) to the strip's negative wire (black or marked −).
Polarity is critical: reversing positive and negative will prevent the strip from lighting and may damage the LEDs. Use a multimeter to verify polarity before making the connection — the positive terminal measures higher voltage.
For long perimeter runs, feed from both ends: run a second set of wires from the driver's DC output terminals to the far end of the strip perimeter. Both ends connect to the same driver output in parallel. This halves the distance current travels and eliminates brightness drop at the far end.
The step most commonly skipped in Indian cove lighting installations: testing before the ceiling is sealed. We have had customers call with uneven brightness or dark sections after their false ceiling was fully closed and painted. Diagnosing and fixing this requires partially demolishing the ceiling — a ₹5,000–15,000 job depending on the contractor. Two minutes of testing before the plasterer seals the ceiling board would have caught it. Always test fully before closing — power on, walk the full perimeter, and check every corner and joint before giving the go-ahead to seal.
Step 7 — Test before sealing the ceiling
With everything connected, power on the installation before any ceiling panels are closed or painted.
Walk the full perimeter of the cove and check for:
- Even brightness throughout — no section visibly dimmer than another
- No visible dots on the ceiling — if you can see individual LED points through the diffuser, the profile may need repositioning or a higher-density strip
- No flickering — steady light indicates proper connections and adequate driver sizing. Flickering indicates a loose connection or undersized driver
- No dark sections at corners or joints — check every corner connector and solder joint
- Driver temperature after 30 minutes — the driver should be warm but not too hot to touch. If it is very hot after 30 minutes of operation, it may be undersized
Fix every issue found before giving the go-ahead to seal the ceiling. Any problem found after the ceiling is closed requires partial demolition to fix.
Common mistakes in Indian cove lighting installations
| Mistake | What happens | How to avoid |
|---|---|---|
| 12V strip on a room perimeter | Visible brightness drop at far end of the cove. Cannot be fixed without replacing the strip. | Always use 24V for runs above 5 metres. Room perimeters are always above 5 metres. |
| No diffuser profile | Individual LED dots visible on ceiling. Looks cheap regardless of strip quality. | Always use a silicone or aluminium diffuser profile. Non-negotiable for professional results. |
| Cove too narrow (under 80mm) | Light concentrates near the cove opening — harsh bright stripe instead of soft wash. | Minimum 80mm cove opening. Discuss with contractor before false ceiling construction begins. |
| Strip visible from standing height | The LED source is visible — defeats the purpose of indirect lighting. | Test strip position before mounting. Strip must be invisible from 2m standing distance. |
| Driver undersized | Flickering, overheating, early failure. | Calculate correctly: W/m × metres × 1.2. Round up to next standard driver size. |
| Ceiling sealed before testing | Problems require partial demolition to fix. | Always test the full installation for 30 minutes before ceiling is closed. |
| Stretching strip around corners | Broken copper traces — section of strip does not light. | Cut at marked points and use corner connectors. Never stretch. |
| No power feed from far end on long runs | Voltage drop on 24V runs above 10 metres — far end visibly dimmer. | Feed power from both ends of the perimeter on runs above 10 metres. |
Cove lighting cost in India — realistic estimates
These are materials costs only. False ceiling construction cost is separate.
| Room / scenario | Perimeter | Strip quality | Total materials cost |
|---|---|---|---|
| 2BHK bedroom, standard | ~14m | 120 LEDs/m, CRI 90+ | ₹8,000–12,000 |
| 3BHK living room, standard | ~18m | 120 LEDs/m, CRI 90+ | ₹10,000–16,000 |
| 3BHK living room, premium | ~18m | 192 LEDs/m, CRI 98+ | ₹16,000–24,000 |
| Hotel room / suite | ~16m | 192 LEDs/m, CRI 95+ | ₹14,000–22,000 |
Electrician charges for cove lighting wiring: ₹500–1,500. Add this to materials cost for total installed cost excluding false ceiling construction.
Frequently asked questions
What is cove lighting in a false ceiling?
Cove lighting is indirect LED strip lighting installed inside a recessed ledge built into a false ceiling. The strip is hidden from direct view and casts light upward onto the ceiling surface, creating a soft, glare-free ambient glow. In Indian homes it is typically built into POP or gypsum false ceilings as a perimeter ledge — the most popular architectural lighting feature in modern Indian interiors.
Do I need an electrician to install cove lighting in India?
Yes — for the 220V mains connection to the LED driver. This must be done by a licensed electrician under Indian electrical regulations. The low-voltage DC side (strip to driver output) is safe to connect yourself. In practice, most homeowners have their electrician handle both sides during the false ceiling installation. Typical electrician cost for cove lighting wiring: ₹500–1,500.
What is the minimum cove depth for LED strip lighting?
Minimum 80mm (8cm) cove opening width for adequate light spread onto the ceiling. 100–150mm is the recommended range — this is the standard in most Indian false ceiling designs. Narrower than 80mm creates a concentrated bright stripe rather than a soft wash. If your cove is being constructed, specify a minimum 100mm opening to your contractor.
Which is better for cove lighting — 12V or 24V LED strip?
24V, always — for cove lighting. A typical Indian room perimeter is 12–20 metres, which is well above the 5-metre safe run length of 12V strips before voltage drop causes visible dimming. Use 24V for all cove ceiling applications. For runs above 10 metres on 24V, feed power from both ends of the perimeter.
Do I need a silicone profile for cove lighting?
Yes — strongly recommended. Without a diffuser profile, individual LED dots are visible on the ceiling — the light looks dotted rather than smooth. A top-view silicone profile turns the strip into a seamless line of diffused light. The profile also protects the strip from dust and makes the installation look professional. It is not optional for quality results.
How much does cove lighting installation cost in India?
Materials only (excluding false ceiling construction): ₹8,000–24,000 for a standard 3BHK room depending on strip quality. Standard 120 LEDs/m strip: ₹10,000–16,000 for a living room. Premium 192 LEDs/m CRI 98+ strip: ₹16,000–24,000 for the same room. Electrician charges: ₹500–1,500 additional. False ceiling construction is a separate cost entirely.
Why is my cove lighting brighter at one end than the other?
This is voltage drop — the most common cove lighting problem. Caused by either using 12V strip on a long run, or not feeding power from both ends on a long 24V run. Fix: replace 12V strip with 24V, or for 24V runs above 10 metres, connect a second power feed wire from the driver to the far end of the strip. Both fixes restore even brightness across the full perimeter.
Shop cove lighting components at Chronos Lights
Everything you need for a complete cove lighting installation — LED strips, silicone profiles, and controllers — available individually or as a project bundle. Free shipping above ₹999. B2B pricing available for contractors and interior designers from 50 metres.
- High CRI 98+ LED Strip — Warm White, 24V, 192 LEDs/m, 10m roll — ₹2,999
- High CRI 98+ LED Strip — Natural White, 24V, 192 LEDs/m, 10m roll — ₹2,999
- High CRI 98+ LED Strip — Cool White, 24V, 192 LEDs/m, 10m roll — ₹2,999
- Top View Silicone Profile 12×12mm — ₹69/m
- Top View Silicone Profile 20×14mm — ₹152/m
- Browse all silicone profiles
- Browse all LED strip lights
Supplying a hotel, residential project, or multiple rooms? See B2B pricing from 50 metres with GST invoice and technical support.