


Installation Guide: How to Properly Mount Flexible Silicone LED Profiles
A Step-by-Step Guide for Perfect Lighting Installations
Installing Flexible Silicone LED Profiles may look simple, but precision and method matter. Whether you’re an architect, lighting designer, or DIY installer, this guide covers everything you need — from tools and preparation to mounting techniques and safety tips — ensuring your lighting looks sleek and performs flawlessly.
1. Before You Begin: Why Installation Matters
Improper installation can lead to:
-
Uneven light diffusion
-
Profile deformation
-
Shortened LED lifespan
-
Water leakage in outdoor setups
By following the right installation practices, you’ll ensure your LED strips last longer, your profiles stay secure, and your project looks professionally finished.
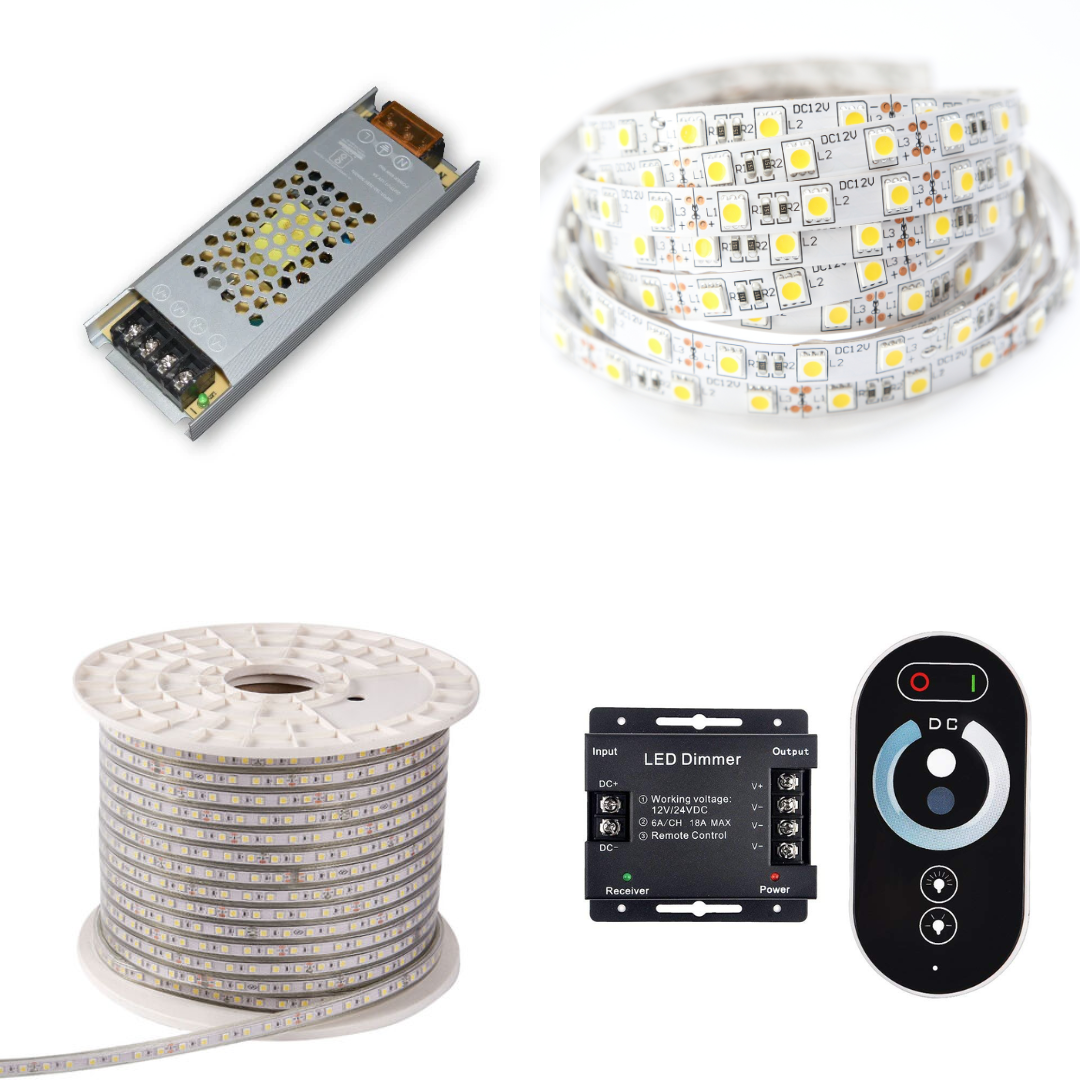
2. Tools & Accessories You’ll Need
✅ Tools
-
Measuring tape
-
Precision cutter / utility knife
-
Heat-resistant silicone glue (optional)
-
Screwdriver / drill (for mounting clips)
-
Clean microfiber cloth
✅ Accessories
-
Metal mounting clips (for secure fixing)
-
Silicone end caps (with or without holes)
-
Connectors / couplers for corners
-
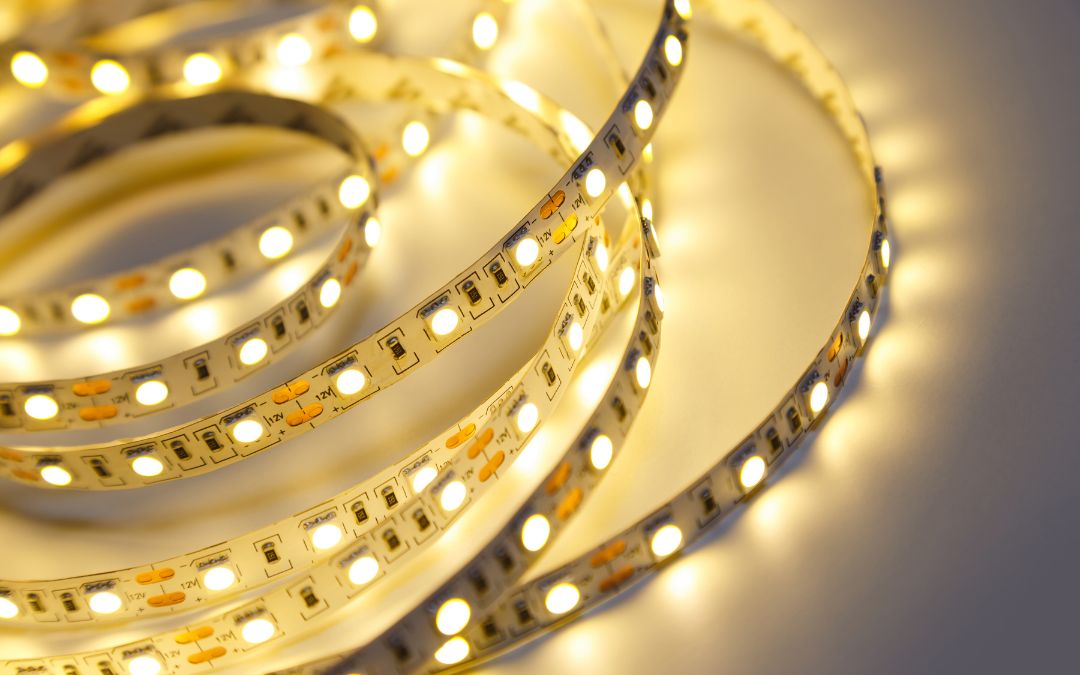
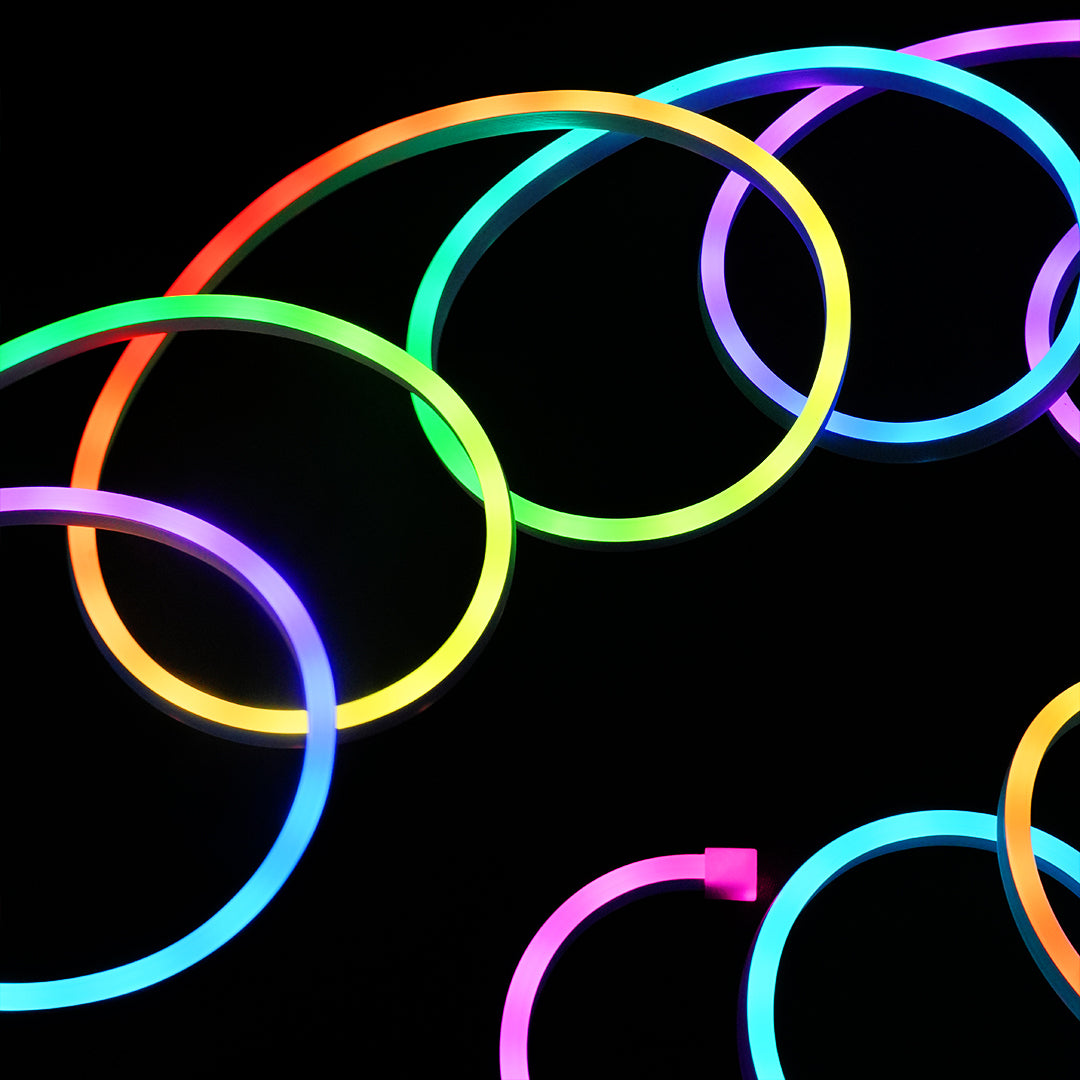
LED strip light (compatible width and voltage)
💡 Tip: Always check your LED strip width and profile size compatibility before installation (e.g., 8mm LED strip fits into an 8x8 profile).
3. Step-by-Step Installation Process
Step 1: Plan Your Layout
Start by identifying where the profiles will be installed — ceiling coves, furniture, walls, or outdoor areas.
Mark the start and end points with a pencil for accurate alignment.
📏 Ensure straight lines and equal spacing between multiple runs for uniform light distribution.
Step 2: Cut the Silicone Profile to Length
Use a sharp precision cutter or PVC shears to trim the profile to your required size.
Always cut cleanly — uneven cuts may affect end cap sealing or cause light leakage.
⚠️ Warning: Avoid stretching or twisting the profile while cutting.
Step 3: Insert the LED Strip
Gently slide or press your LED strip into the silicone channel.
-
Ensure the LED chips face the light-diffusing surface.
-
For long runs, insert gradually to prevent twisting.
-
Avoid sharp bends that could damage LED solder joints.
For long installations, solder your LED strips to create seamless connections before inserting them into the profile.
Step 4: Seal the Ends
Fit silicone end caps on both ends of the profile.
Use end caps with holes for power input and without holes for closed ends.
Apply a small amount of silicone adhesive to ensure waterproof sealing, especially for IP67-rated outdoor profiles.
Step 5: Mount the Profile
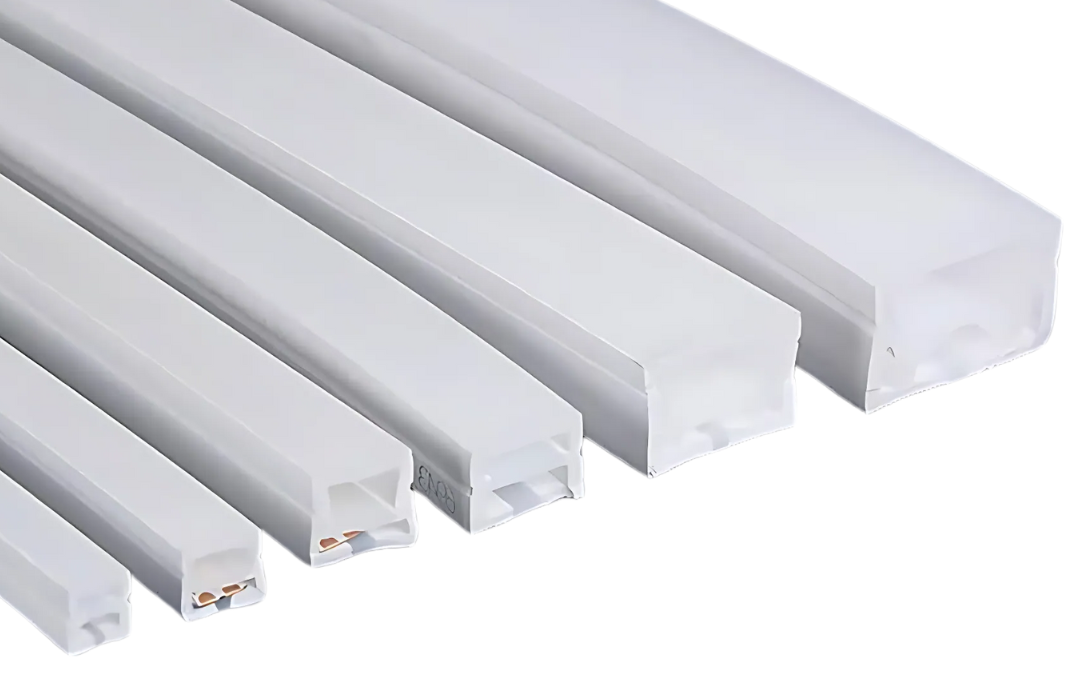
You can mount your profile using clips, adhesive, or recessed channels, depending on the surface type.
|
Mounting Method |
Best For |
Instructions |
|
Metal Mounting Clips |
Walls, ceilings, furniture |
Fix clips with screws, snap profile into place |
|
Adhesive Mounting |
Smooth indoor surfaces |
Apply silicone or double-sided adhesive tape |
|
Recessed / Concealed Mounting |
False ceilings, trims |
Embed profile into the cavity before sealing |
💡 Tip: For curves or corners, gently bend the silicone profile to shape — do not crease it.
Step 6: Connect to Power
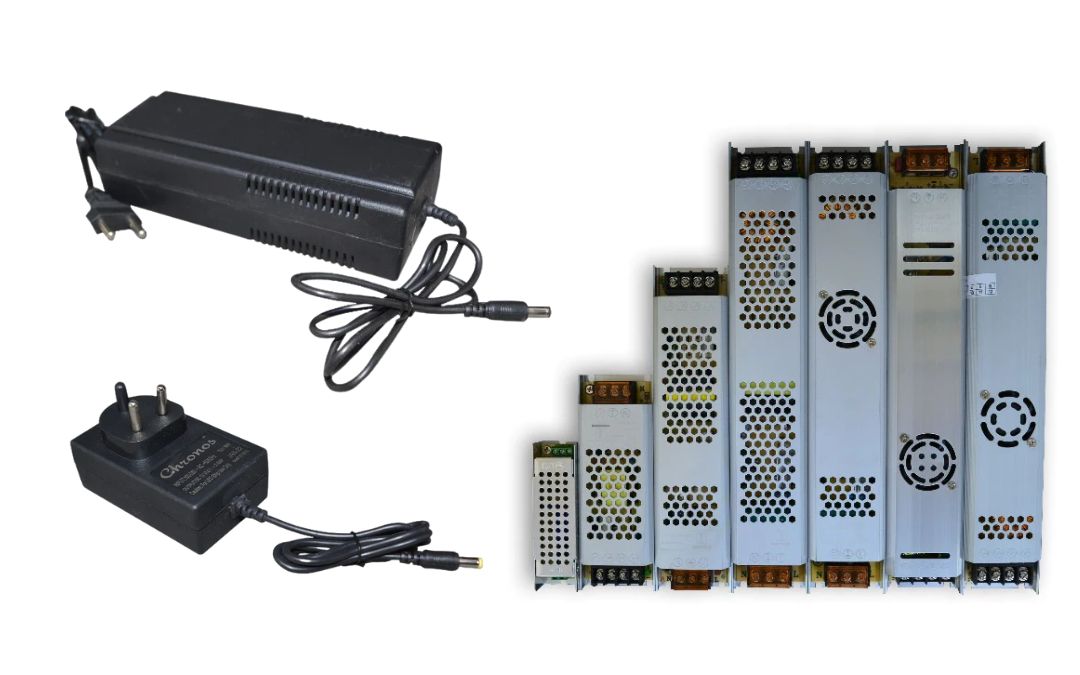
Once mounted, connect your LED strip to a compatible driver (12V or 24V).
Use waterproof connectors if required. Always ensure correct polarity (+/-) before powering up.
⚠️ Safety Tip: Never power on LED strips while they are rolled or bunched together — it can cause overheating.
Step 7: Test and Inspect
Before sealing or covering, power up your lights to check:
-
Brightness consistency
-
Color accuracy
-
Seamless diffusion (no hotspots or dark areas)
Make any final adjustments before finalizing your installation.
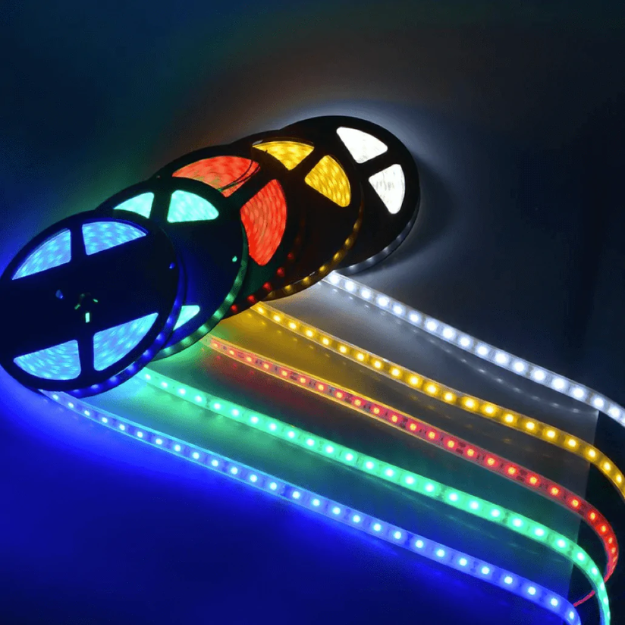
4. Outdoor Installation Tips
For outdoor projects (signage, facades, or landscape lighting):
-
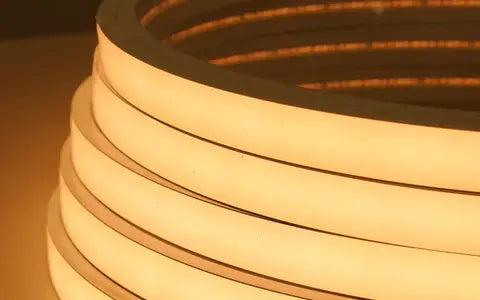
Use IP67 waterproof profiles (e.g., 20mm 360° or 16mm D-Shape).
-
Seal all joints with silicone adhesive.
-
Avoid direct sunlight exposure during curing.
-
Use weatherproof connectors and cables.
5. Maintenance & Cleaning
-
Wipe profiles with a damp microfiber cloth — avoid alcohol or harsh cleaners.
-
Inspect end caps and seals every 6–12 months.
-
Replace worn-out clips to maintain grip.
-
Avoid excessive bending during maintenance.
6. Common Installation Mistakes (and How to Avoid Them)
|
Mistake |
Impact |
Solution |
|
Over-bending silicone profile |
Light inconsistency |
Bend gradually; avoid sharp corners |
|
Wrong LED strip width |
Poor fitting |
Match strip width to profile size |
|
Skipping waterproof sealing |
Water damage |
Use silicone sealant on all end caps |
|
Incorrect polarity connection |
LED burnout |
Double-check + and – before connecting |
|
Uneven cutting |
Light leakage at ends |
Cut precisely with a straight blade |
7. Installation Example Setup
|
Setup |
Profile Used |
LED Strip Type |
Environment |
|
Cove Lighting |
16x16 Top View |
8mm 24V 3000K LED |
Indoor |
|
Furniture Edge |
10x10 Conceal View |
5mm 12V Warm White |
Indoor |
|
Outdoor Facade |
20mm 360° Round |
12mm RGB Waterproof |
Outdoor |
|
Mirror Backlight |
8x17 Side View |
6mm Cool White |
Bathroom |
FAQs
Q1. Can silicone profiles be reused after removal?
Yes, but handle them gently to avoid deformation. Reuse only if end caps and clips are intact.
Q2. What adhesive works best for silicone profiles?
Use neutral-cure silicone glue or 3M industrial-grade double tape for long-lasting hold.
Q3. How to achieve curved installations?
Use Side View or 360° Round profiles, which bend horizontally or vertically without light distortion.
Q4. Can I install silicone profiles vertically?
Yes, vertical installations work well for decorative walls and signage — just ensure secure clipping.
Q5. Are the profiles heat resistant?
Yes. They can withstand up to 120°C, far higher than typical LED temperatures.
CTAs
🛠️ Get Installation Accessories: Shop Mounting Clips & End Caps →
💡 Watch Step-by-Step Installation Video (Coming Soon)
📞 Consult Our Technical Experts: For bulk projects and architectural installations.
SEO Metadata
Title: How to Install Flexible Silicone LED Profiles | Step-by-Step Guide
Meta Description: Learn how to install silicone LED profiles like a pro — cutting, sealing, mounting, and wiring tips for flawless lighting installations.