


Layer 1
Ambient Lighting
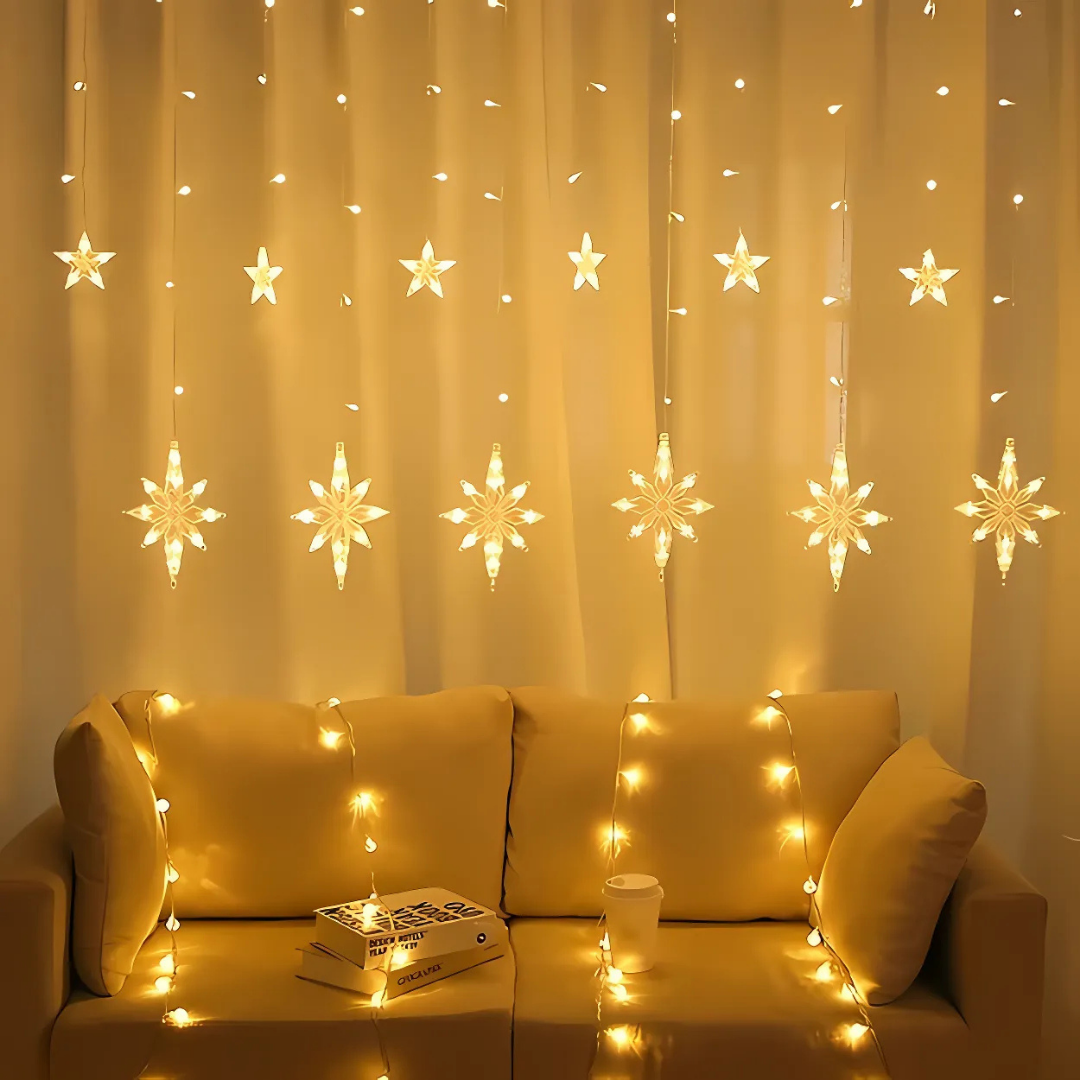
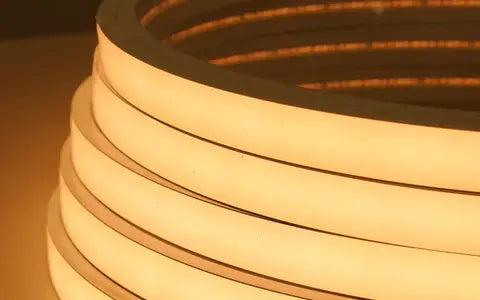
The base layer. Soft, indirect light that fills the room evenly — no harsh shadows, no bright spots. Usually installed in coves, cornices, or behind valances.
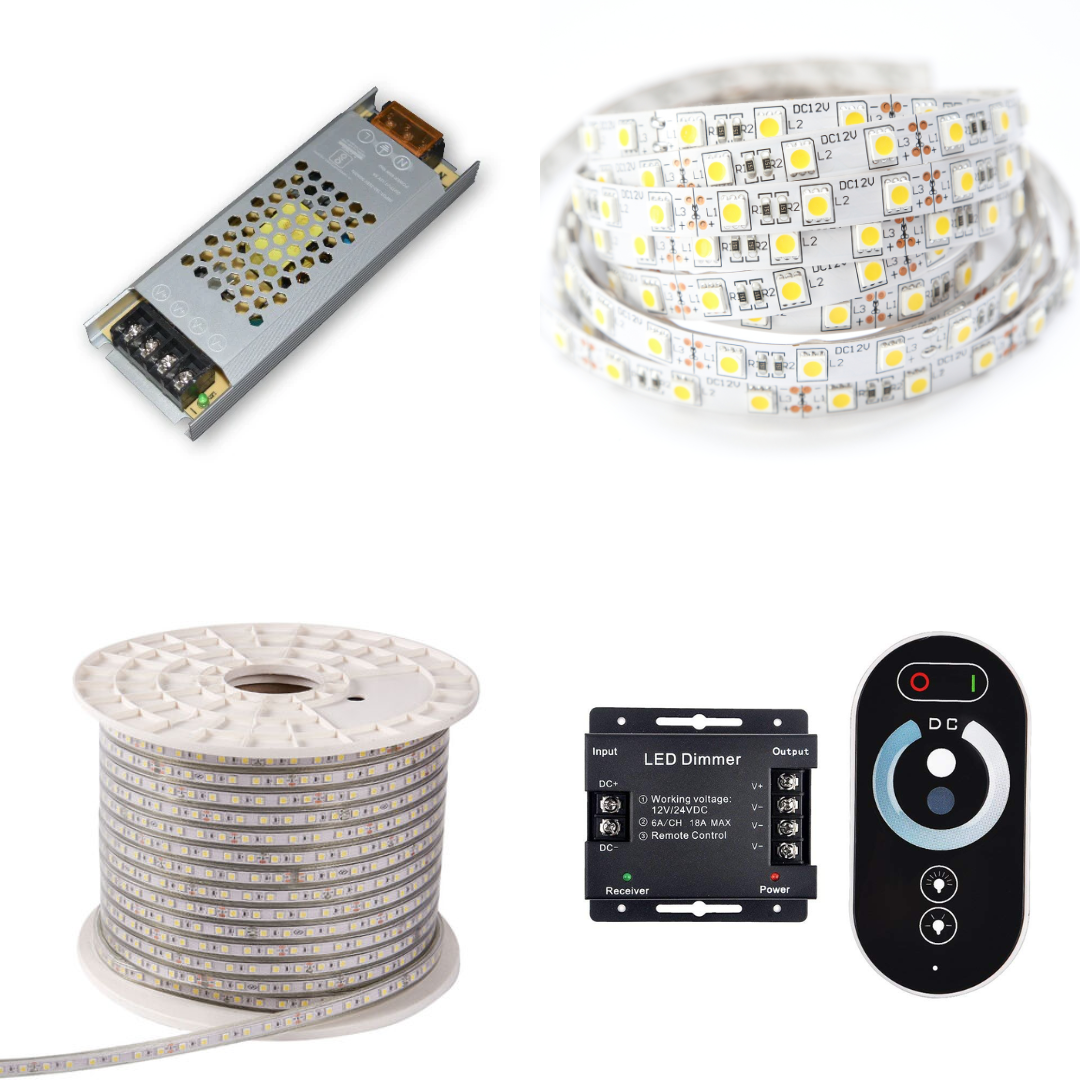
Best Chronos products:
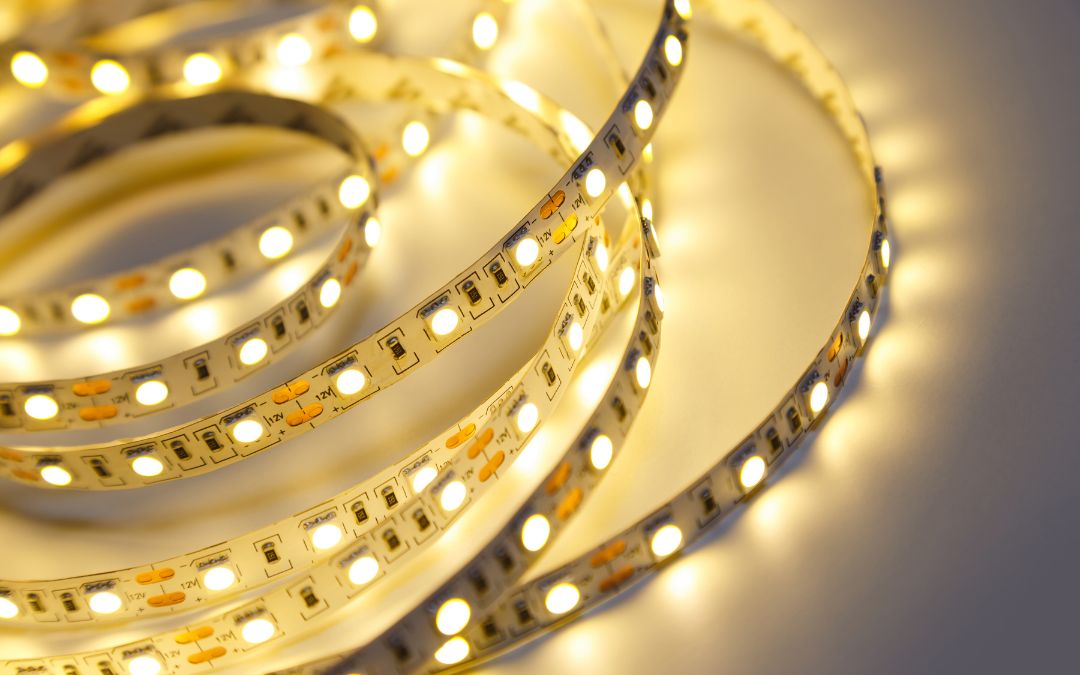
- COB Strip Light2700K–3000K for warm coves
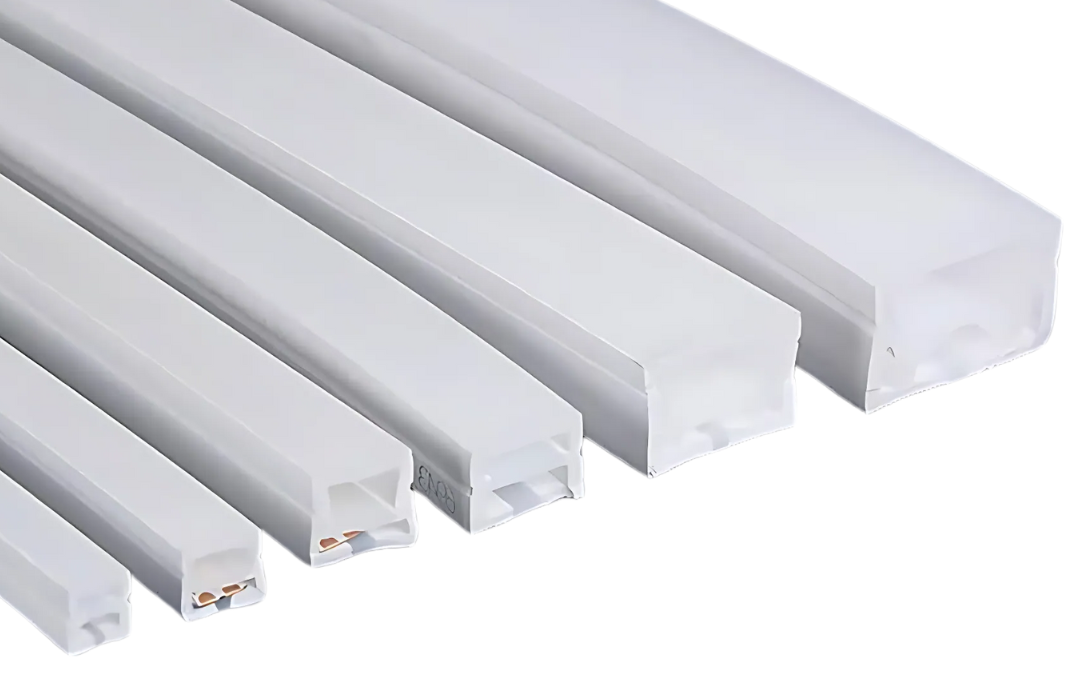
- Silicone Cove ProfileOpal diffuser, no hot spots
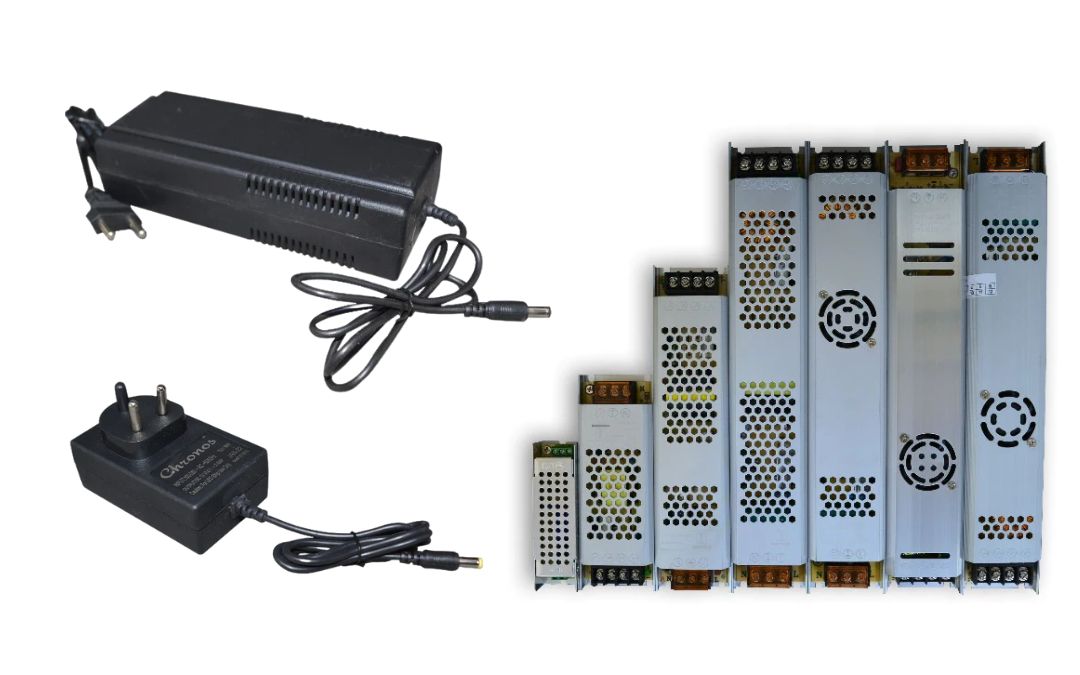
- 24V LED DriverFor room-length runs
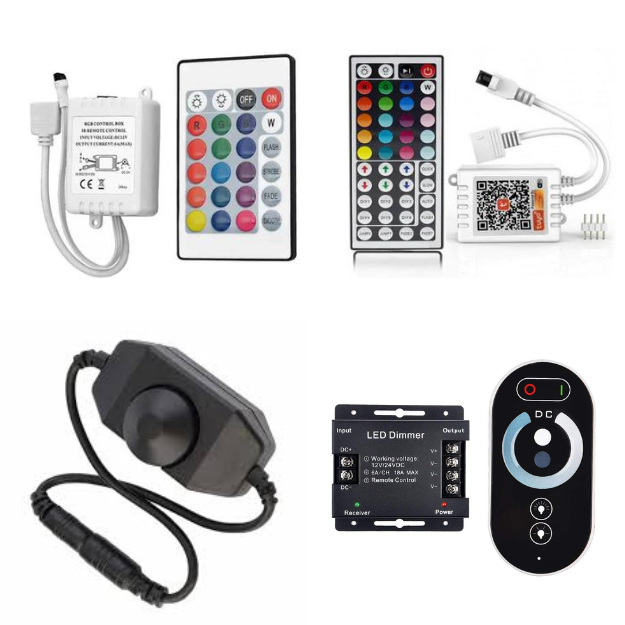
- Dimmable ControllerEssential for ambient
2700K–3000K — warm and inviting
Mount the strip at least 30cm from the ceiling edge and use a dimmable driver — ambient lighting at 30–40% in the evening is the most requested setting by interior designers.