✦ Installation Guide 2026 ✦
Why Silicone Profiles Are the Difference Between Amateur and Professional LED Lighting
By Chronos Lights Team · February 2026 · 16 min read
4 Profile Types
2.5× Longer LED Life
IP65 Built-in Rating
50% Faster Install
You've chosen the right LED strip. You've sized the driver correctly. You've picked the perfect colour temperature. And then you stick the strip directly to the ceiling — and immediately see a row of individual bright dots instead of a smooth, flowing line of light. The missing ingredient is almost always a silicone profile. This guide explains what profiles do, which type suits each application, and why skipping them is the single most common mistake in LED lighting installation — for homeowners and commercial specifiers alike.
1. What Does a Silicone Profile Actually Do?
A silicone profile is a housing that your LED strip slides into. It serves four distinct functions simultaneously — and every one of them matters.
💡
Light Diffusion
The frosted or opal diffuser cover spreads light from each LED chip evenly across the full width of the profile — eliminating visible hot spots and creating a smooth, professional finish.
🌡️
Heat Dissipation
LEDs generate heat. Without a thermal path, that heat stays in the chip and accelerates degradation. A profile acts as a heatsink — conducting heat away and extending lifespan from ~20,000 hours to 50,000+ hours.
🛡️
Physical Protection
The profile shields the strip from dust, moisture, accidental knocks, and cleaning products. A silicone profile inherently provides IP65 protection — no additional waterproofing needed for most applications.
✨
Clean Aesthetics
The strip itself is invisible — only the diffused glow is seen. No exposed adhesive backing, no circuit board, no wiring mess. The result looks like an architectural light fitting, not DIY electronics.
👁️ Visual Comparison: Same Strip, Different Results
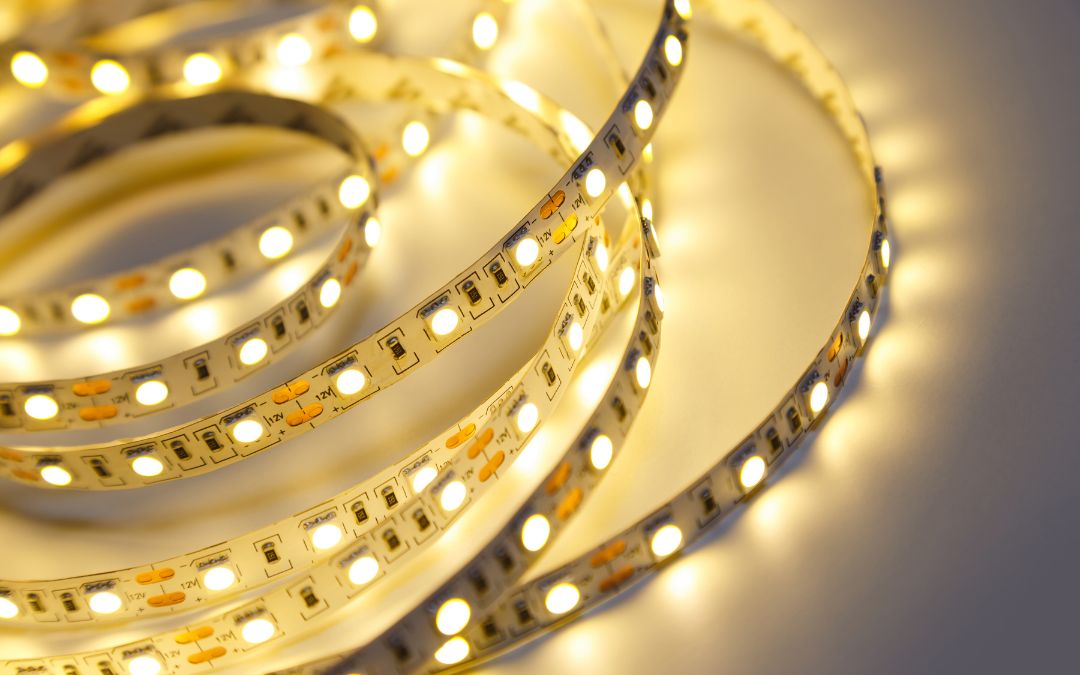
❌ Strip Direct on Surface
Visible LED dots every 8–16mm
Uneven brightness — bright spots, dark gaps
Exposed circuit board yellows over time
No heat path — lifespan halved
Looks like temporary decoration
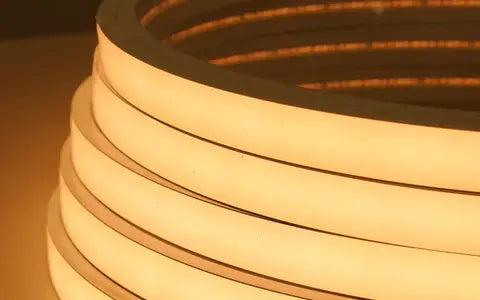
✅ Strip in Silicone Profile
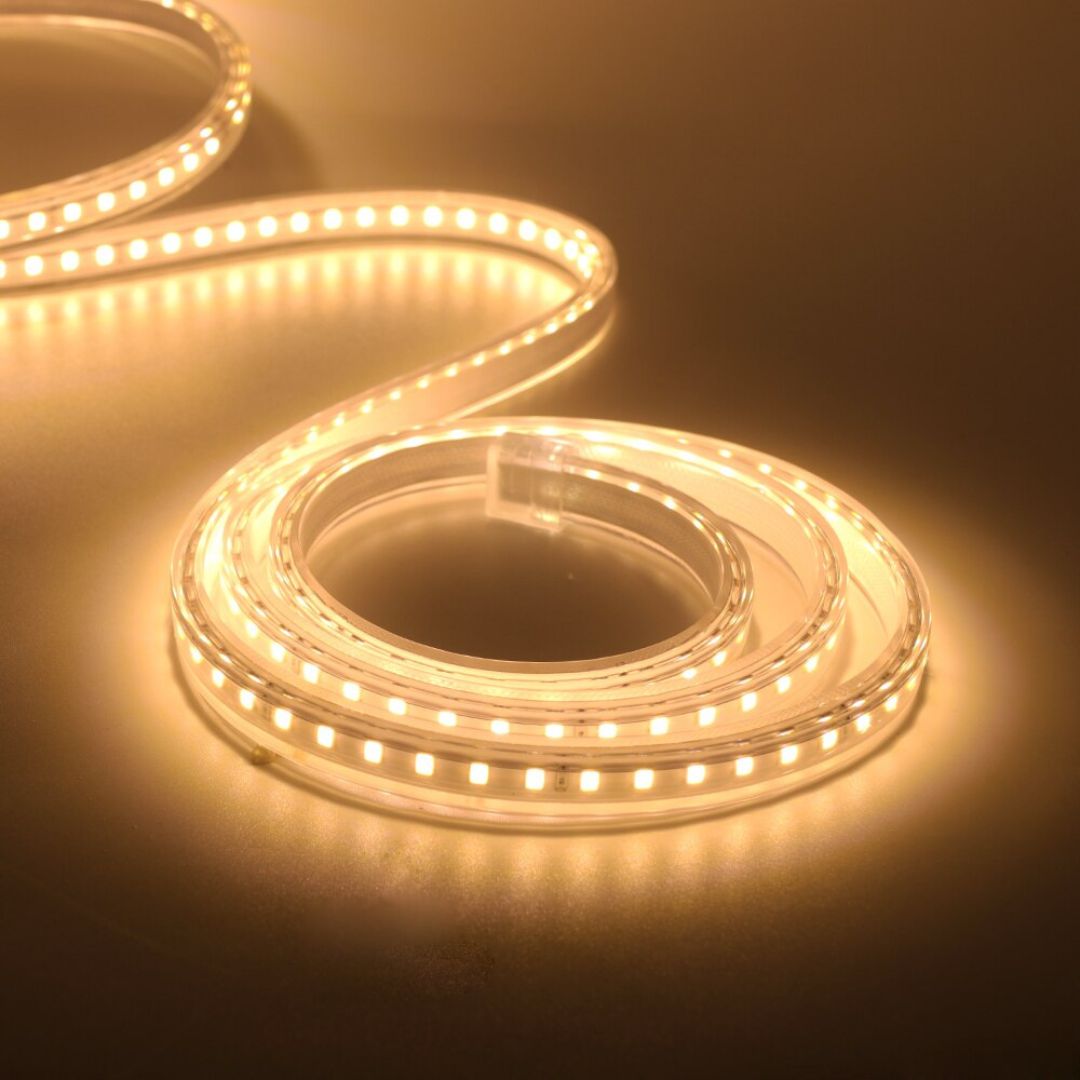
Perfectly smooth, continuous line of light
Even brightness from end to end
Silicone stays clear for 10+ years
Heat managed — full 50,000hr lifespan
Looks like a bespoke architectural fitting
🌡️
The Heat Rule: Every 10°C Increase Halves LED Lifespan An LED chip running at 45°C lasts ~50,000 hours. The same chip at 75°C lasts ~20,000 hours. A silicone profile keeps operating temperature below 50°C for strips under 10W/m — protecting your entire investment for the lifetime of the installation.
2. Silicone vs Aluminium Profiles: Which to Choose?
Aluminium extrusion profiles have been the industry standard for years. Silicone profiles are newer and increasingly preferred for most applications. Here's the complete comparison.
| Property |
Chronos Silicone |
Aluminium Extrusion |
| Flexibility |
Bends to 20mm radius |
Rigid — straight only |
| Waterproofing |
Inherent IP65+ |
Needs end-caps + sealant |
| Heat dissipation |
Good (convection cooling) |
Excellent (conductive) |
| Cutting |
Scissors — any length |
Hacksaw or mitre saw |
| Weight |
Very light |
Heavier |
| Outdoor UV resistance |
10+ years — no yellowing |
Good |
| Shatterproof |
Yes |
Diffuser can crack |
| Installation speed |
50% faster |
Slower — drilling, brackets |
| Best for |
Curves, outdoor, fast install, wet areas |
High-power strips (>15W/m), perfectly straight runs |
✅ Choose Silicone When:
Any curved surface · Outdoor or wet areas · Kitchen & bathroom · Fast installation needed · Public spaces (shatterproof) · Retail & hospitality (professional finish)
🔩 Choose Aluminium When:
Very high-power strips (>15W/m) · Perfectly straight, permanent runs where maximum heat dissipation is critical · Budget is the primary constraint
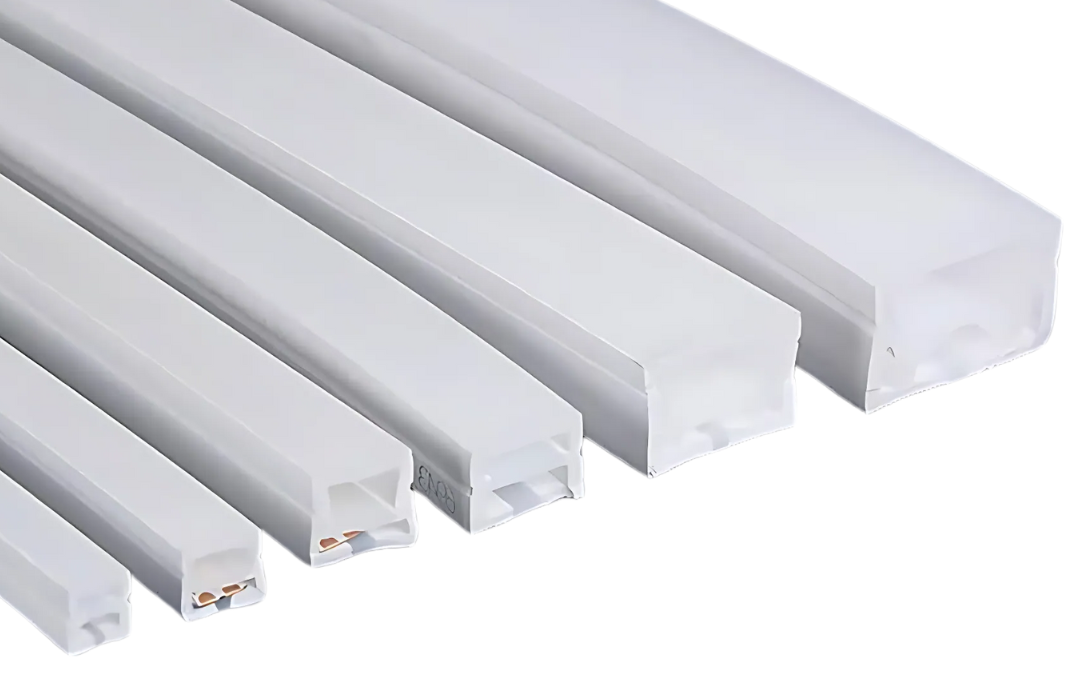
3. The Chronos Silicone Profile Range
Each profile in the Chronos range is designed for a specific mounting application. Choosing the right profile shape is as important as choosing the right strip — here's exactly what each one does.
8mm × 8mm — Narrow Top View
For slim strips in tight spaces
From ₹52/m
Fits
8–10mm wide LED strips (SMD 2835, COB narrow). Designed for applications where the profile must sit flush and nearly invisible.
Best Applications
Staircase nosing channels · Shelf edges · Picture rail lighting · Wardrobe interior · Mirror surround
💡 Home Use: Perfect for staircase step nosing — fits neatly into the 8mm channel on marble or granite steps. Warm 3000K with motion activation creates a safety feature that also looks stunning at night.
17mm × 8mm — Standard Top View ⭐ Most Popular
The all-rounder for cove & cabinet lighting
From ₹116/m
Fits
10–12mm wide LED strips — all standard SMD 2835 and 5050 strips. The widest diffuser in the range creates the most even light spread.
Best Applications
False ceiling cove · Under-cabinet kitchen · Living room perimeter · Bar counter edge · Display shelving
For HomeownersLiving room cove lighting — SMD 2835 at 3000K produces warm, diffused light that transforms a flat ceiling into an architectural feature.
For CommercialRestaurant bar counters and retail shelving — the 17mm width provides the brightest, most even product illumination of any profile in this range.
💡 Pro Tip: For cove lighting, install the 17×8mm profile with the strip facing slightly upward (angled 10–15° toward the ceiling) rather than horizontal. This creates a larger, softer wash on the ceiling with less visible shadow line at the cove edge.
10mm × 20mm — Side View
Light emits from the side, not the top
From ₹130/m
How It Works
The profile is mounted vertically against a wall or surface — light emits horizontally. Creates a grazing effect that highlights texture in stone, brick, or feature walls.
Best Applications
Feature wall grazing · Signage backlighting · Column outlining · Bookshelf edge · Perimeter floor lighting
💡 Design Tip: Side-view profiles at floor level, grazing upward across a stone or textured feature wall, create a dramatic accent that photographs beautifully for restaurant and hotel social media content.
Conceal View Profile
The invisible light source — for floating effects
From ₹145/m
How It Works
Designed to recess completely inside a ceiling or wall slot. Only the glow is visible — the profile, the strip, and all hardware are completely hidden. Creates the illusion of light with no visible source.
Best Applications
High-end false ceiling integration · Hotel headboard lighting · Retail display recesses · Luxury residential feature walls
💡 Commercial Use: This profile is specified by interior designers for hotel guest room headboards — the "floating glow" behind the headboard at 2700K creates a signature ambiance that guests consistently mention in reviews.
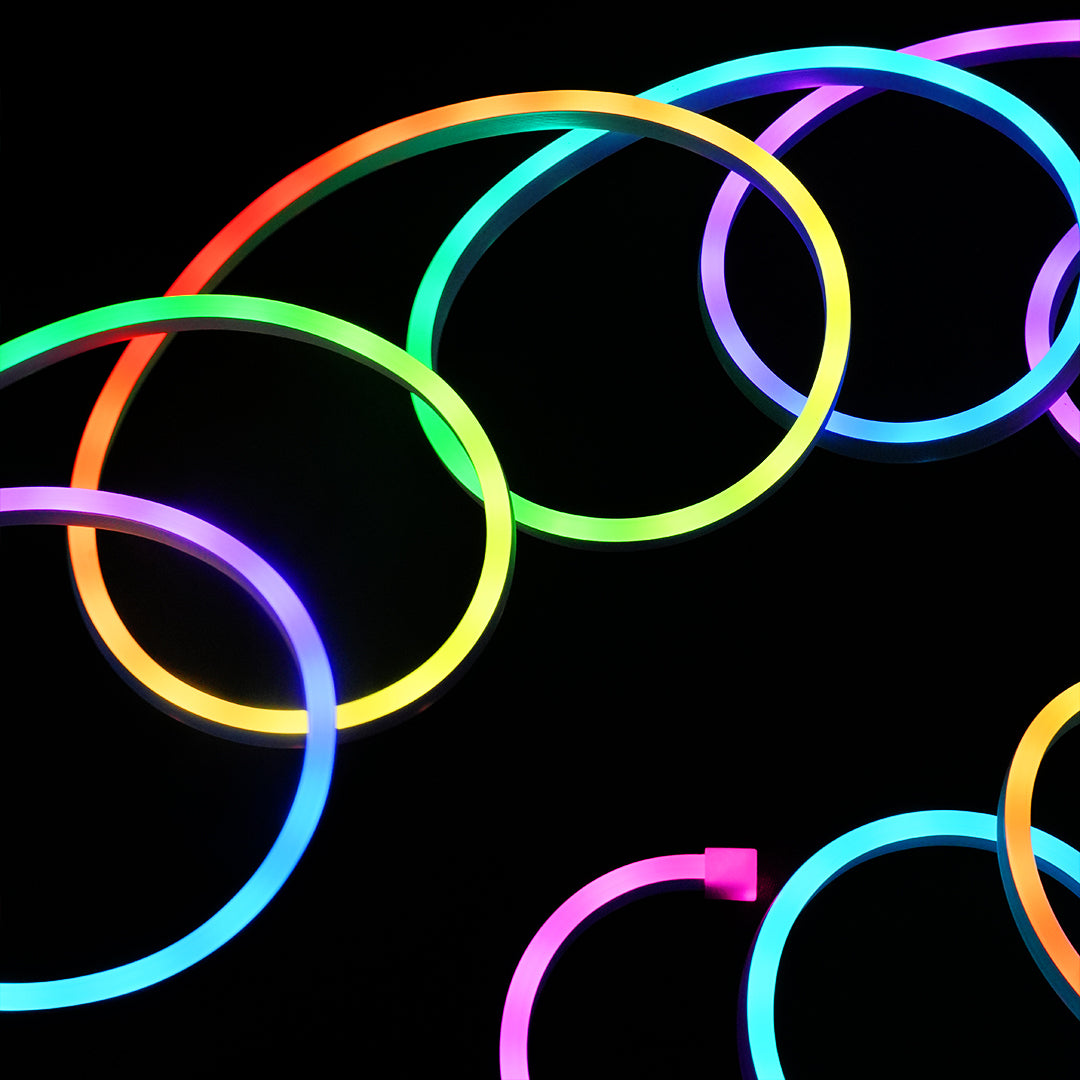
Pre-Assembled Silicone Neon Profile ⚡ Time-Saver
LED strip already installed — plug & play
From ₹180/m
The pre-assembled profile arrives with the LED strip already factory-installed, tested, and ready to mount. No insertion, no alignment, no risk of strip shifting during installation. Connect power and mount — done.
For DIY Home Installers
Eliminates the trickiest step — getting the strip perfectly centred inside the profile. Cuts average installation time in half.
For Commercial Projects
On 50m+ retail or hospitality projects, pre-assembly saves 2+ days of on-site labour. Factory QC means zero defects from poor insertion.
Available For
Custom lengths from 1m. Colour temperature of your choice. Minimum order 5m. Bulk orders (50m+) qualify for project pricing.
4. Step-by-Step Installation Guide
Installing a silicone profile is a DIY-friendly job for straight runs. Here's the complete process — including the tips that make the difference between a clean finish and a frustrating rework.
🔧 What You'll Need
Silicone profile + LED strip Scissors (for cutting profile) Measuring tape Isopropyl alcohol + cloth 3M double-sided tape or neutral-cure silicone sealant End caps (x2 per run) 12V SMPS driver Hairdryer (for curves only)
1
Measure & Cut the Profile Measure the run precisely and cut the profile to length with scissors. For corners, cut both pieces at 45° for a clean mitre joint. Cut slightly short (2–3mm) rather than long — a small gap is invisible but an overlong profile buckles.
2
Clean the Mounting Surface Wipe the surface with isopropyl alcohol and allow to dry fully (2 minutes). This step is non-negotiable — dust and grease reduce adhesive bonding strength by up to 60%. On rough or porous surfaces (stone, brick, textured plaster), use silicone sealant instead of adhesive tape.
3
Insert the LED Strip Remove the backing from the strip's adhesive. Feed one end into the profile channel and push gently along its length, keeping the strip centred. The strip should sit flush — if it bulges outward, the profile is too narrow for your strip width. Verify fitment before mounting the profile.
4
Test Before Mounting Connect to the driver and power on before sticking anything. Check for even light distribution, verify no dark sections, and confirm the colour temperature matches your expectation. Far easier to fix issues now than after the profile is mounted to the ceiling.
5
Mount the Profile Peel the backing from the adhesive tape on the base of the profile (or apply neutral-cure silicone sealant in a bead). Press firmly against the cleaned surface for 30 seconds. For ceilings, support with tape while the adhesive cures (30–60 minutes). Do not stress the mounting within the first hour.
6
Fit the Diffuser Cover Slide the frosted or opal diffuser cover along the profile channel — it clips in from one end. For opal diffusers (maximum dot elimination), you may need to warm the diffuser slightly with a hairdryer to make it more pliable for clipping. Do not force it cold or the clips can crack.
7
Install End Caps Push end caps firmly onto both ends of the profile. For outdoor or wet-area installations, apply a small bead of clear silicone sealant around the end cap perimeter and the cable exit point before fitting. This completes the IP65 seal.
8
Connect Power & Final Check Connect to the SMPS driver, power on, and inspect the full run. Look for even light distribution across joints and corners. Any visible dark patch at a joint indicates a connector issue — disconnect and reseat before closing up the installation.
🔄
Installing on Curved Surfaces Warm the silicone profile with a hairdryer on medium heat for 60 seconds before bending — it becomes pliable and will hold the curve without springing back. For columns, start at the back and work around. For arches, pre-bend the full profile shape before inserting the LED strip. Silicone holds any radius down to 20mm once cool.
5. Real Project Applications & Costs
Here's how different profiles translate into real results across residential and commercial settings — with actual material costs for each scenario.
🏠 Living Room False Ceiling — 3BHK Apartment
15m perimeter
Profile17×8mm top view, 15m
StripSMD 2835, 3000K, 120 LEDs/m
Driver12V 15A SMPS
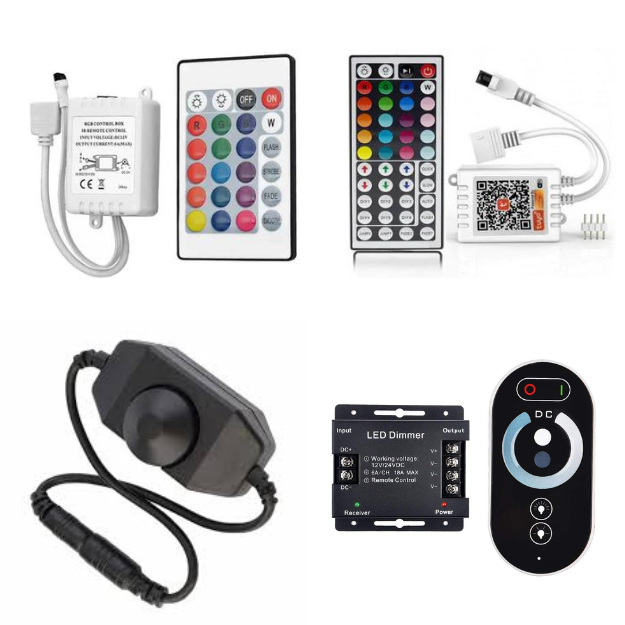
ControlWiFi smart dimmer (Alexa)
| Profile (15m × ₹116) |
₹1,740 |
| LED Strip (3 × 5m reels) |
₹747 |
| 12V 15A SMPS Driver |
₹799 |
| WiFi Smart Controller |
₹299 |
| Total Materials |
₹3,585 |
🍳 Modular Kitchen Under-Cabinet — 8 cabinets
6m total
Profile17×8mm, IP44, 6m
StripCOB, 4000K, 320 LEDs/m
Why COB?Dot-free at countertop viewing distance
IP44Steam & splash protection
Total materials ~₹2,200. Labour: DIY-friendly — no electrician needed, driver hides inside a cabinet. Result: professional showroom-quality under-cabinet lighting indistinguishable from ₹15,000 designer fittings.
🏨 Hotel Guest Room Headboard — 100 Rooms
4m per room, conceal profile
The conceal view profile is specified for the hidden recess behind the headboard. Light glows from the gap — the source is completely invisible. The result is a "floating" headboard effect that creates an immediately recognisable luxury signature.
| Conceal profile (400m × ₹145) |
₹58,000 |
| LED strips + drivers (100 rooms) |
₹45,000 |
| RF dimmers × 100 |
₹30,000 |
| Total (pre-assembled option) |
~₹1,33,000 |
Pre-assembled profiles specified for this project — factory QC eliminates inconsistencies across 100 rooms. Equivalent designer lighting fixtures: ₹8,00,000+. Chronos total: ₹1,33,000. Saving: ₹6,67,000.
🏛️ Architectural Column Wrapping — Commercial Lobby
16m helical wrap, 4 columns
A commercial lobby with four cylindrical marble columns. The designer specified a helical (spiral) LED wrap from base to capital — physically impossible with aluminium profiles, and achievable only with flexible silicone. Side-view profiles at 2700K create a grazing effect on the marble texture that changes in appearance as guests move through the space.
Silicone is the only material that can execute curved architectural profiles. This is the primary reason interior designers specify Chronos silicone profiles over aluminium for any project involving curved surfaces — it opens design possibilities that simply don't exist with rigid alternatives.
6. Troubleshooting Common Profile Issues
| Problem |
Likely Cause |
Fix |
| Still seeing LED dots |
Frosted diffuser instead of opal, or low LED density strip |
Upgrade to opal diffuser cover, or switch to COB strip (320+ LEDs/m) |
| Profile won't stick to ceiling |
Surface not cleaned, or dusty/painted surface |
Reclean with IPA, use neutral-cure silicone sealant instead of tape on ceilings |
| Profile yellowing |
Not genuine silicone — likely PVC |
Chronos profiles are UV-stabilised silicone and will not yellow. Check if competitor PVC product was used. |
| Dark patch at profile join |
Strip connector not making full contact at joint |
Open join, remove connector, re-seat and press firmly. Test before closing up. |
| Strip shifting inside profile |
Strip adhesive not activated or wrong-width strip |
Ensure strip width matches profile channel. Press strip firmly along full length after insertion. |
| Profile cracking when bent |
Profile is cold — silicone becomes brittle below 10°C |
Warm with hairdryer before bending. All Chronos silicone profiles are rated −40°C to +200°C but are more pliable when warm. |
Quick Selector: Which Profile for Which Application?
| Application |
Profile |
Strip Type |
IP |
Temp |
| Living room cove |
17×8mm Top View |
SMD 2835 |
IP20 |
3000K |
| Kitchen under-cabinet |
17×8mm Top View |
COB |
IP44 |
4000K |
| Staircase nosing |
8×8mm Narrow |
SMD 2835 |
IP44 |
3000K |
| Feature wall grazing |
Side View |
SMD 2835 |
IP20 |
2700K |
| Hotel headboard / floating |
Conceal View |
SMD 2835 |
IP20 |
2700K |
| Outdoor terrace / garden |
17×8mm Top View |
SMD 5050 |
IP65 |
3000K |
| Curved column / arch |
Side View (flexible) |
SMD 2835 |
IP65 |
2700K |
| Large commercial (fast) |
Pre-assembled Neon |
Factory fitted |
IP65 |
Any |
Ready to Upgrade Your Lighting?
Shop Chronos Silicone Profiles
India's most complete silicone profile range — 4 profile types, every width, pre-assembled options, and custom cutting for bulk orders. All in stock in Mumbai for same-day dispatch.
Bulk orders (50m+): project pricing + dedicated account manager. WhatsApp us your specs for a same-day quote.