


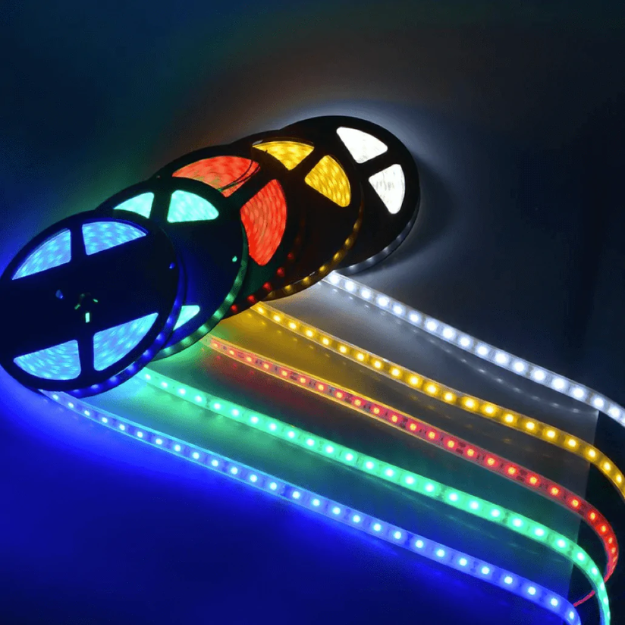
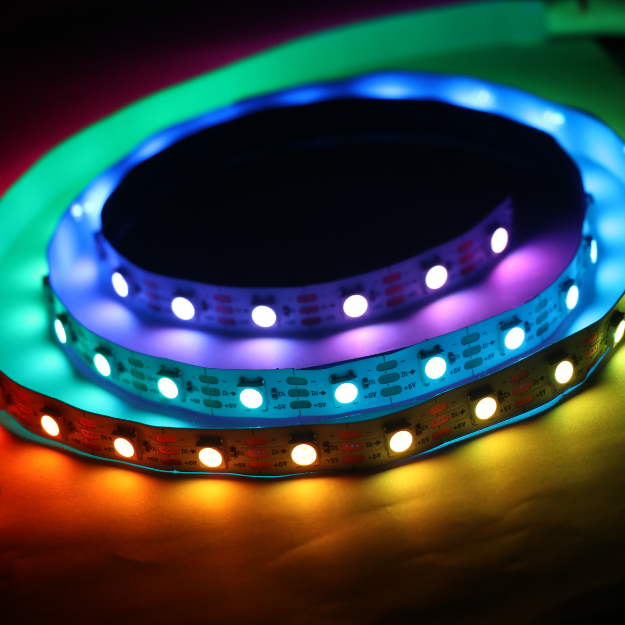


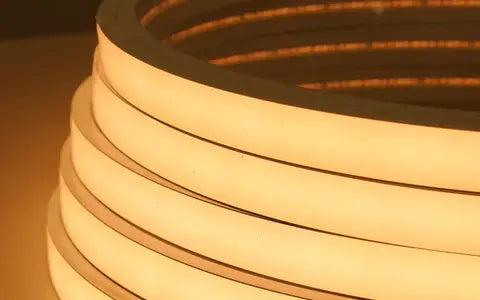


🛠️ Installation Best Practices for Chronos Flexible Silicone Neon Lights
Installing your Chronos Flexible Silicone Neon Lights correctly ensures optimal performance, longevity, and safety. Follow this comprehensive guide to achieve a professional and secure installation.
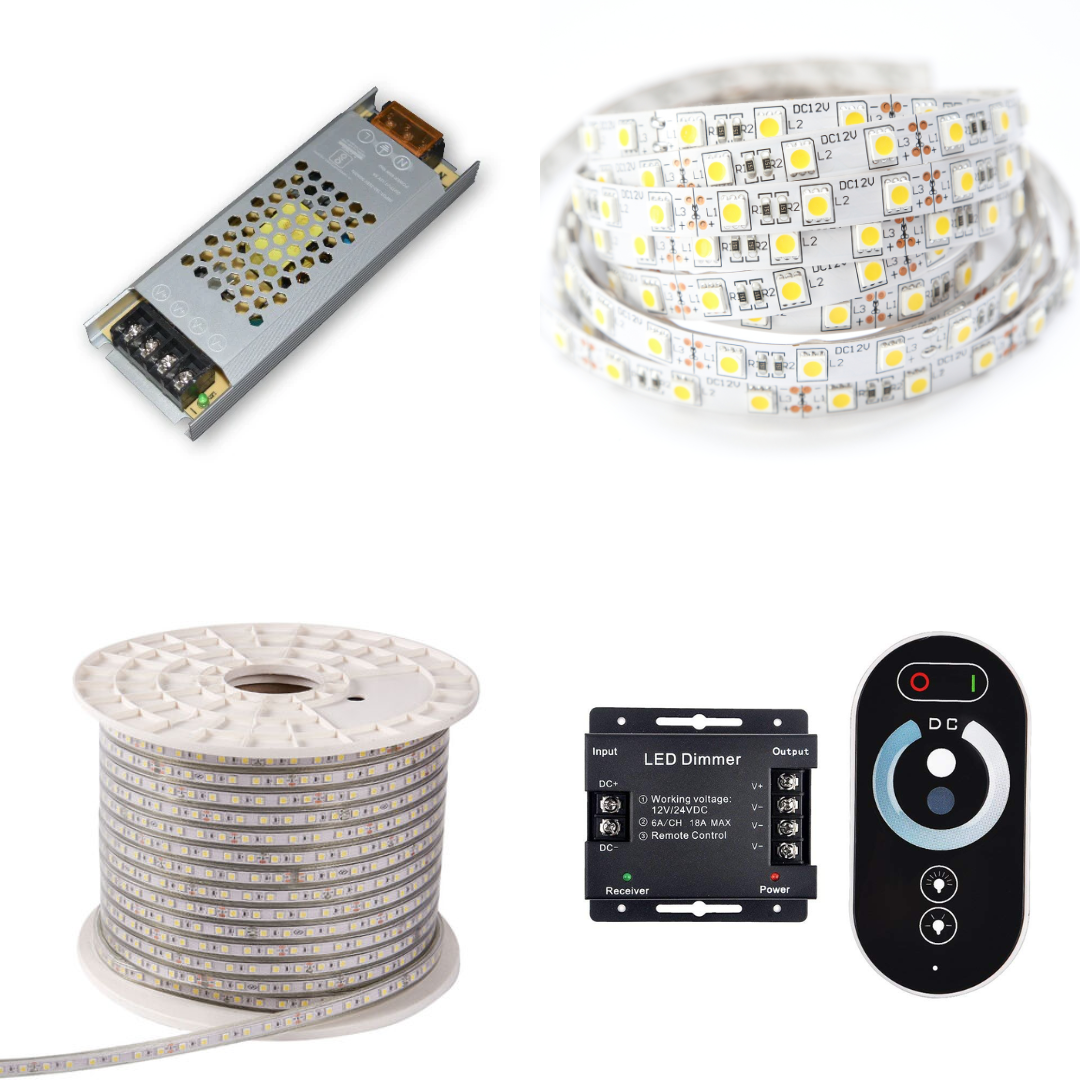
🔧 Essential Tools & Accessories
Before you begin, gather the following tools and accessories:
-
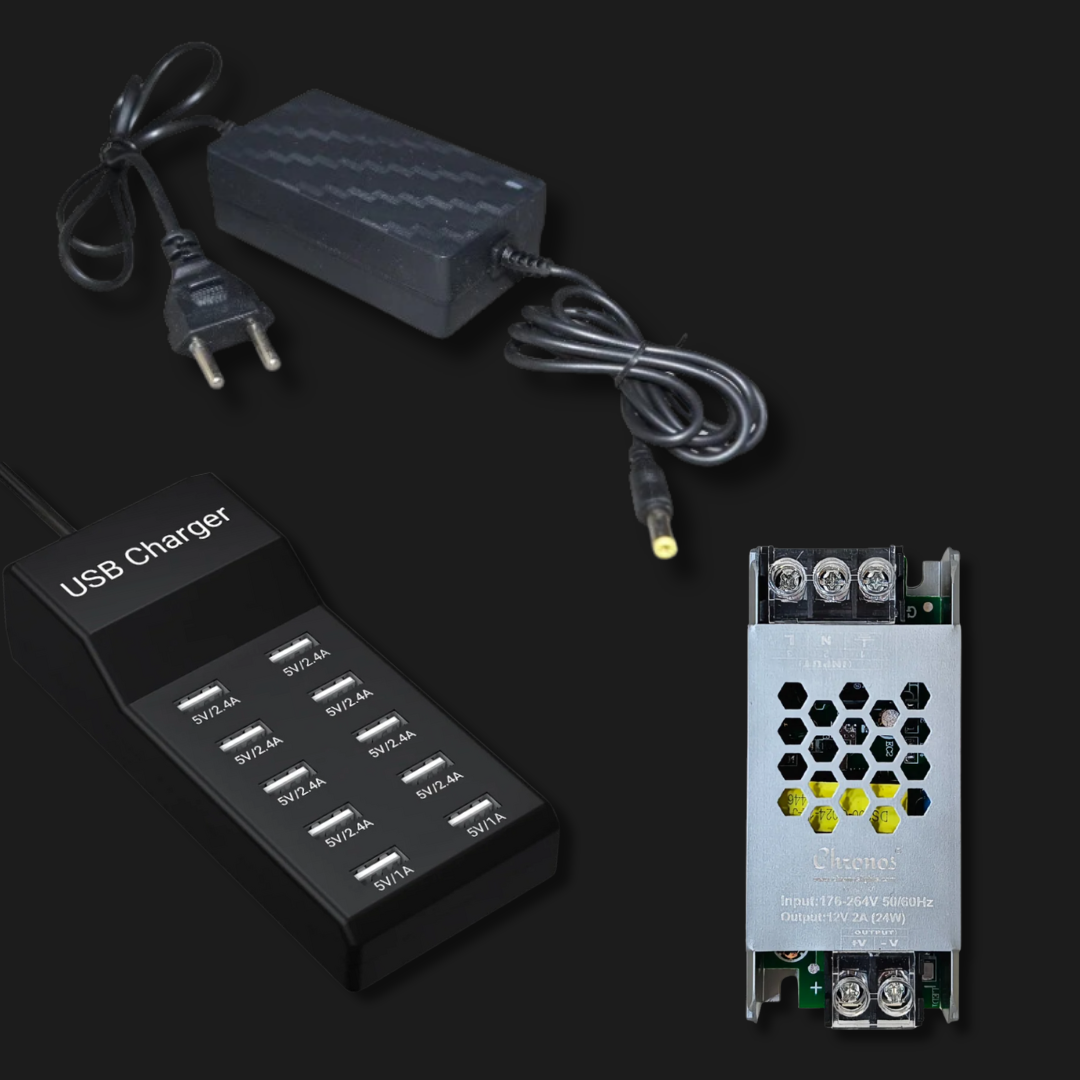
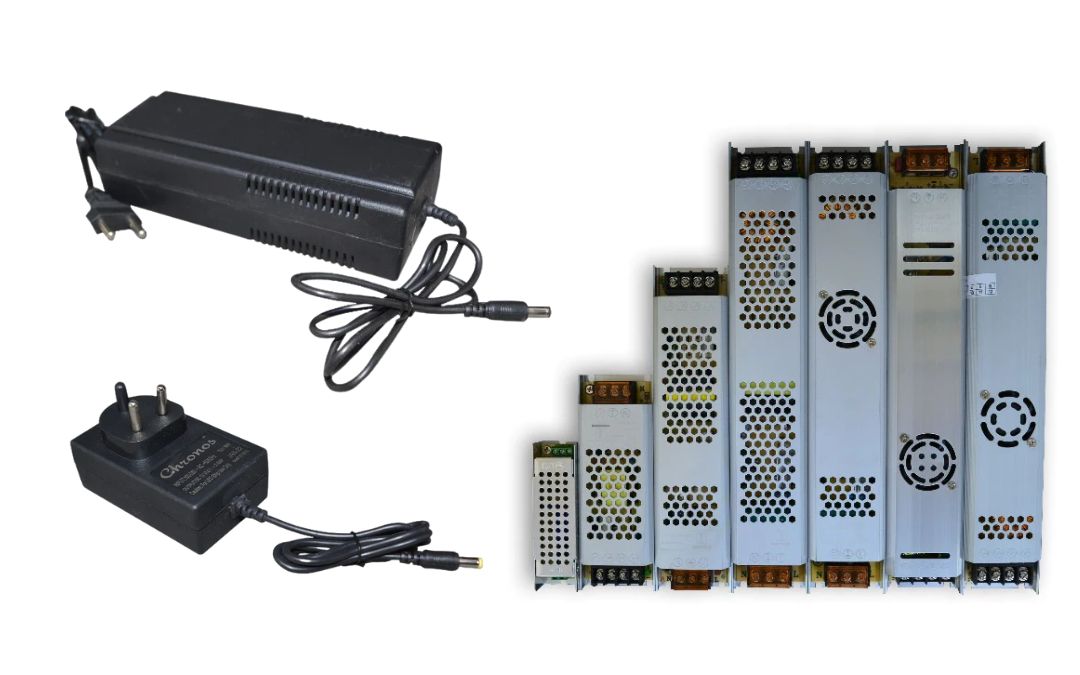
Power Supply: Select a 24V DC power supply compatible with your neon light's wattage.
-
Mounting Clips or Adhesive: Use saddle clips or strong adhesive suitable for your installation surface.
-
Cutting Tools: Sharp scissors or a utility knife for precise cutting.
-
End Caps: To seal the ends of the neon strip.
-
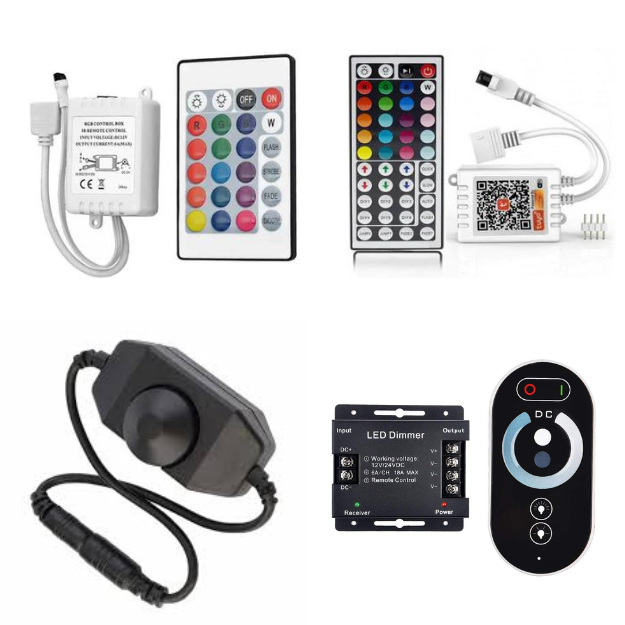
Connectors: For joining multiple strips or extending lengths.
-
Silicone Sealant: For waterproofing connections, especially in outdoor installations.
-
Measuring Tape: To ensure accurate placement.
-
Drill & Screws: If mounting on walls or ceilings.(Chronos Lights, TYRIA LIGHTING)
🧰 Step-by-Step Installation Guide
-
Plan Your Layout:
Measure the area where you intend to install the neon lights. Plan the path, ensuring you account for power supply placement and any connectors needed. -
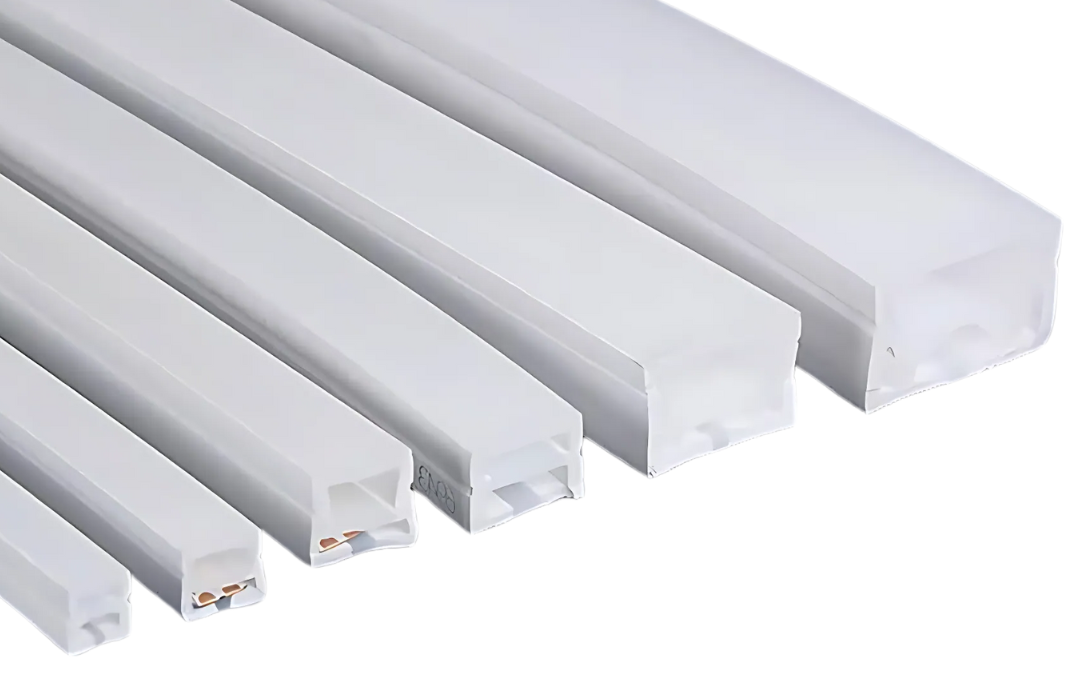
Cut to Length:
Chronos neon strips can be cut at designated intervals. Use sharp scissors or a utility knife to cut along the marked lines. Always ensure the power is disconnected before cutting. -
Seal the Ends:
Apply end caps to the cut ends of the neon strip. Use silicone sealant to ensure a waterproof seal, especially for outdoor installations. -
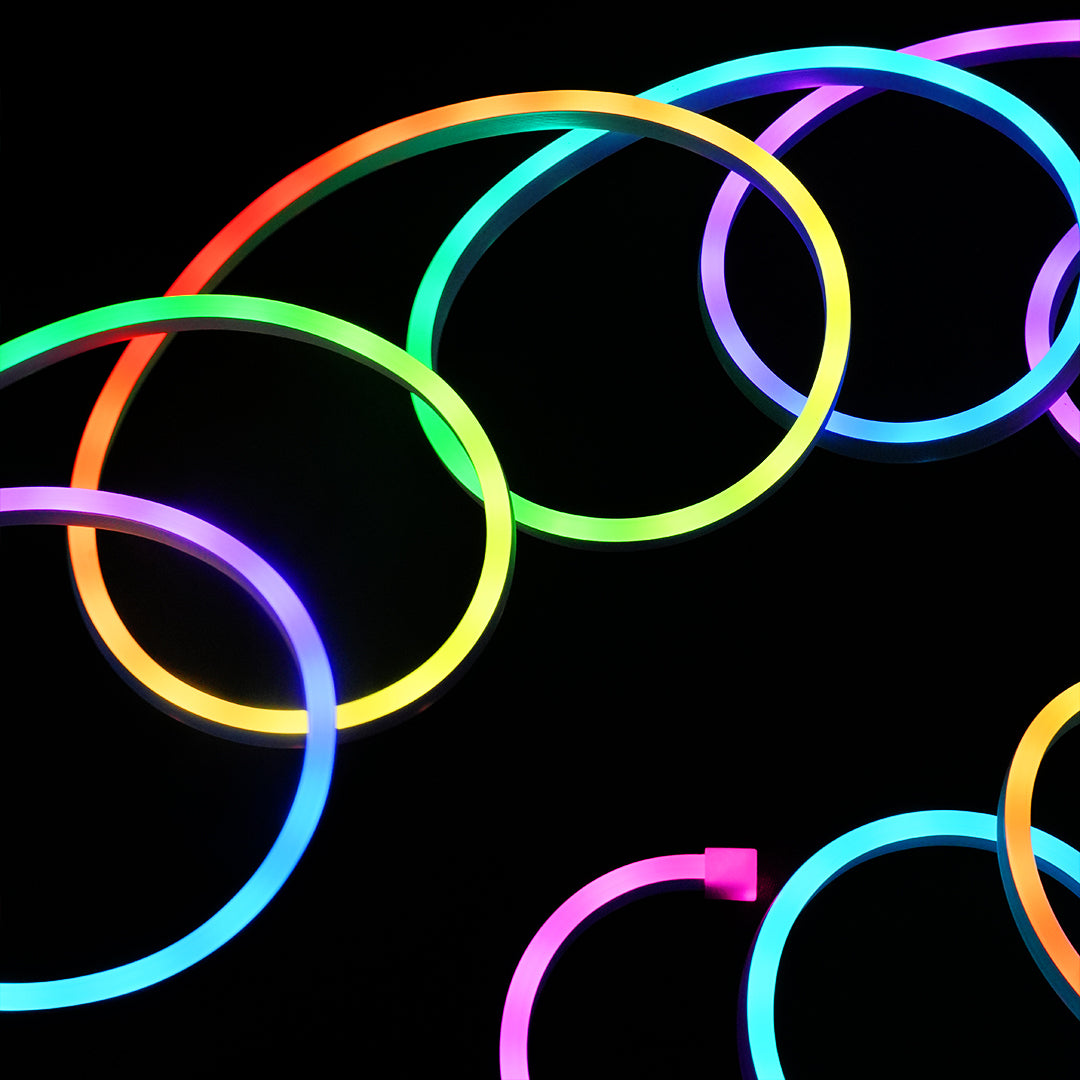
Mount the Neon Strip:
Use mounting clips or adhesive to secure the neon strip along the planned path. Ensure the strip is straight and not twisted to maintain uniform light distribution. -
Connect to Power Supply:
Connect the neon strip to the 24V DC power supply. Ensure all connections are secure and insulated. -
Test the Installation:
Once everything is connected, power on the system to test the installation. Check for uniform lighting and ensure there are no flickers or dark spots.
⚠️ Safety Precautions
-
Avoid Overloading: Do not exceed the maximum wattage rating of the power supply.
-
Proper Ventilation: Ensure the power supply is placed in a well-ventilated area to prevent overheating.
-
Waterproofing: For outdoor installations, ensure all connections are properly sealed to prevent water ingress.
-
Regular Inspection: Periodically check the installation for any signs of wear or damage.
🧼 Maintenance Tips
-
Cleaning: Use a soft, damp cloth to clean the neon strip. Avoid using harsh chemicals or abrasive materials.
-
Storage: If the neon strip is not in use for an extended period, store it in a cool, dry place away from direct sunlight.
-
Repairs: If any section of the neon strip is damaged, replace it promptly to maintain the integrity of the installation.
✅ Summary
|
Step |
Action |
|
Planning |
Measure and plan the installation path |
|
Cutting |
Cut the neon strip at designated intervals |
|
Sealing |
Apply end caps and seal with silicone sealant |
|
Mounting |
Secure the strip using clips or adhesive |
|
Connecting |
Connect to a 24V DC power supply |
|
Testing |
Power on and check for uniform lighting |
|
Safety |
Follow safety precautions and inspect regularly |
By following these installation best practices, you can ensure that your Chronos Flexible Silicone Neon Lights provide optimal performance and longevity. If you need further assistance or have specific questions, feel free to reach out to our support team.