


How to Install RGB LED Strip Lights Like a Pro: A Step-by-Step Guide
Index:
-
In Short
-
Introduction
-
Tools & Materials Required
-
Choosing the Right Location
-
Preparing the Surface
-
Measuring & Cutting the Strip
-
Connecting the LED Strip to the Controller
-
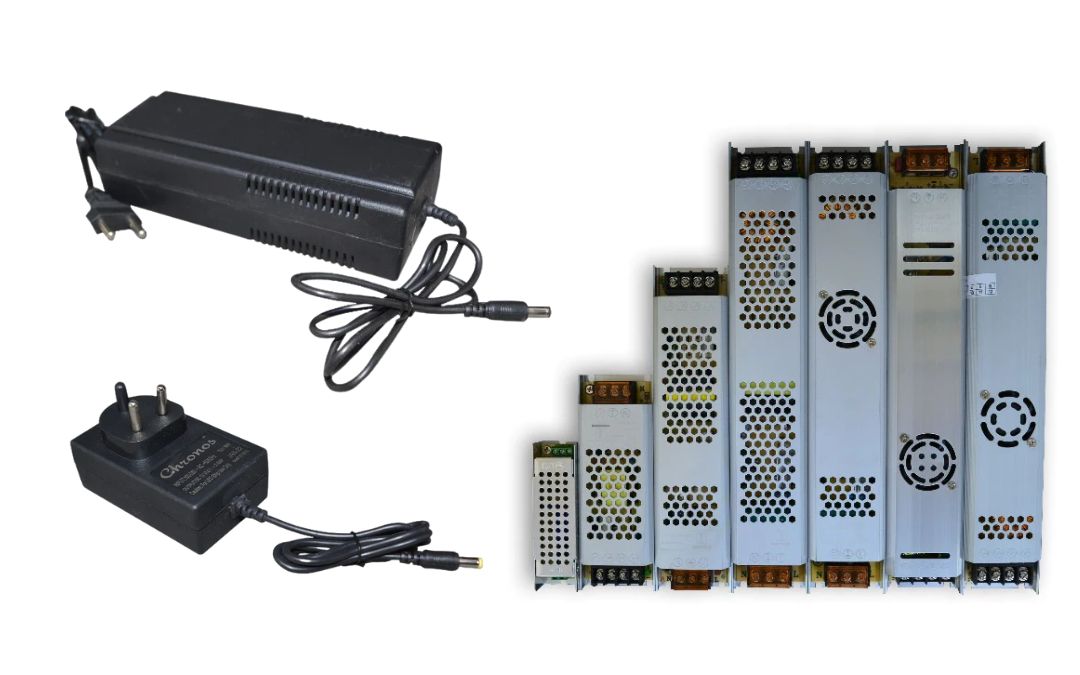
Powering Your LED Strip
-
Mounting & Securing the LED Strips
-
Configuring Remote, App, or Voice Control
-
Troubleshooting Common Installation Issues
-
Conclusion
In Short
Installing RGB LED strip lights is a simple yet rewarding process that enhances any space with vibrant lighting effects. This guide covers everything from selecting the right location and preparing the surface to cutting, connecting, and controlling the strips using remotes, apps, or smart assistants. Follow these steps to install your LED strips like a pro!
Introduction
RGB LED strip lights have become a popular lighting solution for homes, offices, and entertainment spaces due to their versatility, ease of installation, and smart control options. Whether you want to light up your gaming room, add ambiance to your living room, or enhance your workspace, installing LED strip lights is a straightforward DIY project. This guide walks you through the step-by-step installation process to ensure a seamless and professional setup.
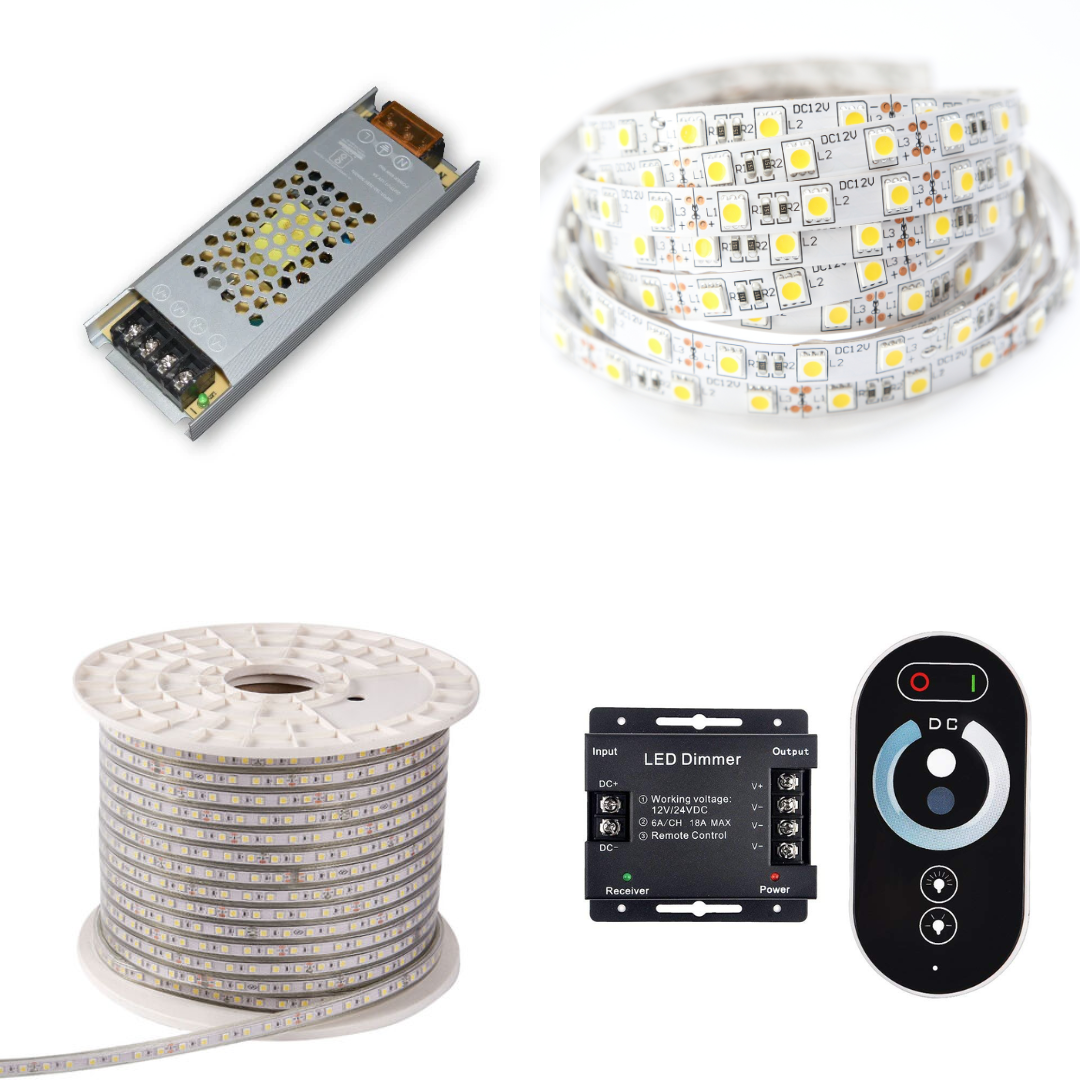
Tools & Materials Required
Before starting, gather the following tools and materials:
-
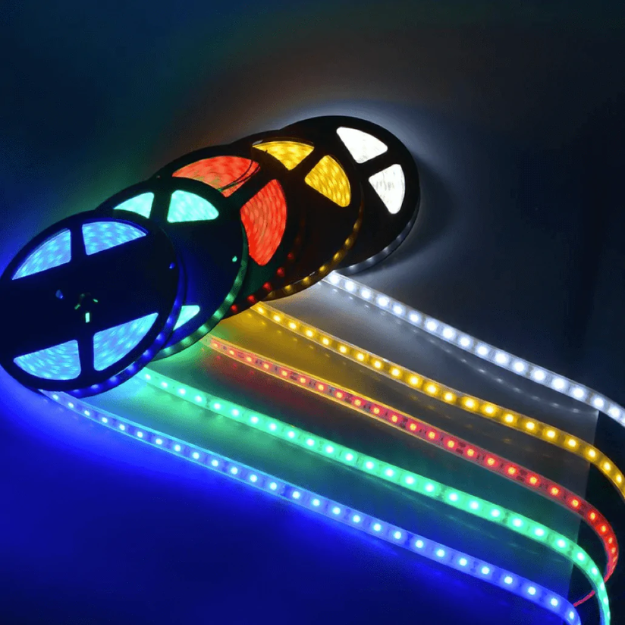
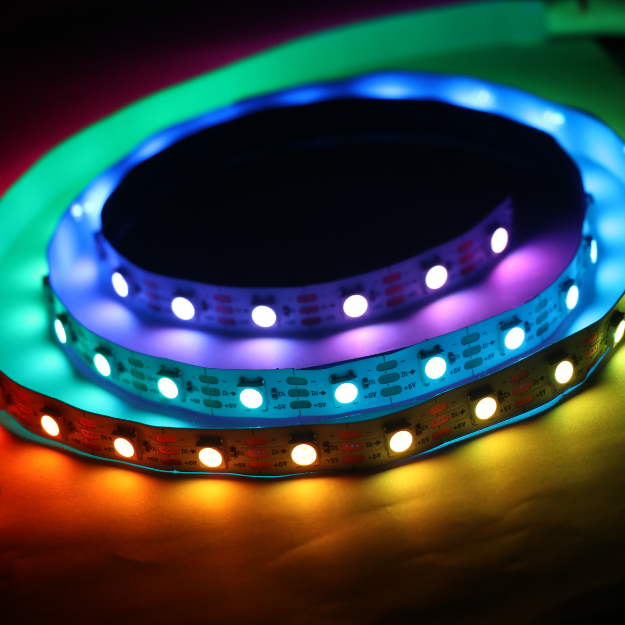
RGB LED strip lights
-
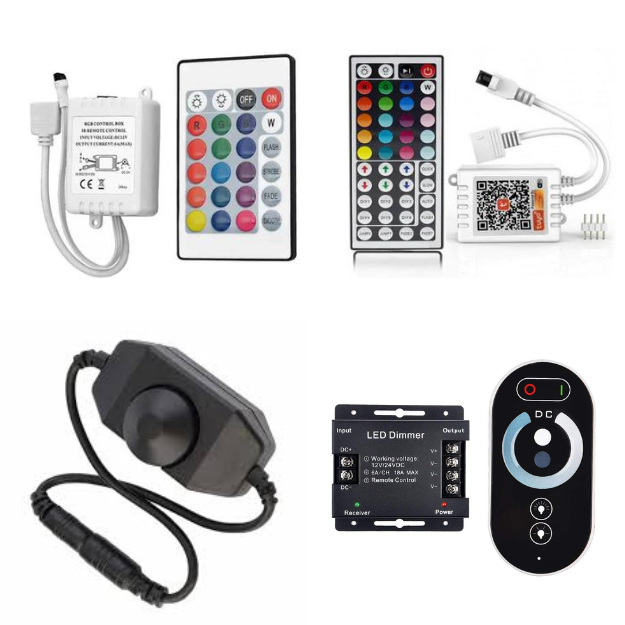
LED controller & remote (if applicable)
-
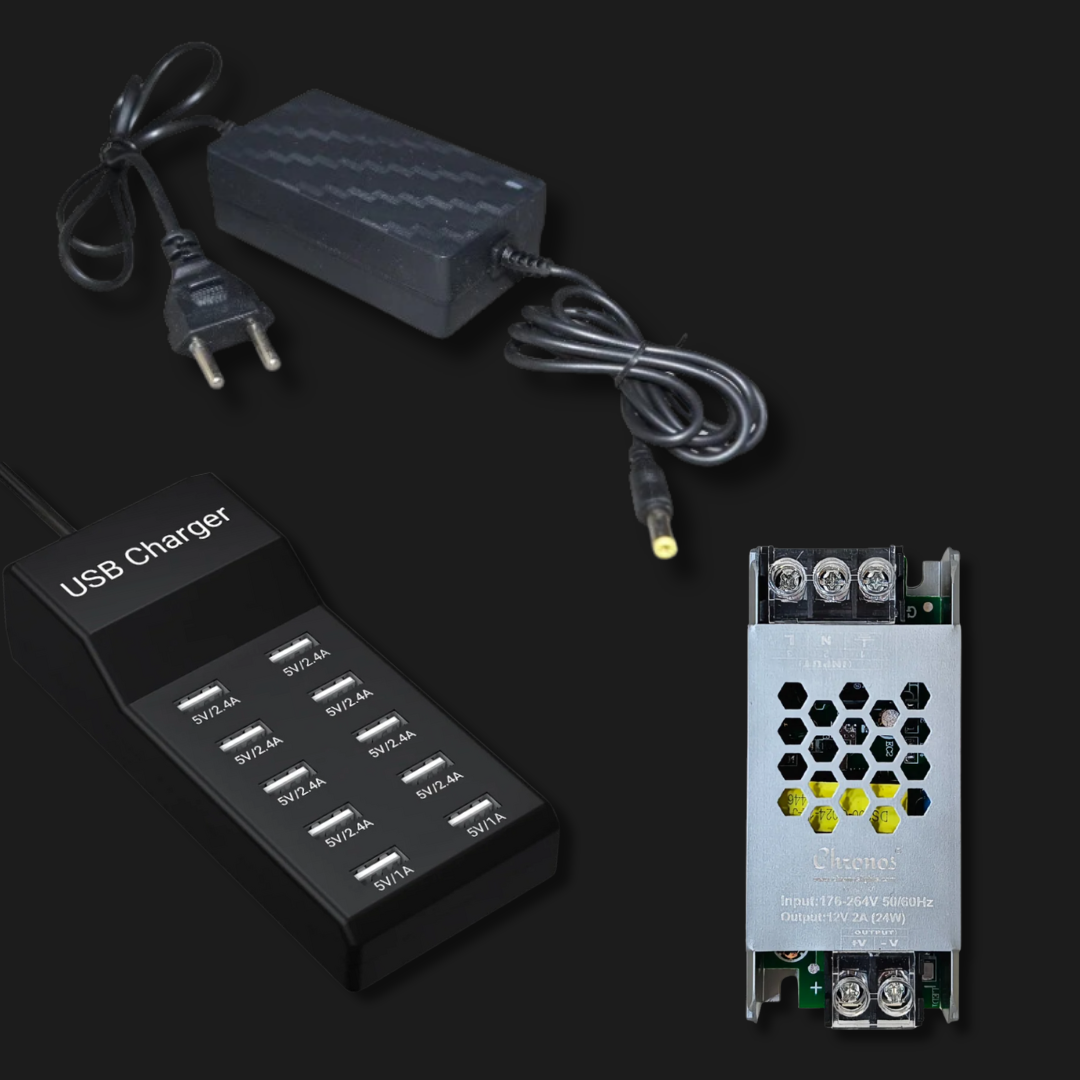
Power adapter (5V, 12V, or 24V as required)
-
Scissors or a sharp blade
-
Measuring tape
-
Rubbing alcohol or a clean cloth
-
Mounting clips or adhesive backing (included with most strips)
-
Soldering kit (optional for advanced setups)
-
Connector clips (for extending strips)
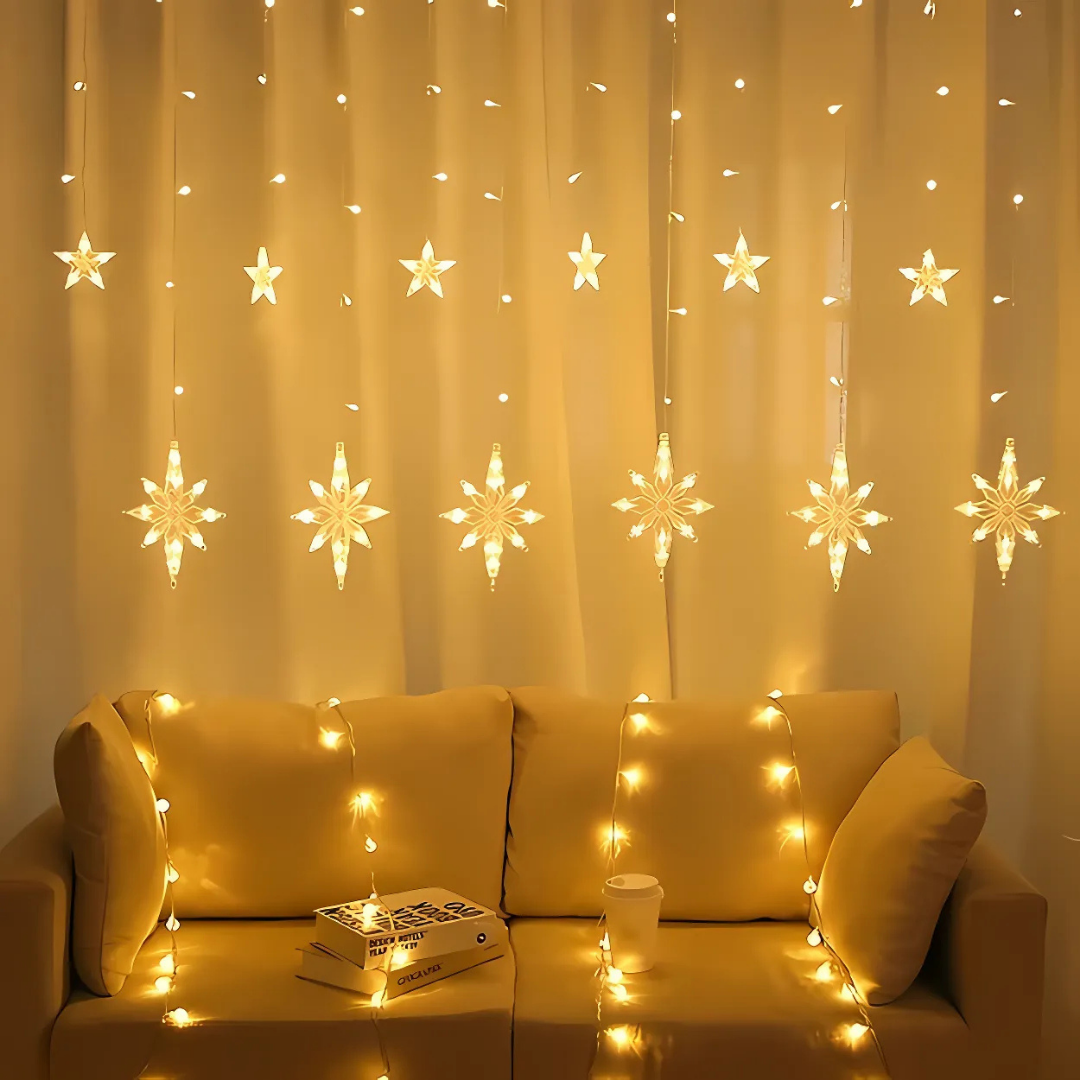
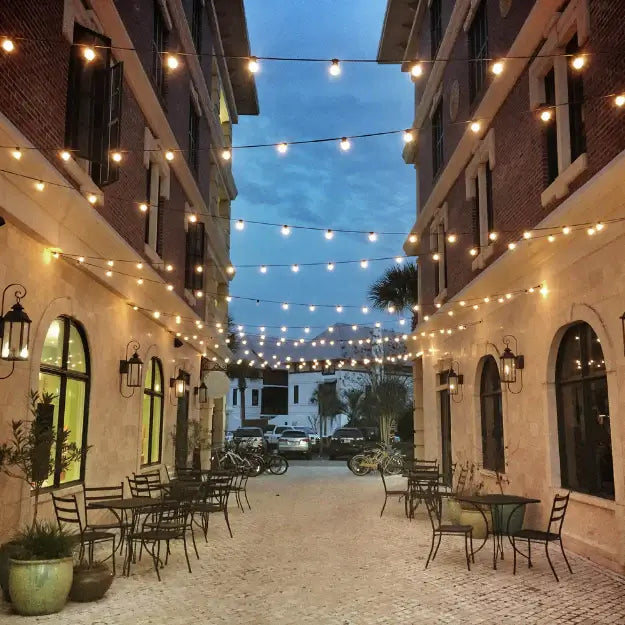
Choosing the Right Location
Select a location where the LED strips will have maximum visual impact. Popular options include:
-
Behind TVs or monitors for a backlight effect
-
Under kitchen cabinets for functional lighting
-
Along ceilings or walls for decorative effects
-
Around mirrors or headboards for aesthetic appeal
-
Under furniture for a floating effect
Ensure the area is dry, clean, and has access to a power source.
Preparing the Surface
For a secure installation:
-
Clean the surface with rubbing alcohol to remove dust and grease.
-
Allow the surface to dry completely before attaching the LED strip.
-
If using adhesive-backed strips, ensure the surface is smooth.
-
For rough surfaces, use mounting clips or additional adhesive.
Measuring & Cutting the Strip
-
Measure the length required for installation.
-
Cut the LED strip only at designated points (usually marked with a scissor icon).
-
Avoid cutting through electrical circuits on the strip.
-
Use connector clips to join two strips if needed.
Connecting the LED Strip to the Controller
-
Attach the LED strip’s connector to the controller.
-
Ensure proper alignment of positive (+) and negative (-) terminals.
-
For RGBIC strips, ensure the controller supports the built-in IC for color variations.
-
Secure the connection to prevent loose wiring.
Powering Your LED Strip
-
Plug the power adapter into the controller.
-
Ensure the voltage matches the LED strip’s requirements (5V, 12V, or 24V).
-
Plug the adapter into a power outlet.
-
Check if the lights turn on before finalizing the installation.
Mounting & Securing the LED Strips
-
Peel off the adhesive backing and carefully press the strip into place.
-
Avoid bending the strip sharply to prevent damage.
-
Use mounting clips for extra support, especially on rough surfaces.
-
Secure connectors and wires with cable management clips.
Configuring Remote, App, or Voice Control
-
Remote Control: Point the remote at the controller and use buttons to adjust brightness, colors, and effects.
-
App Control: Download the corresponding mobile app, pair the LED strip via Bluetooth or WiFi, and customize colors and modes.
-
Voice Control: Connect to Alexa or Google Assistant via smart hubs to control lights using voice commands.
Troubleshooting Common Installation Issues
1. LED Strip Not Turning On:
-
Check the power connection and voltage compatibility.
-
Ensure the controller is properly connected.
-
Inspect for damaged LED strips.
2. Colors Not Displaying Correctly:
-
Verify that RGB wires are connected in the correct order.
-
Reset the controller and try again.
3. Remote Not Working:
-
Replace batteries and ensure there are no obstructions.
-
Re-sync the remote with the LED controller.
4. Flickering or Uneven Lighting:
-
Check for loose connections or faulty power supply.
-
Use a higher-capacity power adapter if needed.
Conclusion
Installing RGB LED strip lights is a fun and easy way to transform any space with colorful, dynamic lighting. By following this step-by-step guide, you can achieve a professional-looking installation while maximizing functionality. Whether for ambient lighting, gaming setups, or decorative enhancements, RGB strip lights offer endless creative possibilities!
Ready to elevate your space with vibrant LED lighting? Explore our premium range of RGB LED strips today!