


How to Install Flexible Silicone Neon Lights – A Step-by-Step Guide
Introduction
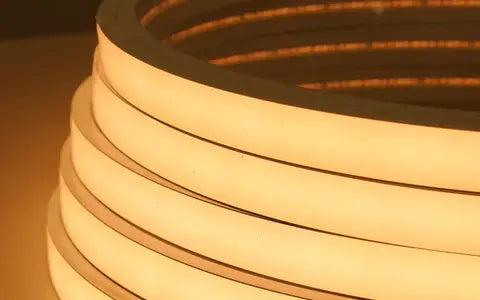
Installing Flexible Silicone Neon Profile Lights is easier than you think! Whether you're adding a modern glow to your living room, backlighting signage, or outlining a commercial facade, proper installation ensures optimal performance, safety, and visual appeal. In this guide, we’ll walk you through everything you need—from planning to powering—so you can install your lights like a pro.
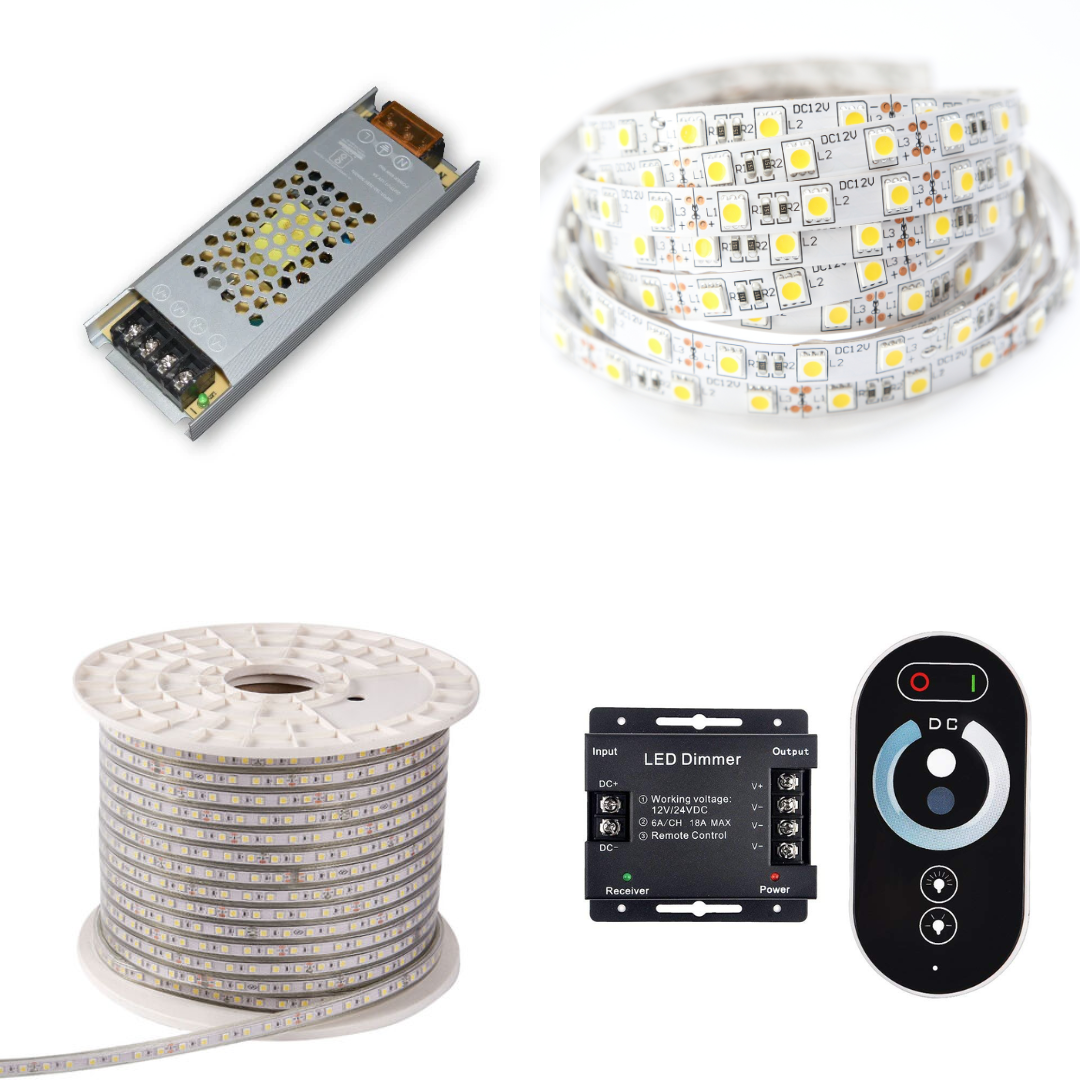
🔧 What You’ll Need
Before you begin, make sure you have:
-
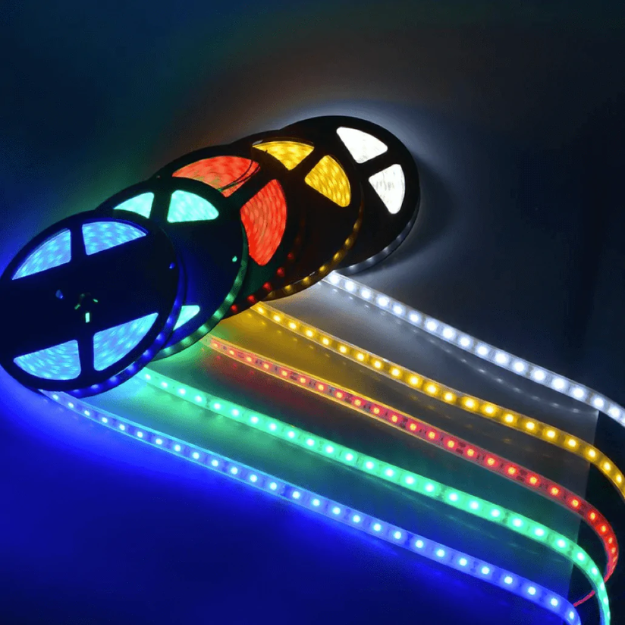
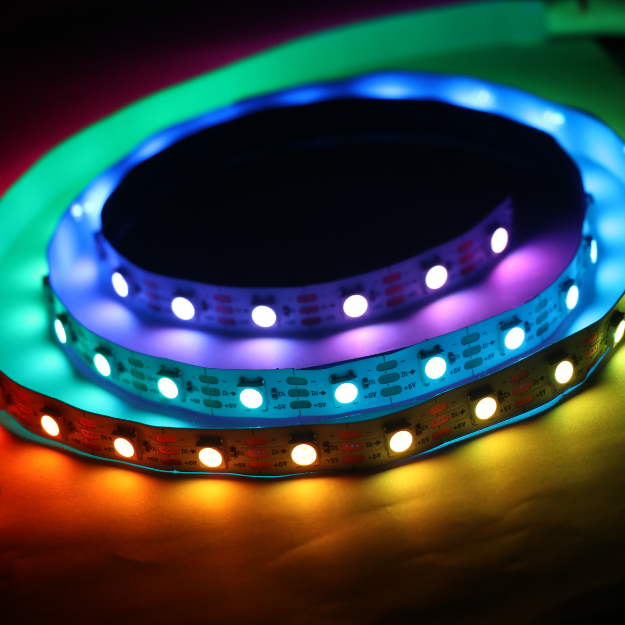
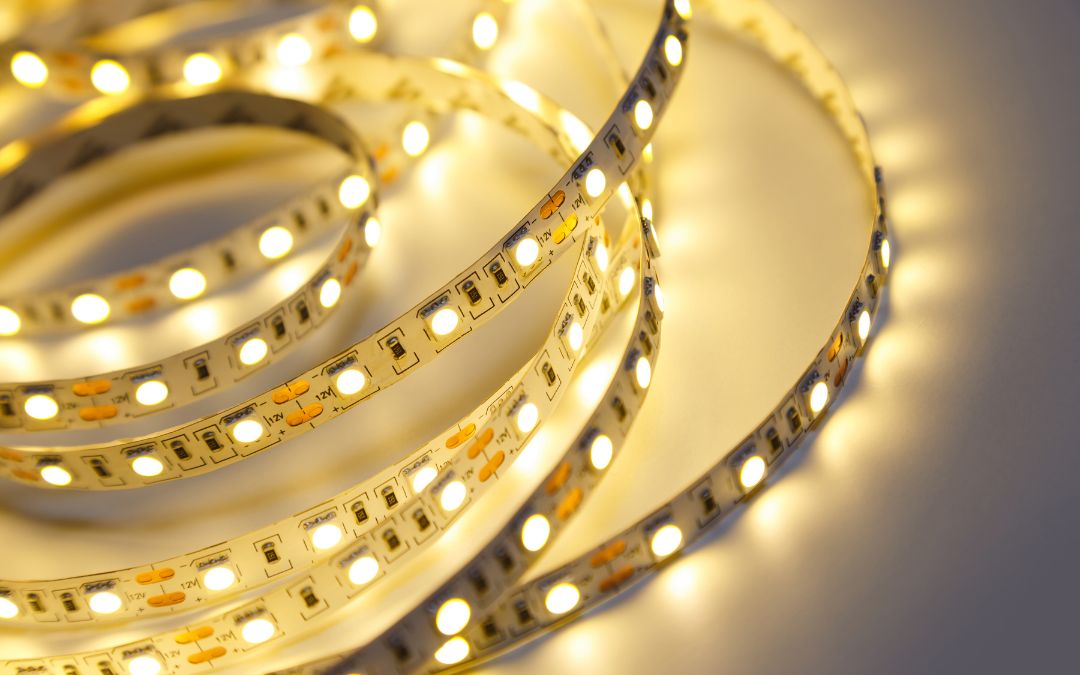
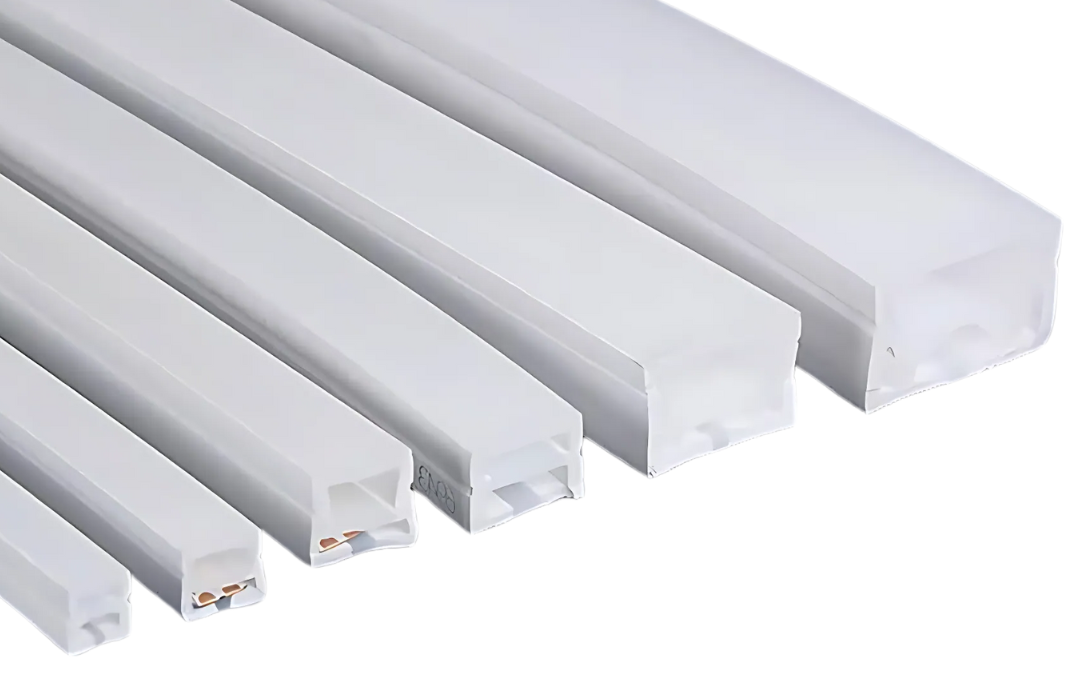
Flexible silicone neon strip (correct size & bend type)
-
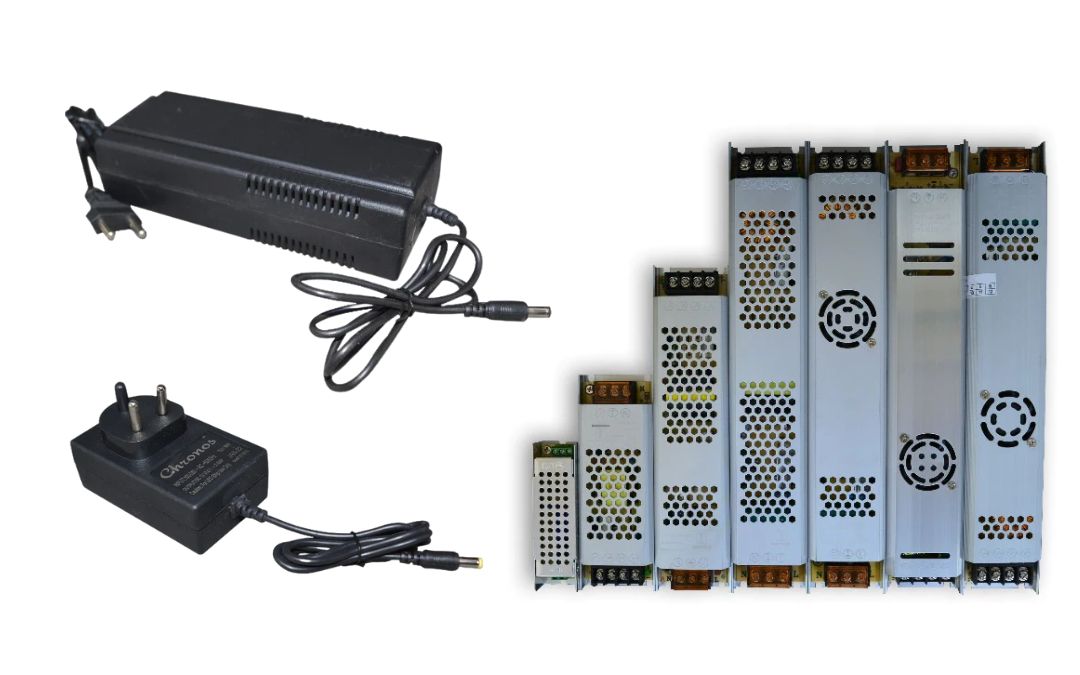
24V compatible power supply
-
Power connector or adapter cable
-
Mounting clips or aluminum channel (optional)
-
Scissors or sharp cutter
-
Heat shrink tubes or waterproof end caps
-
Silicone glue or adhesive (for extra hold)
-
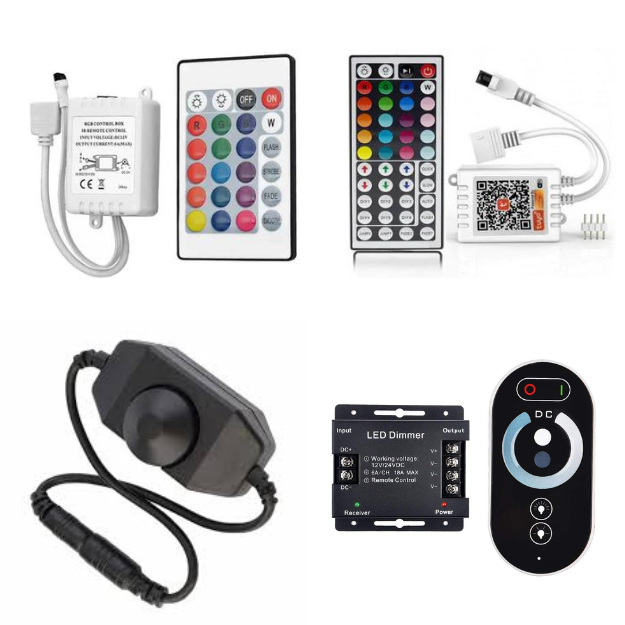
Optional: dimmer switch, RGB controller (if applicable)
🧭 Step-by-Step Installation Guide
Step 1: Plan Your Layout
-
Decide where you want to install the neon strip.
-
Measure the total length you’ll need.
-
Determine bend direction (Front or Side Bend).
-
Decide how to connect to power—direct plug-in or through a switch/controller.
📌 Tip: Sketch your layout and plan for power input placement and bends.
Step 2: Cut the Neon Strip (If Needed)
-
Only cut at the marked cut points (usually every 2.5cm–5cm).
-
Use sharp scissors or a cutting tool.
-
Always cut straight across to ensure proper power connection.
⚠️ Warning: Cutting at the wrong spot can damage the strip and void the warranty.
Step 3: Attach Connectors
-
For most strips, you’ll use a snap-on power connector or soldered lead wires.
-
Ensure a snug and waterproof connection using heat shrink tubing or silicone sealant.
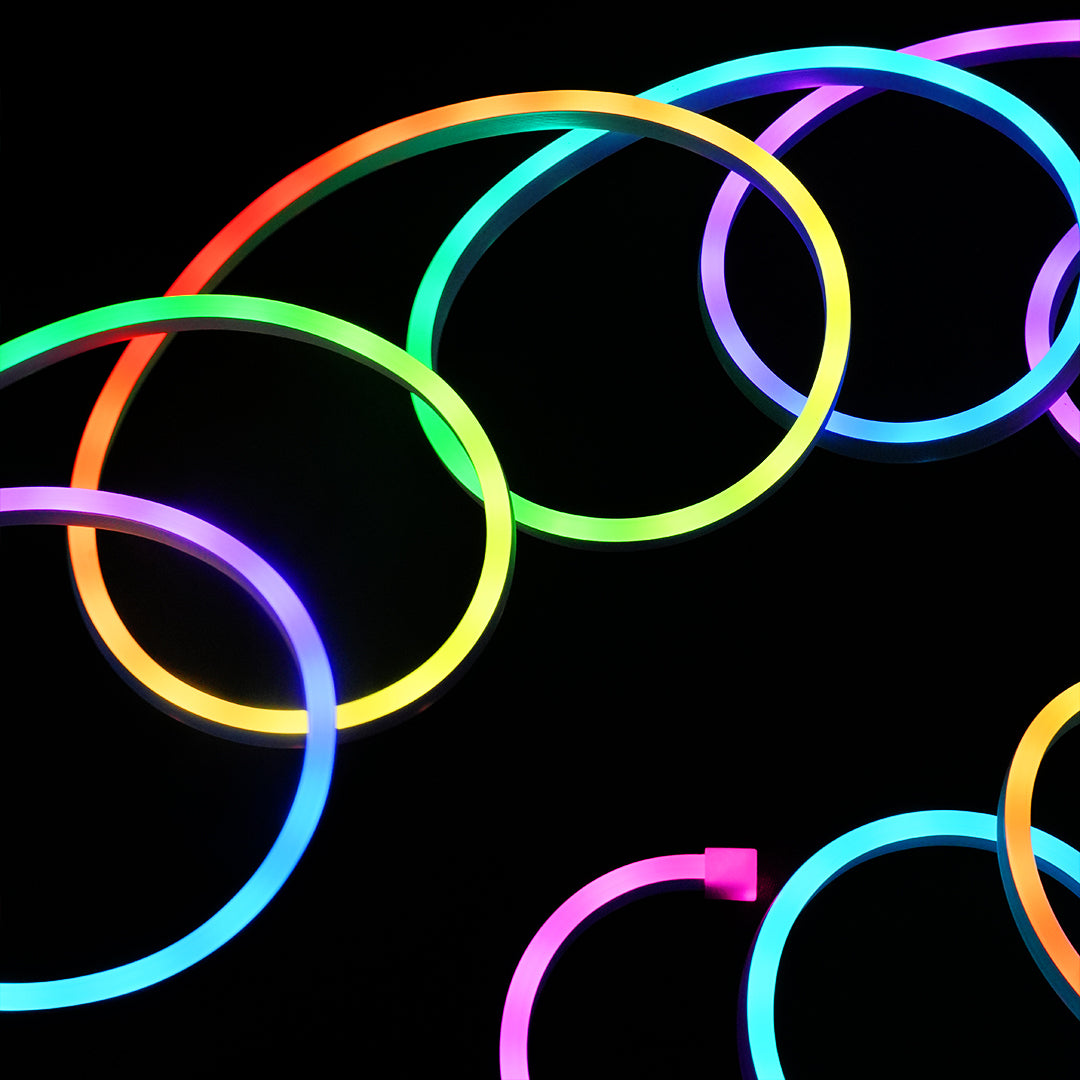
👉 If you're using RGB or dimmable lights, follow color-coded wiring or connect to the controller.
Step 4: Mount the Strip
There are three main ways to mount your strip:
-
Self-adhesive backing (if included): Peel and stick directly.
-
Mounting clips: Ideal for curves and bends—use screws to secure.
-
Aluminum channels: Best for a clean, professional look and better heat dissipation.
📌 Tip: For outdoor use, apply silicone adhesive to strengthen the bond and prevent slipping.
Step 5: Connect the Power Supply
-
Make sure your power supply matches the voltage (24V) and wattage of your total strip length.
-
Plug the connector into the power adapter.
-
For long runs, connect in parallel or use amplifiers to avoid voltage drop.
💡 Example:
10m of 10mmx10mm strip at 12W/m = 120W
Add 20% buffer = Use a 150W 24V power supply
Step 6: Power On & Test
-
Once connected, power it on.
-
Check for consistent brightness across the strip.
-
Test any additional features (e.g., dimmer, RGB controller).
✅ Optional: Add Accessories
-
Diffusers for softer glow
-
Corner connectors for clean edges
-
Timers or motion sensors for automation
🛡️ Safety & Compliance Tips
-
Avoid bending too tightly—follow the minimum bend radius in specs.
-
Never power a cut strip until sealed.
-
Use waterproof connectors and caps for outdoor installations.
-
Don't exceed the recommended run length without amplifiers.
🧽 Maintenance Tips After Installation
-
Dust with a soft cloth regularly.
-
Avoid using harsh cleaners.
-
Periodically check seals for outdoor use.
-
Unplug when doing deep cleaning nearby.
💡 Final Thoughts
Installing Flexible Silicone Neon Lights can completely transform a space. Whether you’re a DIY enthusiast or a lighting professional, this guide ensures your install is safe, effective, and long-lasting.
🔧 Need Help? Chronos Is Here for You
Got questions about your installation? Need help selecting the right power supply or accessories? Contact our lighting specialists, or check out our installation kits to make your job even easier.
👉 [Browse All Neon Profiles Now]
👉 [Contact Chronos Support]