


How to Decorate Walls with Photo Clip String Lights (Step-by-Step Guide)
How do you decorate walls with photo clip lights?
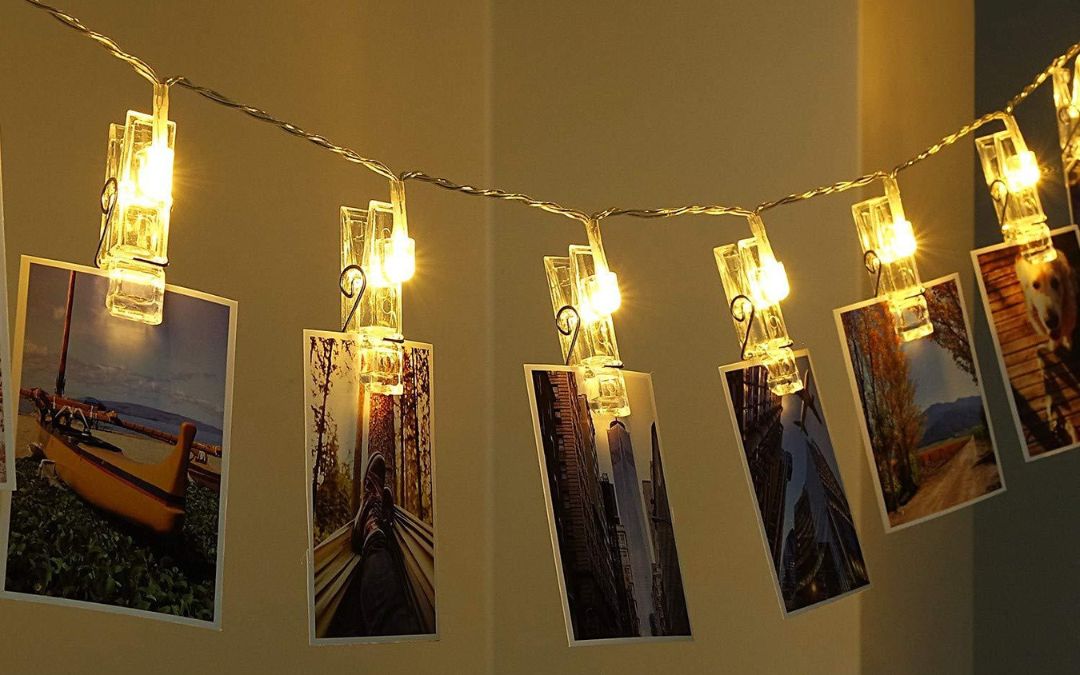
You can decorate walls with photo clip string lights by arranging them in patterns like grids, hearts, zig-zag layouts, or curtain-style designs, and attaching photos, notes, or artwork to create a personalized and aesthetic display.
Why Photo Clip Lights Are Perfect for Wall Decoration
Blank walls often make a room feel incomplete. Photo clip string lights offer a simple yet powerful way to transform any wall into a visually appealing and emotionally meaningful space.
- Combines lighting and decoration
- Adds warmth and personality
- Perfect for renters (no permanent changes)
- Budget-friendly room makeover
👉 Start decorating your wall today:
Explore Photo Clip Lights
Step-by-Step Guide to Decorating Walls with Clip Lights
Step 1: Choose the Right Wall
Select a wall that is clearly visible and complements your room layout. Ideal options include:
- Wall behind the bed
- Study or work area
- Empty side walls
Step 2: Select the Layout Design
Before installation, decide how you want your lights to look.
- Grid Layout: Clean and organized
- Zig-Zag Layout: Creative and casual
- Heart Shape: Romantic and aesthetic
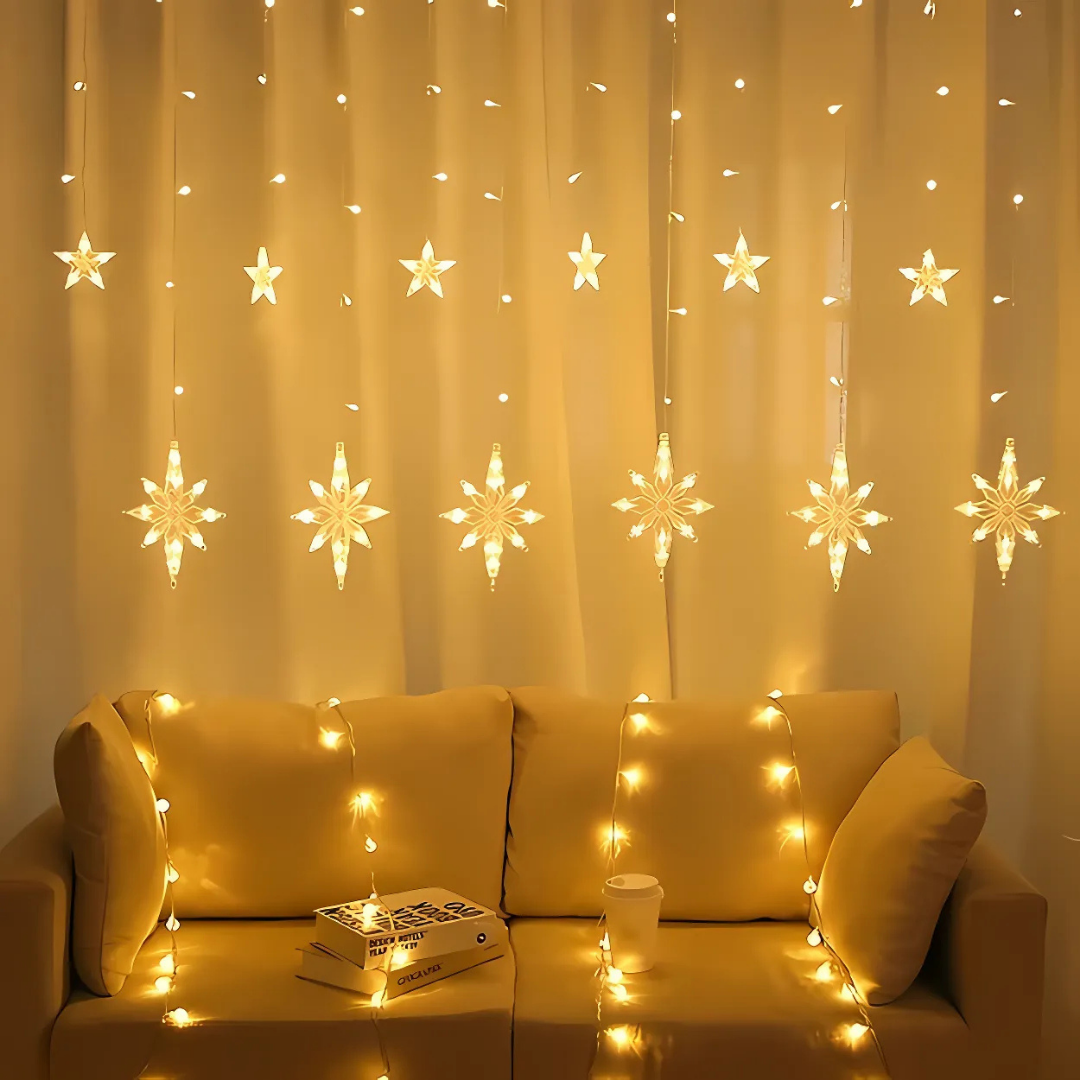
- Curtain Style: Premium backdrop effect
👉 You can enhance this with:
Curtain Lights Collection
Step 3: Gather Required Materials
- Photo clip string lights
- Printed photos or polaroids
- Adhesive hooks or clips
- Measuring tape (optional)
Step 4: Install Hooks or Supports
Use wall-safe adhesive hooks or transparent tape to place your lights without damaging the wall.
- Ensure equal spacing
- Keep alignment straight
- Avoid loose hanging
Step 5: Hang the Lights
Carefully hang the string lights based on your chosen layout. Turn them on to check alignment before fixing permanently.
Step 6: Clip Your Photos
Attach your favorite memories, quotes, or artwork to the clips.
- Mix photos with quotes
- Use consistent spacing
- Avoid overcrowding
Step 7: Final Adjustments
Turn on the lights and adjust the arrangement for the best visual effect.
Best Wall Decoration Ideas Using Photo Clip Lights
1. Full Wall Memory Display
Cover your entire wall with clip lights and photos to create a complete memory wall.
2. Minimalist Single Line Setup
Use a single string of lights for a simple and elegant look.
3. Corner Decoration
Decorate just one corner of your room for a subtle aesthetic touch.
4. Bed Backdrop Lighting
Install lights behind your bed to create a cozy and dreamy vibe.
5. Study Wall Inspiration Board
Use clip lights to display goals, notes, and motivational content.
Pro Tips for Aesthetic Results
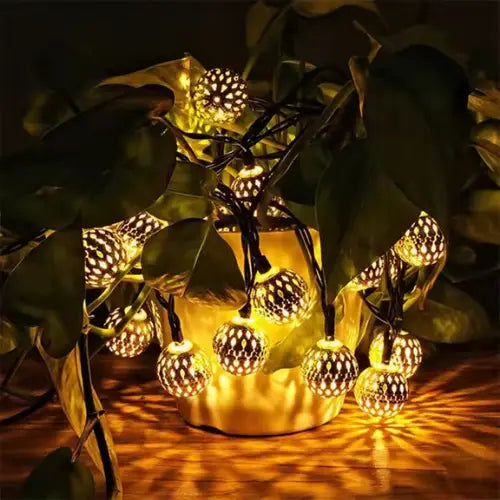
- Use warm white lights for cozy ambiance
- Maintain symmetry in layout
- Choose high-quality printed photos
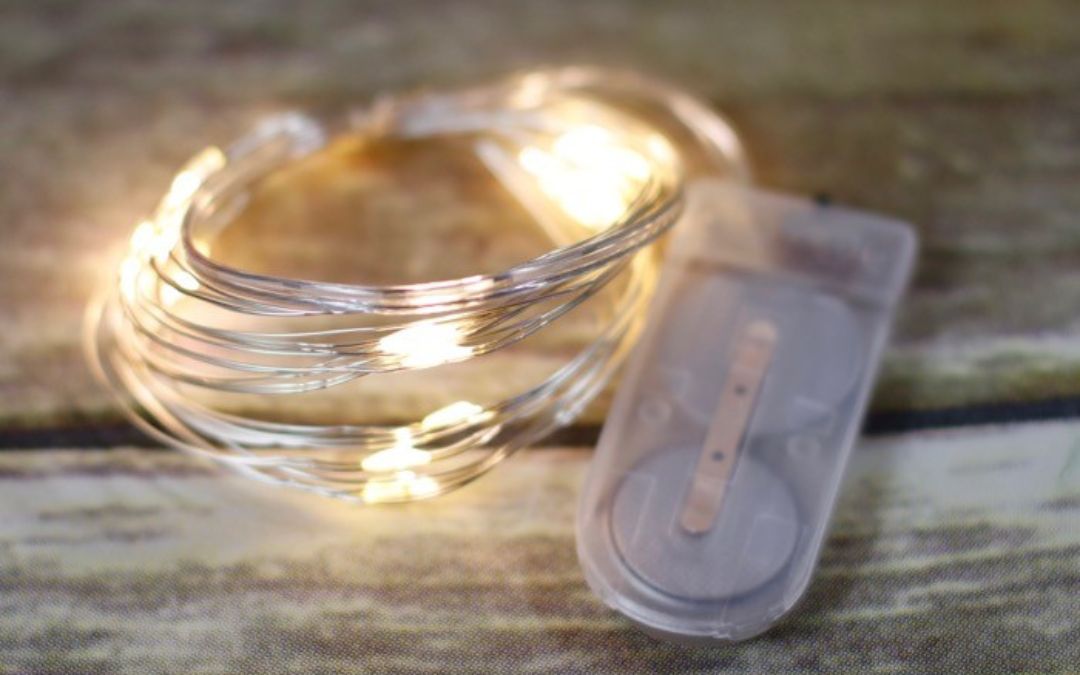
- Combine with fairy lights for layering
👉 Explore matching lights:
Fairy Lights Collection
Common Mistakes to Avoid
- Overcrowding too many photos
- Using uneven spacing
- Choosing harsh lighting
- Poor alignment of strings
Best Lighting Color for Wall Decoration
- Warm White: Best for cozy and aesthetic look
- Cool White: Bright and modern feel
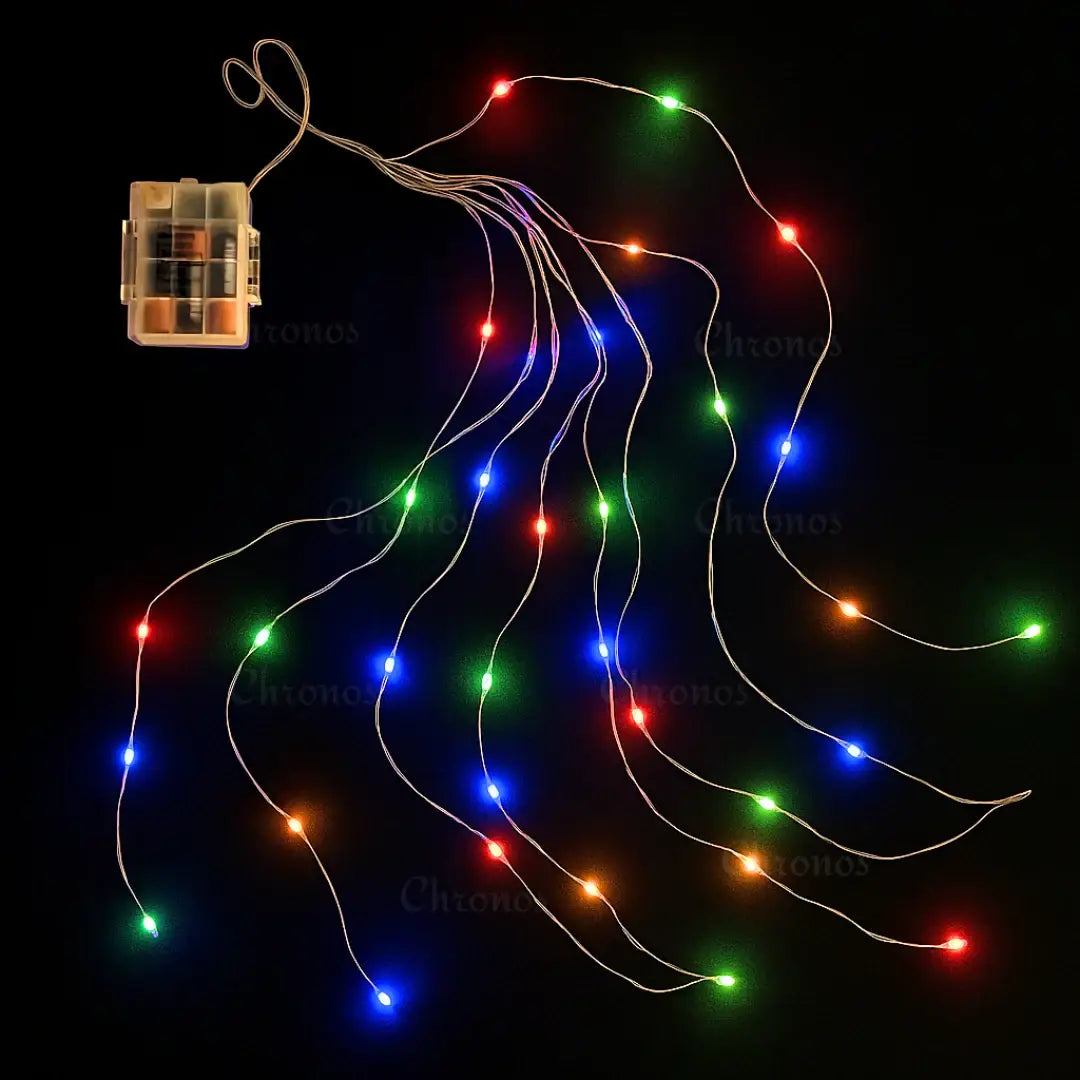
- Multicolor: Fun and festive vibe
Are Photo Clip Lights Safe for Walls?
Yes, when installed using adhesive hooks or tapes, they are completely safe and do not damage walls. LED lights also emit minimal heat, making them safe for long-term use.
Frequently Asked Questions
1. Can I install clip lights without drilling?
Yes, you can use adhesive hooks or command strips.
2. How many photos should I use?
It depends on your layout, but avoid overcrowding for best results.
3. Are clip lights reusable?
Yes, they can be removed and reused easily.
4. Can I decorate small walls with clip lights?
Yes, they are perfect even for compact spaces.
5. Which layout is best for beginners?
A simple zig-zag or grid layout is easiest to start with.
Explore the Best Photo Clip Lights
Transform your walls into a memory masterpiece: